
Using the Timeline Part 2
Tips Resizing and Identifying Content If you missed our previous post, you might want to read it before moving on to this week’s information. View Creating a presentation using Timeline. If you don’t see the Timeline in your Content Studio to enable Timeline View, follow the simple instructions in “How do I view/disable/enable Timeline in Content […]
Daktronics Commercial Software Training on 7/2/2014
Categories: Venus 1500 Training
Tips Resizing and Identifying Content
If you missed our previous post, you might want to read it before moving on to this week’s information. View Creating a presentation using Timeline.
If you don’t see the Timeline in your Content Studio to enable Timeline View, follow the simple instructions in “How do I view/disable/enable Timeline in Content Studio.”
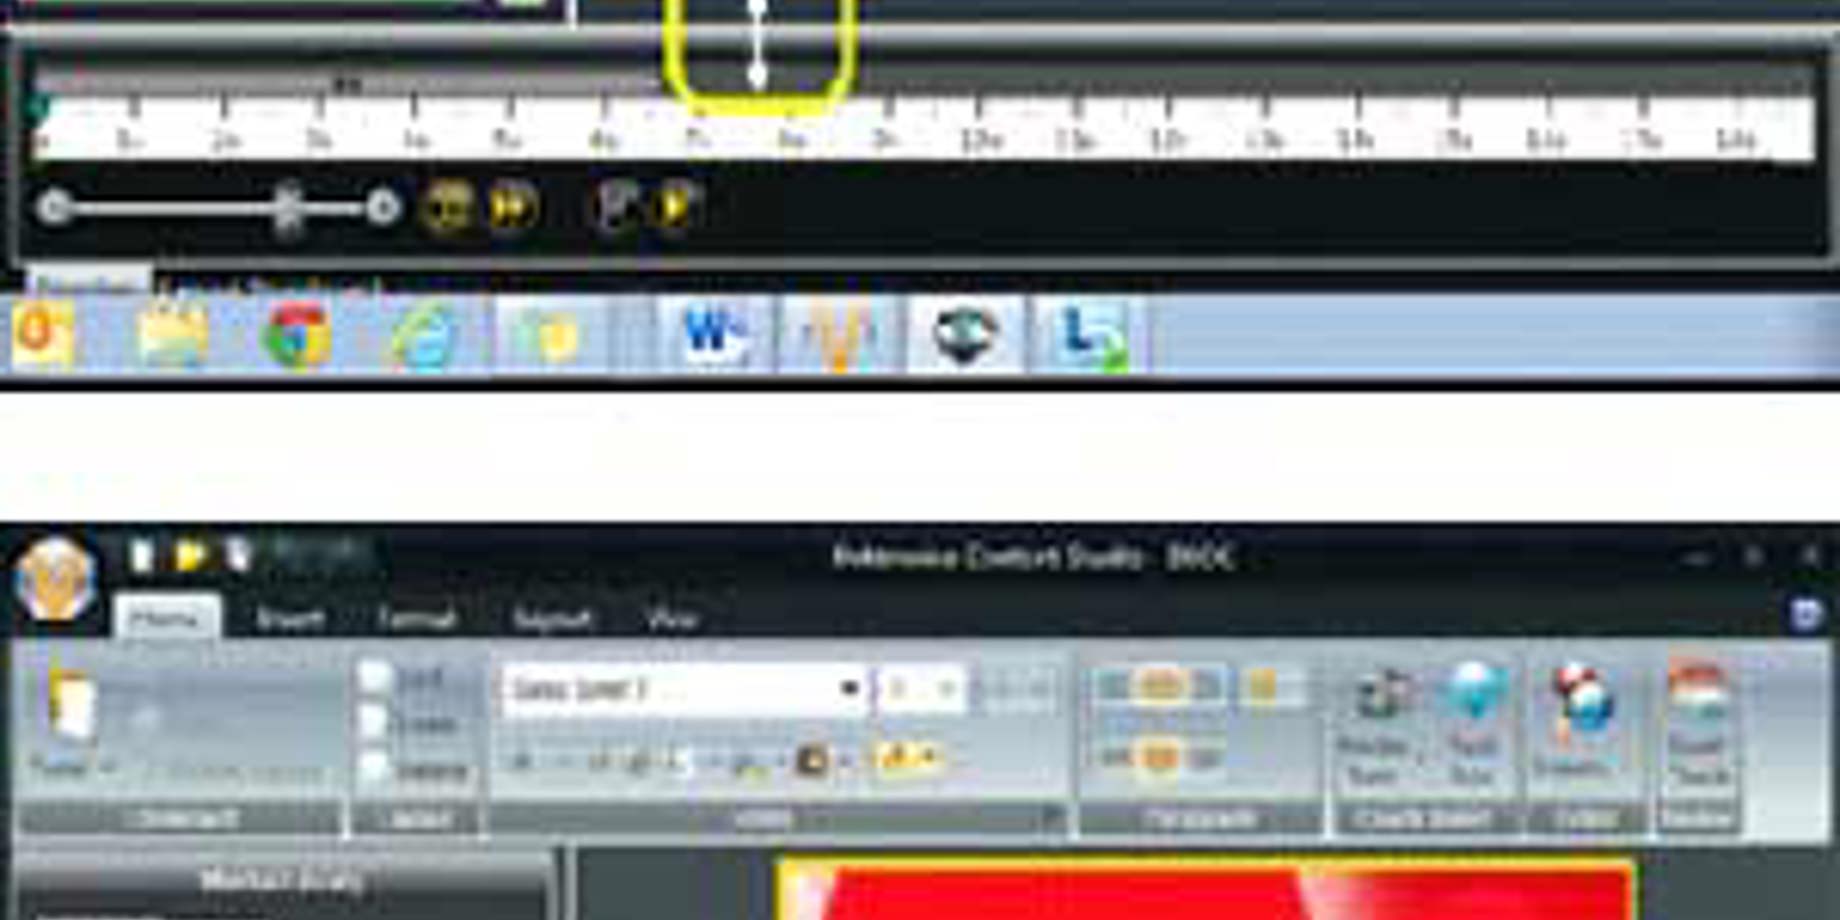
TIP: Resizing the Timeline
You can expand the Timeline panel to make it easier to work with numerous objects, or you can make the Timeline panel smaller to give yourself more room for the presentation window.
Simply hover your mouse over the boundary between the Timeline panel and the presentation window. When it changes to a two-headed arrow, drag the boundary up to expand the Timeline panel, or drag the boundary down to make the panel smaller (see graphics).

Expand the Timeline or make it smaller.
TIP: Identifying Different Types of Content
The timeline represents the sequence of all graphic or video elements, effects, transitions, text boxes, and real-time data in a presentation.
An entry transition will show as a teal color just in front of the Layout bar.
Real-time data, such as the time of day, date, or temperature, will show as a striped bar.
Text boxes show as a solid orange bar. The name will populate from what the text reads on the presentation. This can easily be edited by right clicking on the orange bar and selecting Properties. Changing the name in Properties doesn’t change the text on the layout itself, only the name you see in the Timeline. See graphic.

Identifying different content.
Don’t miss our next post filled with Timeline tips and tricks!