Importing Headshots – Cropping and/or Resizing
Last week, we talked about choosing a picture without a busy background and possibly blurring the background or putting a text box over the top. You may have noticed that when I imported the picture into Venus 1500 Content Studio, I also cropped a portion of it. Today we will be using the same example […]
9/24/2014
Categories: Venus 1500 Training
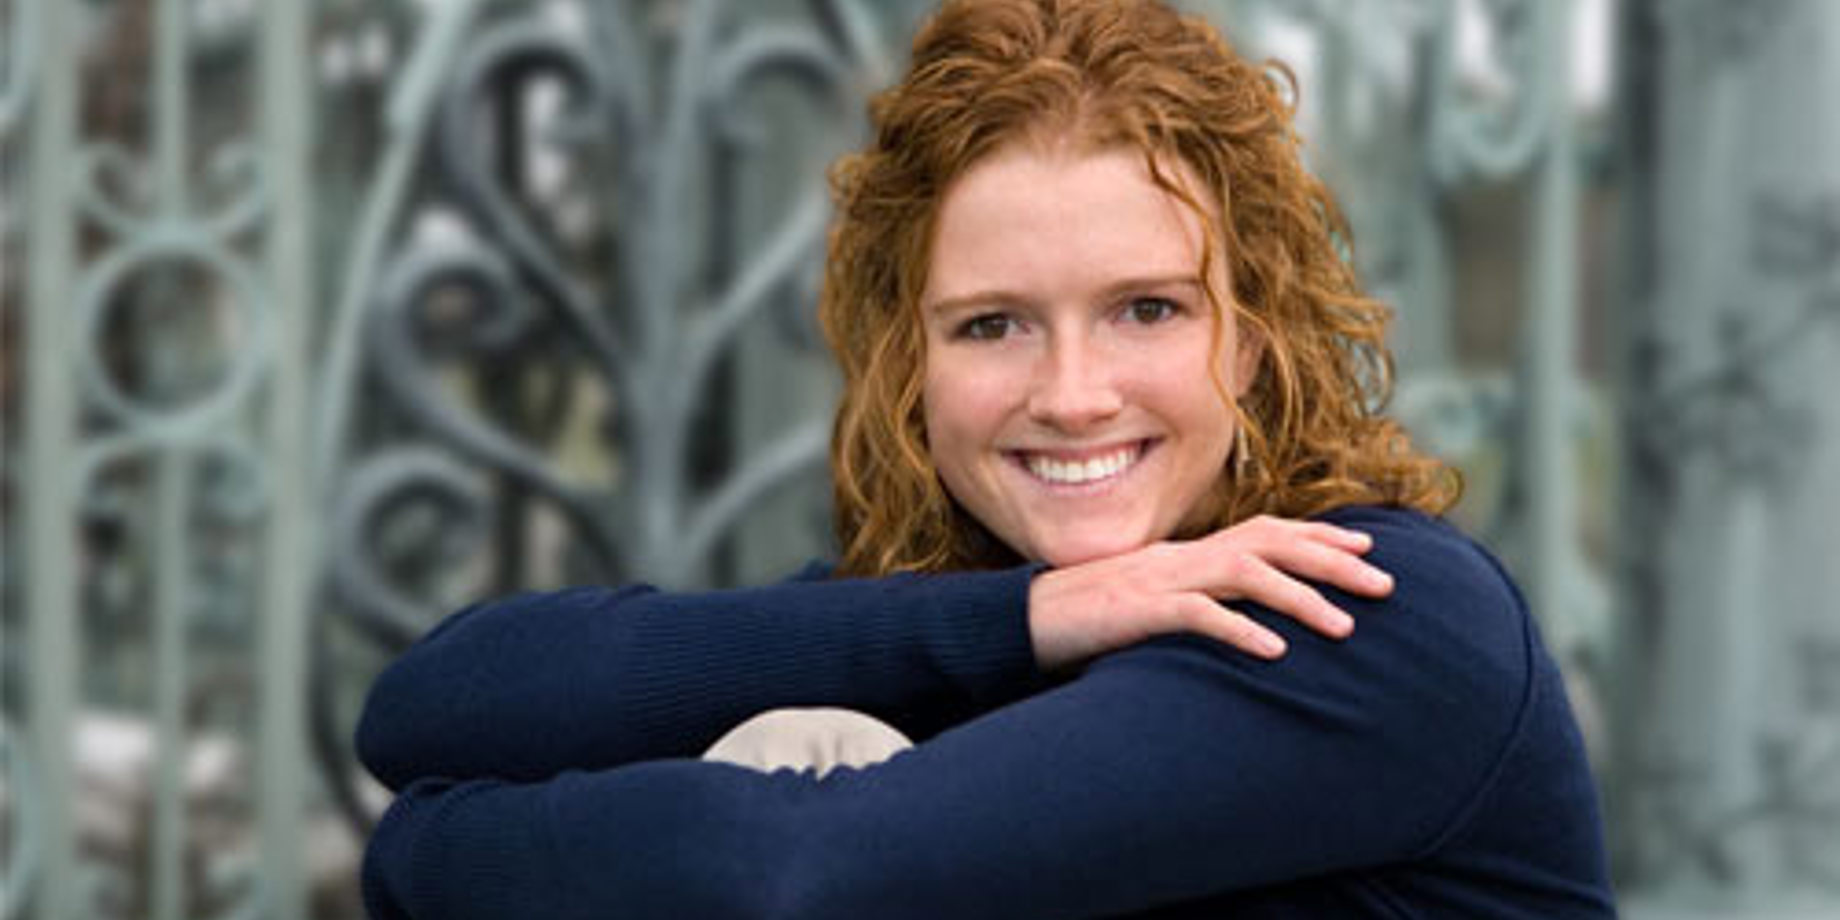
Last week, we talked about choosing a picture without a busy background and possibly blurring the background or putting a text box over the top. You may have noticed that when I imported the picture into Venus 1500 Content Studio, I also cropped a portion of it.
Today we will be using the same example photo and look at how cropping and resizing can make your message appear more professional. When it comes to placing an image or video onto an LED display, you can use three ways to make it fit:
- Resizing – shrinking the image to fit on the display
- Cropping – selecting only a portion of the image to be displayed
- A combination of the two
RESIZING—Not Recommended
The least desirable option to import an image (or video) into Content Studio is to resize the file within the software. Essentially you are combining many extra pixels into one, resulting in a loss of detail and usually morphing the picture into something that looks unnatural.
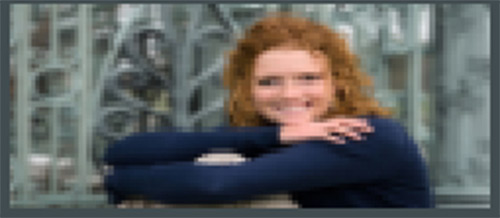
The larger the original image, the more pixels are needed to fit onto the available display matrix. Below, our example image was simply resized from 300H x 500W to fill our Galaxy display size of 48H x 112W.
Here’s a closer look to show the loss of detail:
Notice two visible differences from the original image. The first and most obvious difference is how the picture seems blurry or pixilated. Individual pixels that make up the image are now visible.
Due to the limited number of pixels on a Daktronics display, pixilation is unavoidable; however, the gradation, or difference in color between adjacent pixels, plays a large role in making the image look great.
The other difference is that the aspect ratio of the original image has changed, making the image look unnatural. This is a result of stretching the photo to fit the 48 x 112 frame.
CROPPING—More Acceptable
A more acceptable way of fitting an image into the correct display size is to crop the image. Cropping simply means selecting a 48 x 112 pixel area of your original image and removing the rest.
Below is an example of cropping the original image.
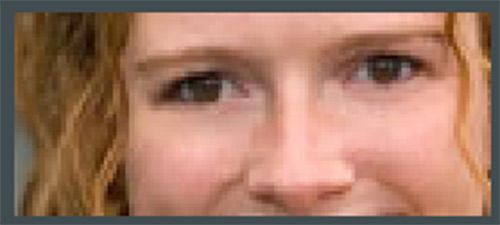
Let’s take a closer look:
The downside to this approach is that only a small area of the original image can be used. On the brighter side, you will notice that the image still maintains its original aspect ratio and the image keeps a lot of its quality.
RESIZING AND CROPPING–Recommended
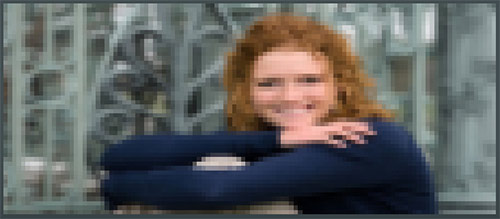
The best approach is to find a compromise between resizing and cropping that will give us the benefits of both. This is done by resizing the image first, keeping the aspect ratio, and then cropping, sometimes performing both simultaneously. Below, we see our example image that has been both resized and cropped:
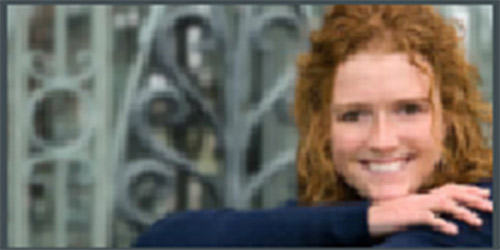
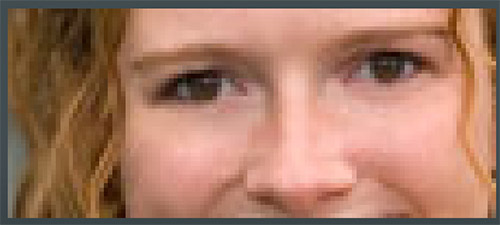
Let’s take a closer look:
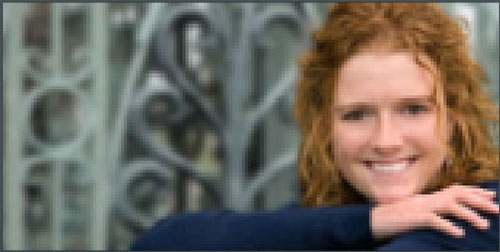
Here we have resized the image to include more of the subject, but have also cropped to reduce the amount of detail. The result is an image that will look great on your Daktronics display!


