
Creating Outstanding Headshots in Content Studio with an Online Photo Editor
This will be our final post in the series about creating a headshot that will draw audience attention to your message. Today we are going to look at how to resize and crop for the best results using a combination of the online photo editor Pixlr and the Venus 1500 Content Studio. Use Pixlr to […]
10/1/2014
Categories: Venus 1500 Training
This will be our final post in the series about creating a headshot that will draw audience attention to your message. Today we are going to look at how to resize and crop for the best results using a combination of the online photo editor Pixlr and the Venus 1500 Content Studio.
Use Pixlr to Resize and Save the Photo
I’m going to use the same example photo of the redhead I’ve used in our past two posts. I click on http://pixlr.com and launch the PIXLR EDITOR. The next screen provides options:
- Choose Open image from computer.
- Browse to the image you want to resize.
- Click Open.
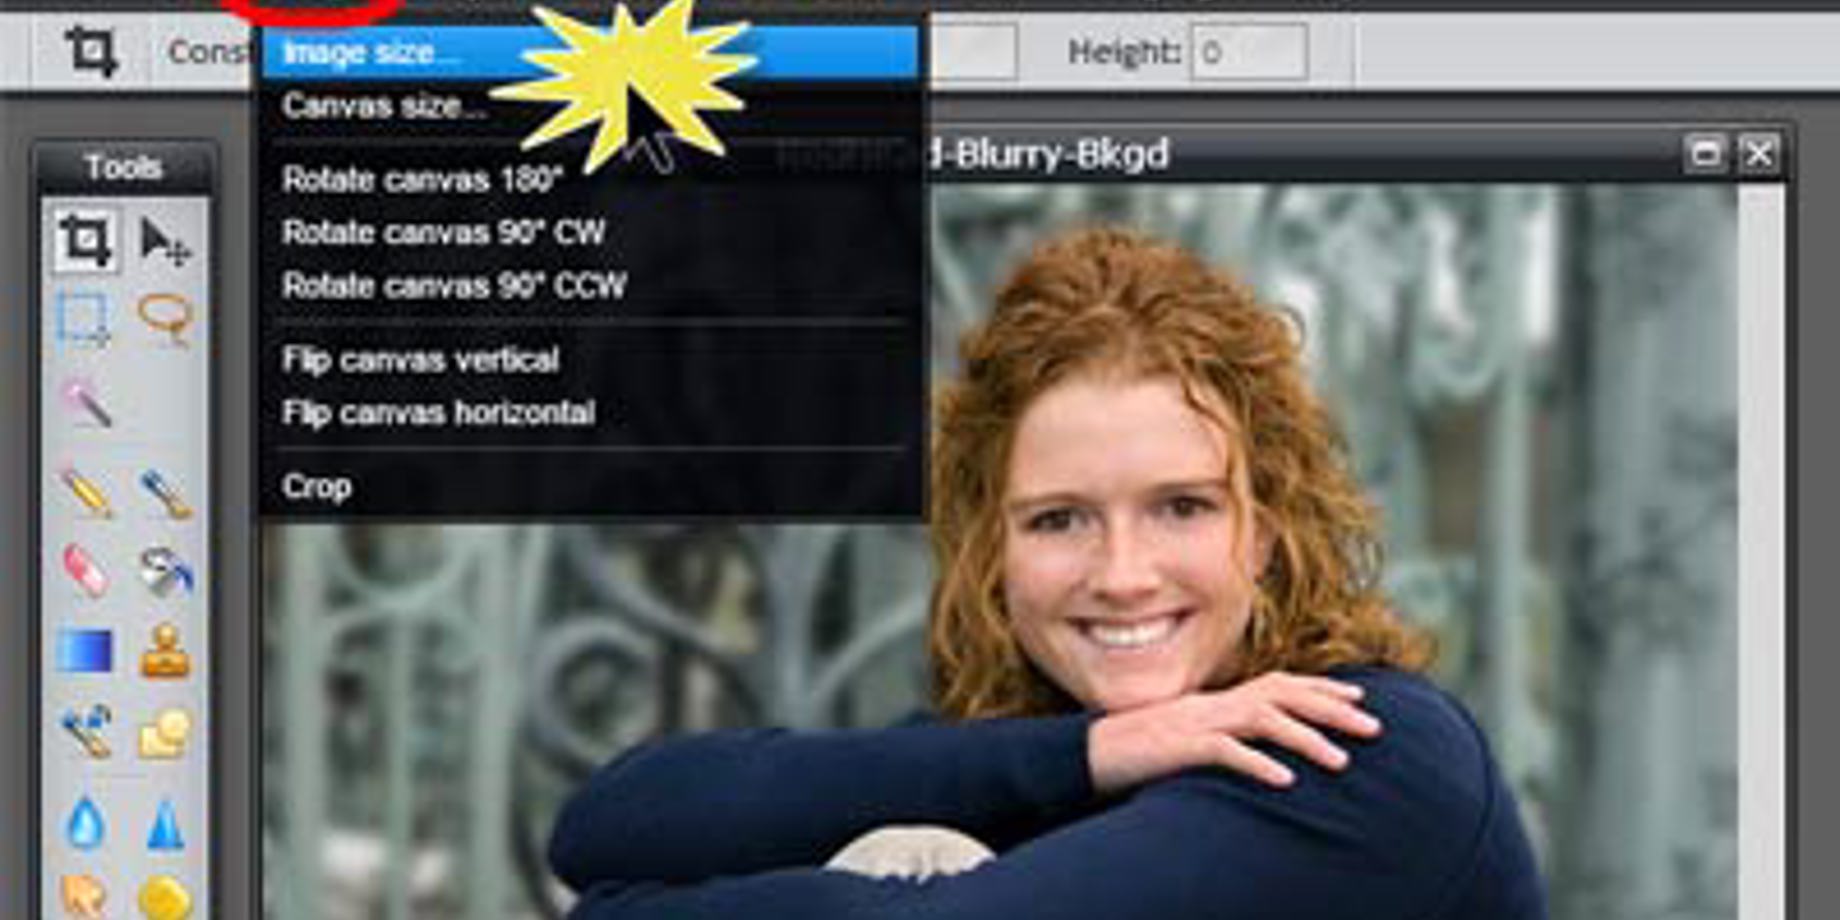
- Next, click on Image in the black bar across the top.
- Select Image size…
![Using the photo editor Pixlr to resize a photo]()
Using the photo editor Pixlr to resize a photo
The Image Size window opens showing me the Width and Height of my original picture. I can see our image is 300 H x 500 W.
Notice the check mark in the Constrain proportions box. I want to make sure the checkmark stays there – this keeps the picture from being distorted.
![Make sure Constrain proportions is checked.]()
Make sure Constrain proportions is checked.
My display is 48 pixels high x 112 pixels wide. Best practices tell me that I’ll see best results if the image is no larger than 3 times the dimensions of the display:
48H X 3 = 144
112W X 3 = 336When I enter the width into Pixlr, it automatically puts in the new height for me. That’s why I kept the Constrain proportions box checked. Clicking OK will resize my picture.
![Saving a resized photo in Pixlr]()
Enter the width and the height will autopopulate
Now all I have to do is save it by going to File – Save. The Save image window will open. Pixlr is going to bring in the same name as my original image. Since I don’t want to overwrite the original, I like to just enter in the word “resized” at the front, so I can identify the newly saved image. I click [OK], then choose where to save the new picture.
![Saving a resized photo in Pixlr]()
Saving a resized photo in Pixlr
Content Studio
Now I’m ready to move into Content Studio by launching a new window. I go to the Quick Insert area, then Media Item, then Picture and browse to my resized photo. I click Open.Now I’m looking at the Image Import window. I take a closer look at the bottom of the window to the Crop Tools area. I locate the icon to select an area that matches the display dimension – it looks like a display with arrows just to the left of the percentage box.
![Selecting an area that matches the display dimension in the Crop Tools area]()
Selecting an area that matches the display dimension in the Crop Tools area
When I click that icon, it adds a representation of the display (in our example, a 48 x 112 display) on top of the picture. I can see that the picture is larger than the display, but I’ll fix that in just a second.
I see Image properties on the right showing the area I have selected just now is 112 W and 48 H. The bottom right dimensions are of the original picture, 336 W and 202 H.
![The Image Import window shows the selected area (top) and original photo dimensions (bottom).]()
The Image Import window shows the selected area (top) and original photo dimensions (bottom).
Now I’m going to shrink our picture down a little to fit the 48 x 112 window. I do this by sliding the bar next to the percentage box. Sliding to the left will reduce the size of the picture. I’ll play around with this for a bit, but basically I’ll make the picture smaller, then move the 48 x 112 window around by grabbing it with the left mouse.
![Resizing the photo and moving the display window]()
Resizing the photo and moving the display window
Note in the screenshot, my percentage has changed – that’s because I moved the slider bar to the left. Once I have my picture positioned in the window just the way I want it, I click the Import button.
![Import the resized photo.]()
Import the resized photo.
That’s it! Ready to try it yourself?


