
Importing a Video/Animation as a Still
This week we’ll show you how to choose a video/animation frame and import it as an image into your layout. You might be asking yourself, “Why would I ever want to do such a thing?” Don’t worry, I will explain why someday you might want to do this! Let’s say that you have an animation or […]
Daktronics Commercial Software Training on 5/14/2015
Categories: Venus 1500 Training
This week we’ll show you how to choose a video/animation frame and import it as an image into your layout. You might be asking yourself, “Why would I ever want to do such a thing?” Don’t worry, I will explain why someday you might want to do this!
Let’s say that you have an animation or a video playing, and at the end of the video you want a message that stays up for a few seconds. You don’t want the message to show up during the video, which could detract from it, or put the message on a different layout that doesn’t exactly match it. So, how can you create a smooth, unnoticeable transition from the video to your message?
Simply take the last frame (or any frame you desire) from that video, insert it into a layout, and type your message on it. Another reason could be that you like a certain part of a video/animation and want to take a snapshot of it to use in a layout, rather than playing the entire video.
In order to do this, you will need to go first to the Content Tab in the Venus 1500 Hub and click on the Create button. That will open Content Studio where we will do all of our work.
Once you are in Content Studio, go to the Quick Insert panel on the Home Tab and select Media Item, and then Picture. I know we are importing a video/animation, but we have to choose the Picture option in order to take a still from a video.
Now you can browse your entire computer for a video/animation to import, or even import an animation from the Daktronics Media Kit by browsing to the following locations:
- Windows XP – C:\Documents and Settings\All Users\Shared Documents.
- Windows Vista, 7 or 8 – C:\Users\Public\Documents\My Daktronics.
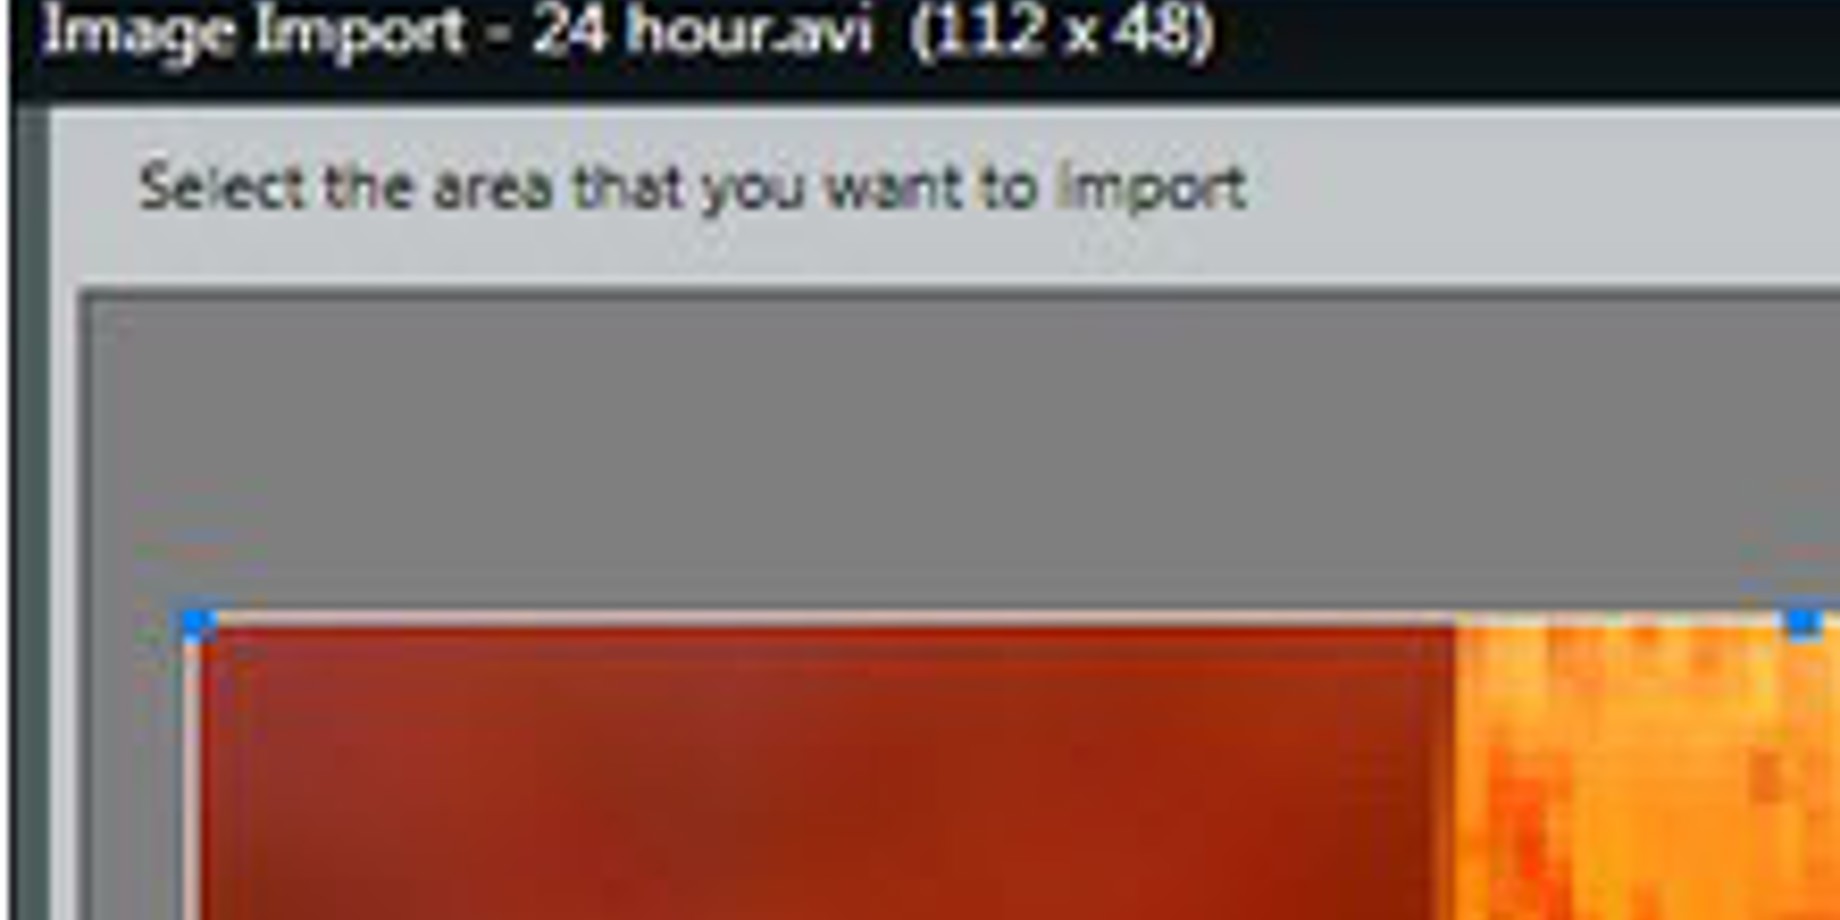
Once you select your video/animation by double-clicking on it, or highlighting it and clicking Open, you will be taken to the Image Import window.
Here, click on the Video Timeline tab on the bottom of the window and drag the yellow triangle to the time you desire. The image you now see will be the frame that is imported as a still.

Remember, if you are placing this still after a video/animation as mentioned earlier, then you will drag the yellow triangle to the same time as the last frame of the video.

Be sure to re-position the video frame so that it aligns with the end of the video and creates a seamless transition, particularly if you are using only a portion of the video/animation or importing a video/animation that is larger than your display dimensions. You can do this by following these steps:
- Click on the Crop Tools tab, then click the Crop To Display icon and select a portion of the video.
- Mouse over the top left corner handle (blue square) and drag to re-size.
- Hold down Ctrl on your keyboard; left click and drag to the edge of video.

Finally, click the Import button and add text or edit as needed before saving and publishing to your display.
Thank you for reading this week’s blog article and please check out our previous articles for tons of useful information to get the most out of your Venus 1500 software and your Daktronics display!
Related Knowledge Base Article: How do I import a still image or frame from a video in Content Studio?