
How to put text over images and videos in Content Studio
Welcome back to the Venus Control Suite blog! Last time we discussed the latest features in the Web Editor, which included adding shadows to text to help add depth and improve contrast in your message. Shadows aren’t the only way to add good contrast to your messages though, and if you read last week’s blog […]
Daktronics Commercial Software Training on 8/3/2016
Categories: Venus Control Suite Training
Welcome back to the Venus Control Suite blog! Last time we discussed the latest features in the Web Editor, which included adding shadows to text to help add depth and improve contrast in your message. Shadows aren’t the only way to add good contrast to your messages though, and if you read last week’s blog then you know what we hinted at…
Outlines
We recommend using outlines around any text that you enter into your message to make it stand out from the background. When using a colored background, outline the text in black for the greatest readability. If your font isn’t too small, try the 2-pixel outline to really make the text pop!
Like we mentioned last week, we suggest using Content Studio to add text over pictures or videos because it allows you to add outlines to your text. Outlines drastically improve the readability of your messages. Now, if you aren’t familiar with Content Studio, take a minute to read our Knowledge Base article titled, “How do I download Content Studio for Venus Control Suite?”
Trainer Tip: For those of you not familiar with Content Studio. it is our downloadable, standalone content editor. If you are looking for more creativity in building your content than what the Web Editor currently allows, then Content Studio is for you. After it has been downloaded to your computer you can launch Content Studio by going to the Media Library, clicking on the down arrow next to the blue Upload button, and choosing New Content Studio Presentation. Then login with the same username and password you use for Venus Control Suite. Enjoy!
Content Studio
Once you have Content Studio downloaded and/or updated, if necessary, you are ready to add text with outlines over images and videos. Applying an outline is easy; just follow the directions below:
- Import an Image or Video into Content Studio.
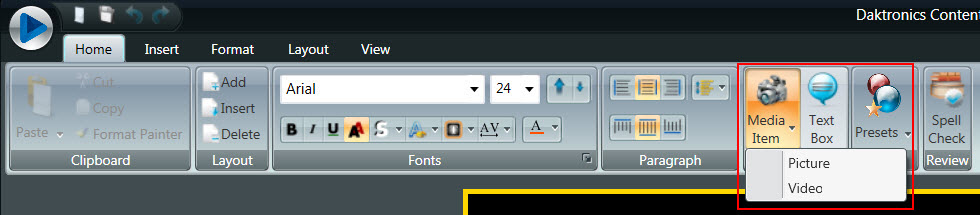
- Go to the Home Tab – Quick Insert – Media Item – then choose from Picture or Video.
![Home tab]()
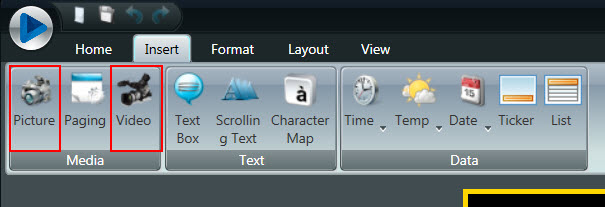
- Or go to the Insert Tab – Media – and then click on either Picture or Video.
![Insert tab]()
- Browse your computer until you find the Picture or Video you want to Import and either double-click it or highlight it and click Open.
- From inside the Import Window, click on the Import button.
- Go to the Home Tab – Quick Insert – Media Item – then choose from Picture or Video.
- Insert Text Box over Image or Video.
- Go to the Home Tab – Quick Insert – click on Text Box.
![home insert]()
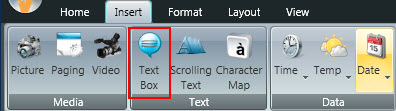
- Or go to the Insert Tab – Text – click on Text Box.
![insert text]()
- Then click and drag your text box onto the layout over your Image or Video.
- You will now see a blinking cursor that means you can type your message.
- Once you are finished typing your message, go ahead and click outside of the text box to see the green border appear. You can now click and drag your text box to a new location, click and drag the green squares to adjust the size of the text box, or apply formatting changes such as font type, color, size, or even add an outline.
- Go to the Home Tab – Quick Insert – click on Text Box.
- Add Outlines to Text.
- As long as you can see the green border of the text box, any formatting changes you make will only affect what is inside the text box.
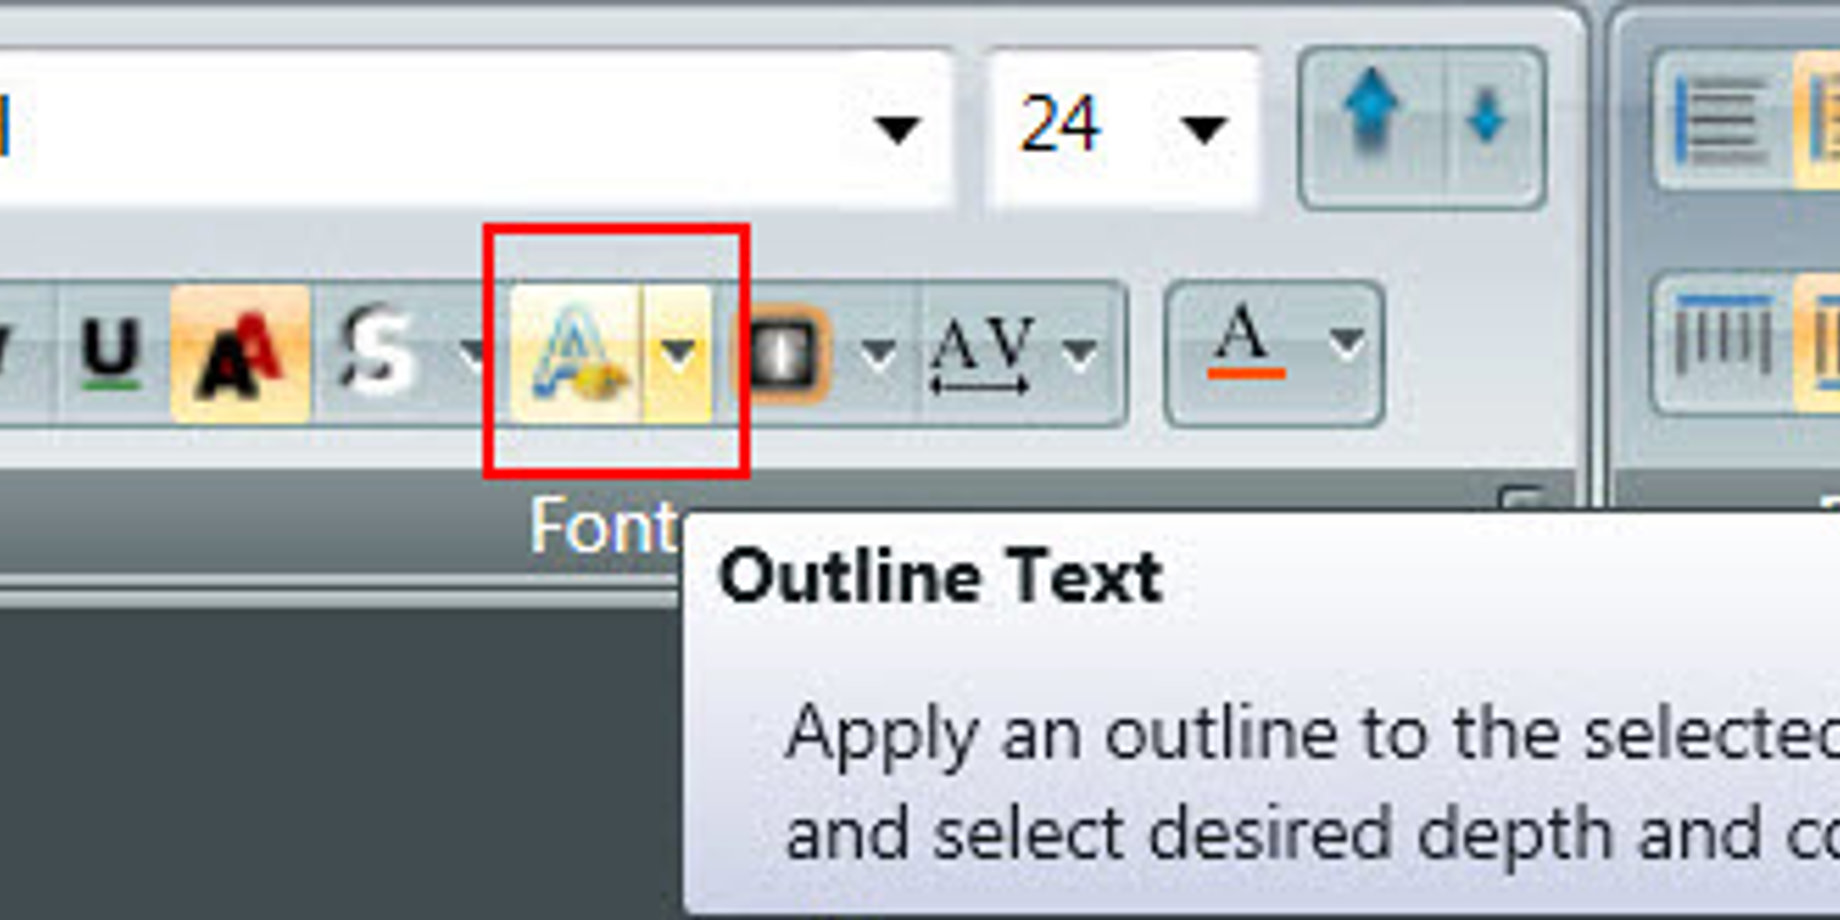
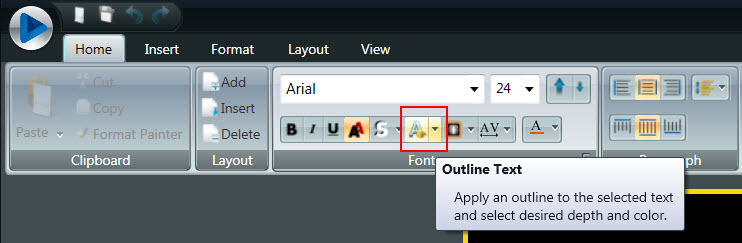
- Go to the Home Tab and click on the Outline Text drop down.
![Outline text]()
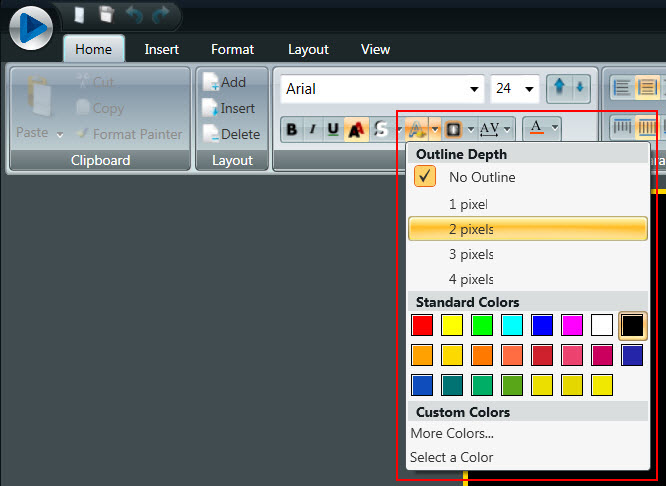
- Now choose your Outline Depth (we recommend 2-pixels) and your outline color. Typically, you want to go with a black outline for the greatest contrast.
![Outline depth]()
- Once you have your outline applied, be sure to preview your presentation. Then go ahead and Save by clicking the Application menu, choosing Save, and giving it a name.
![application menu]()


There you have it, folks! It was that easy! You just created an outstanding message with great contrast that passersby will be able to read easily. Messages with outlines stand out much more when compared to messages with no outlines. You can be sure that people will notice messages with outlines more.

Be sure to tune in next time when we show you how to import text over a video and have it appear at different times than the animation by using the Timeline! Don’t miss it!!
Like we always say, thanks for reading! Be sure to click on the orange “Receive Email Updates” button on the right side of your screen to subscribe to our blog so you never miss another post!