
Production Hacks: Green Screen DIY Lighting
Welcome back! Last week we went over the basics of how to create your own green screen on the cheap. This week, let’s dive into the key feature of making any green room work – the lighting. LIGHTS, CAMERA, ACTION! As with the green screen, you can take different routes with lighting. First, take a […]
12/8/2016
Categories: High School Sports
Welcome back! Last week we went over the basics of how to create your own green screen on the cheap. This week, let’s dive into the key feature of making any green room work – the lighting.
LIGHTS, CAMERA, ACTION!
As with the green screen, you can take different routes with lighting. First, take a look at what you have on hand and then make a list of what you still need. You never know what you have lying around until you look!
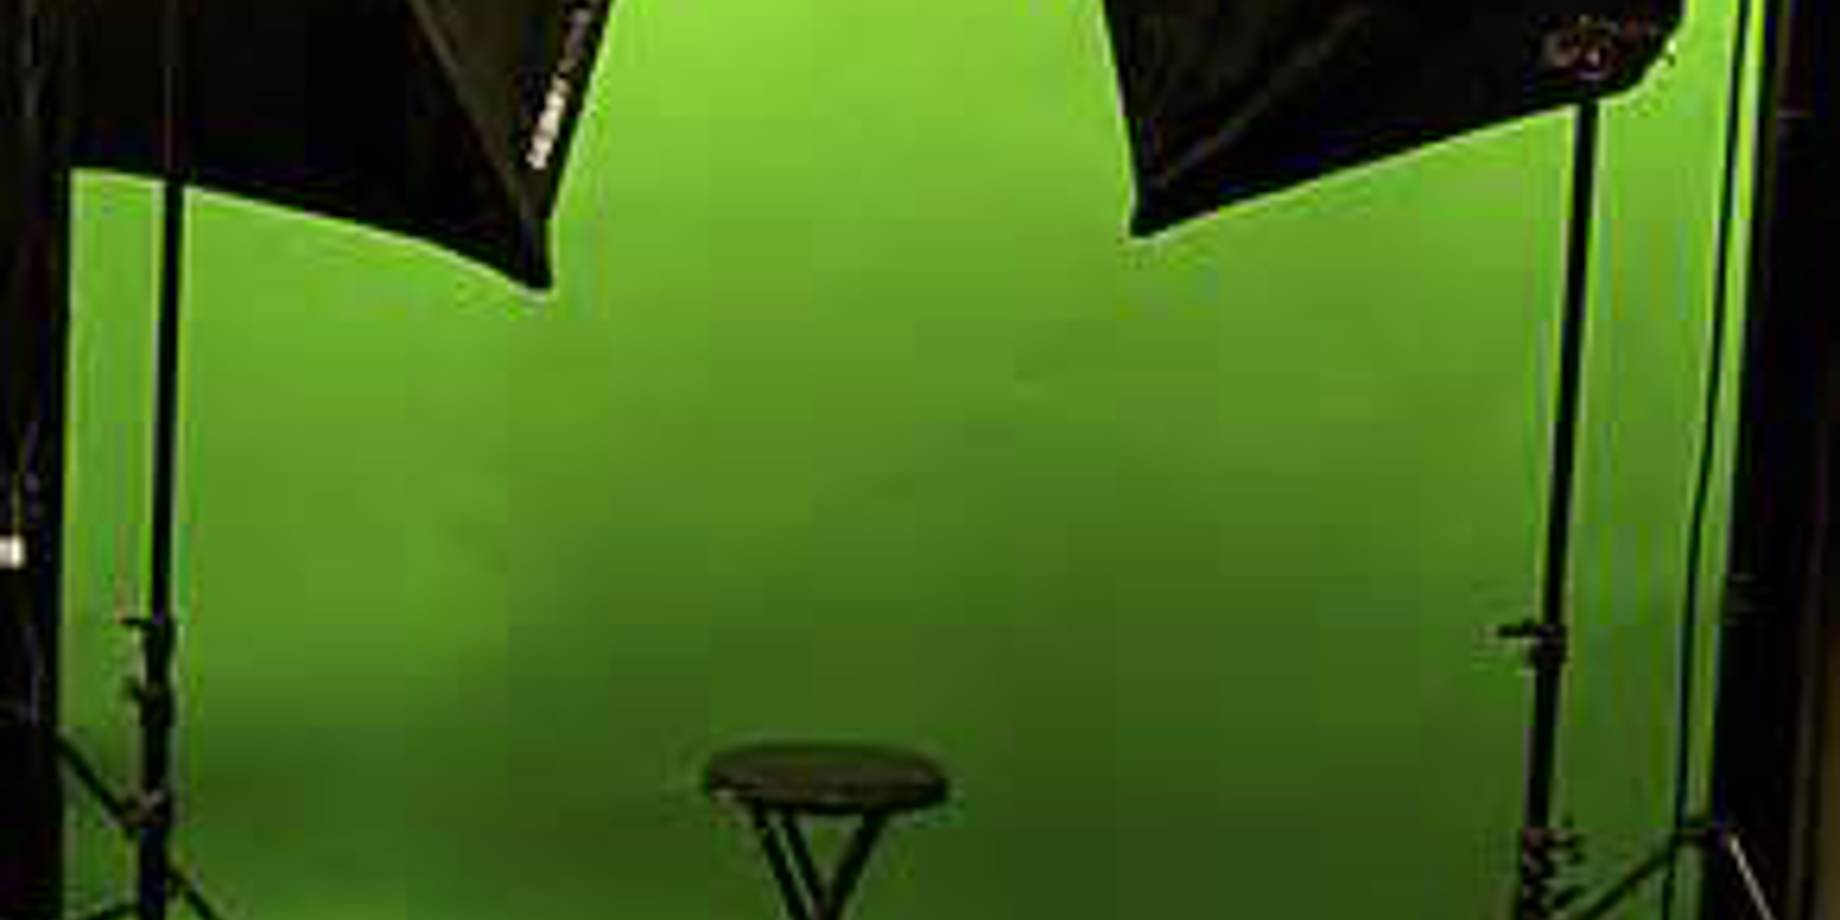
3 OR MORE LIGHTS
Instead of going out and spending a bunch of money on professional lighting, check out your local hardware store for shop lights and search online for a reasonably priced light stand.
- 2-48” (4ft) shop lights
- 2 standard 48” fluorescent tubes
- Photography light stand
- Compact fluorescent bulb
- Diffusion panel or diffusion material
Fill light – To begin, hang each light on either side of the green screen and tilt these toward the screen at a 45-degree angle. You might need to make some adjustments as to how high you need to hang the lights depending on your screen so that the light is even over the whole backdrop.
Back light – Now the photography light stand will be placed off to the side behind your subject. This helps define your subject’s edges and separates them from the green backdrop. You’ll want to angle this light so it just hits the head and shoulders.
Key light – Place another light in front of the subject if you don’t have enough light in the room. This is an optional step.
1 LIGHT
If you don’t want to worry about multiple lights, you can get away with one light, but you need to be more strategic with the placement of this one.
- 800-watt red head light or 2-500 watt construction lights
- Diffusion material
- Photography deflector
You’ll want to start by placing your light at least 6 feet away from the subject at a 45-degree angle so that you’re not washing out the subject’s face. Don’t forget the diffusion material! By clamping the diffusion material over the light, you’re softening any possible shadows.
*TIP: Do not substitute paper or any other inflammatory material – these lights get very hot.
On the other side, place your deflector – or have someone hold it in place. This reflector acts as a second light, spreading light onto the other half of your subject’s face. You’ll want the light and the deflector’s light shining so that the subject’s shadow is down below and not behind them.
POSITIONING
You will have to experiment with the distance between your subject and the green screen as well. Have them stand roughly 6-10 feet in front of the green screen for best results in post-production.
Give it a try and share your results with us below! Start looking at different green screen editing software applications that fit your needs the best – some are even free.
See what other schools are doing to create content for their video displays here.