
Using the Paging Feature Revisited
Last year we posted a series of blogs that revisited some of our most viewed articles. This year, we are going to start off 2018 with a similar post, and it’s all about paging. But before you get back into paging, be sure to check out previous posts from the “Revisited” series first! Planning Your […]
Daktronics Commercial Software Training on 1/3/2018
Categories: Venus 1500 Training
Last year we posted a series of blogs that revisited some of our most viewed articles. This year, we are going to start off 2018 with a similar post, and it’s all about paging. But before you get back into paging, be sure to check out previous posts from the “Revisited” series first!
- Planning Your Ad Campaign Revisited
- Choosing the Best Background Revisited
- Using the Timeline Revisited
- Venus 1500 Scheduling Tips Revisited
- Importing & Creating Headshots Revisited
We’ve talked about paging in two previous posts. The first post was back in May of 2015. In this post, we are going to refresh your memory and provide you with the benefits of paging. You ready?
Layouts Within Layouts: How to use the Paging Feature, posted on May 20, 2015
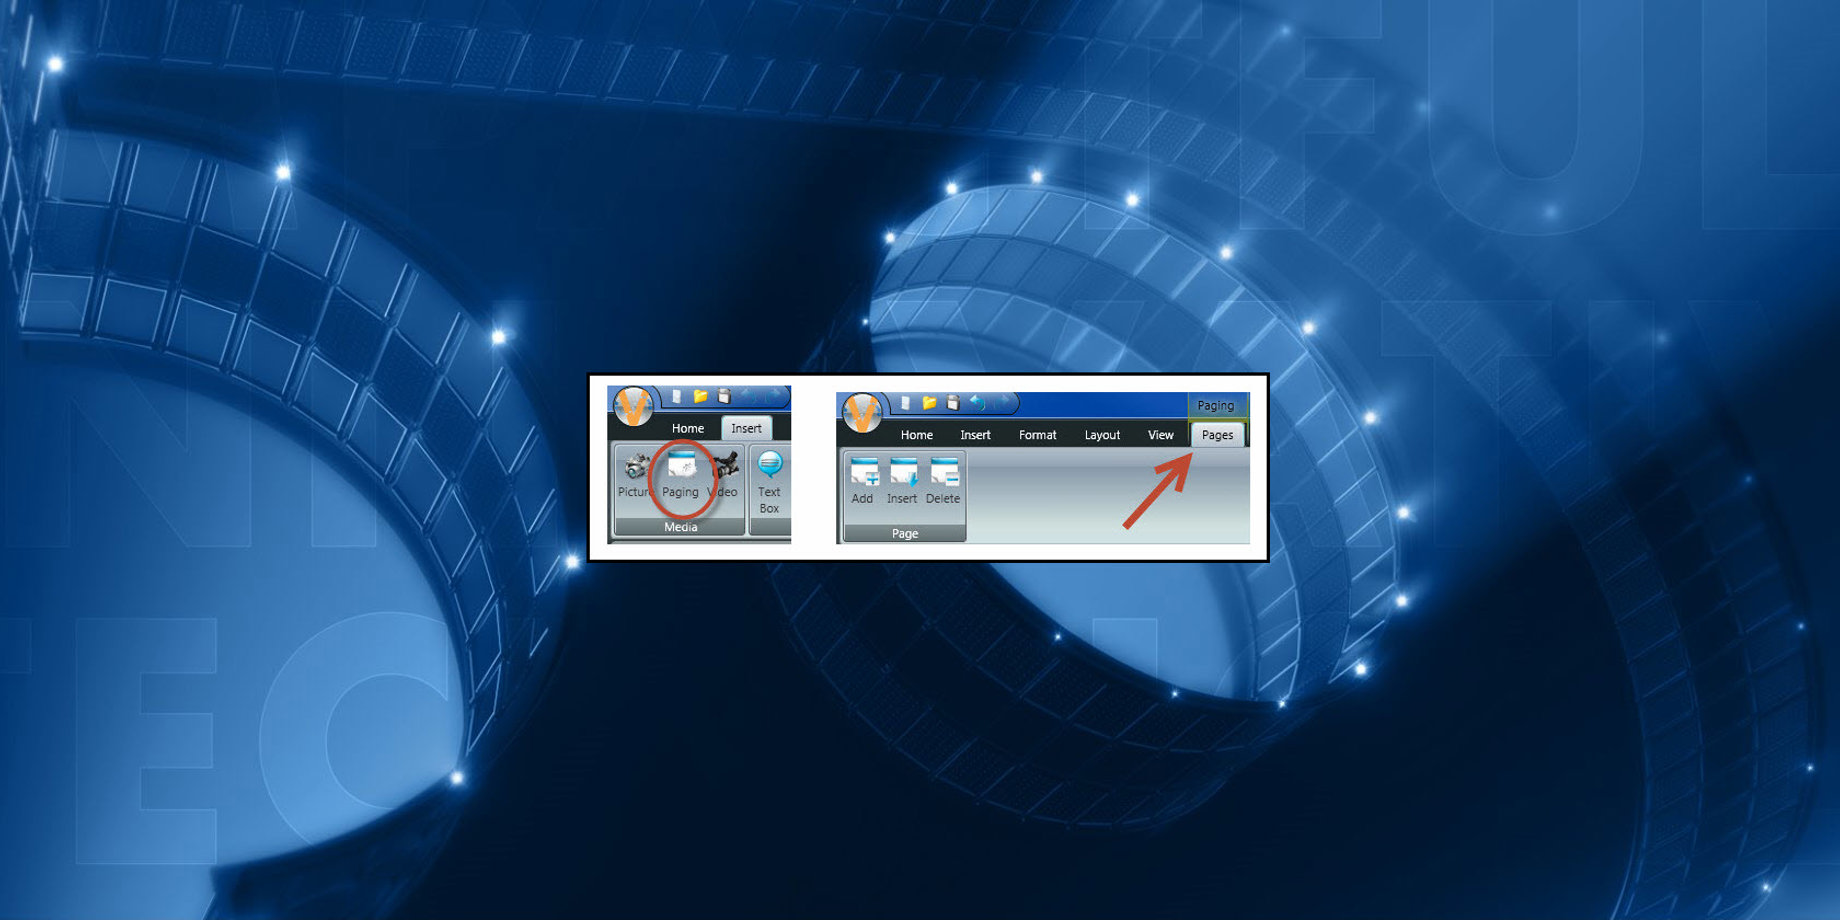
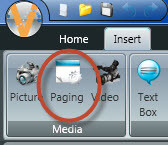
Paging is a very useful tool found in the Insert Tab. It allows you to create multiple pages within the same layout. You could use this for announcements, daily specials, event calendars, awards and honors, and other promotions. Basically, it lets you play multiple ads in the same layout, with a static message next to those ads.

When you think of paging, try to think of it as the title reads; Layouts within layouts. You can import multiple pictures or type in multiple messages in your pages and they will each show up in the same layout while the static message stays the same.
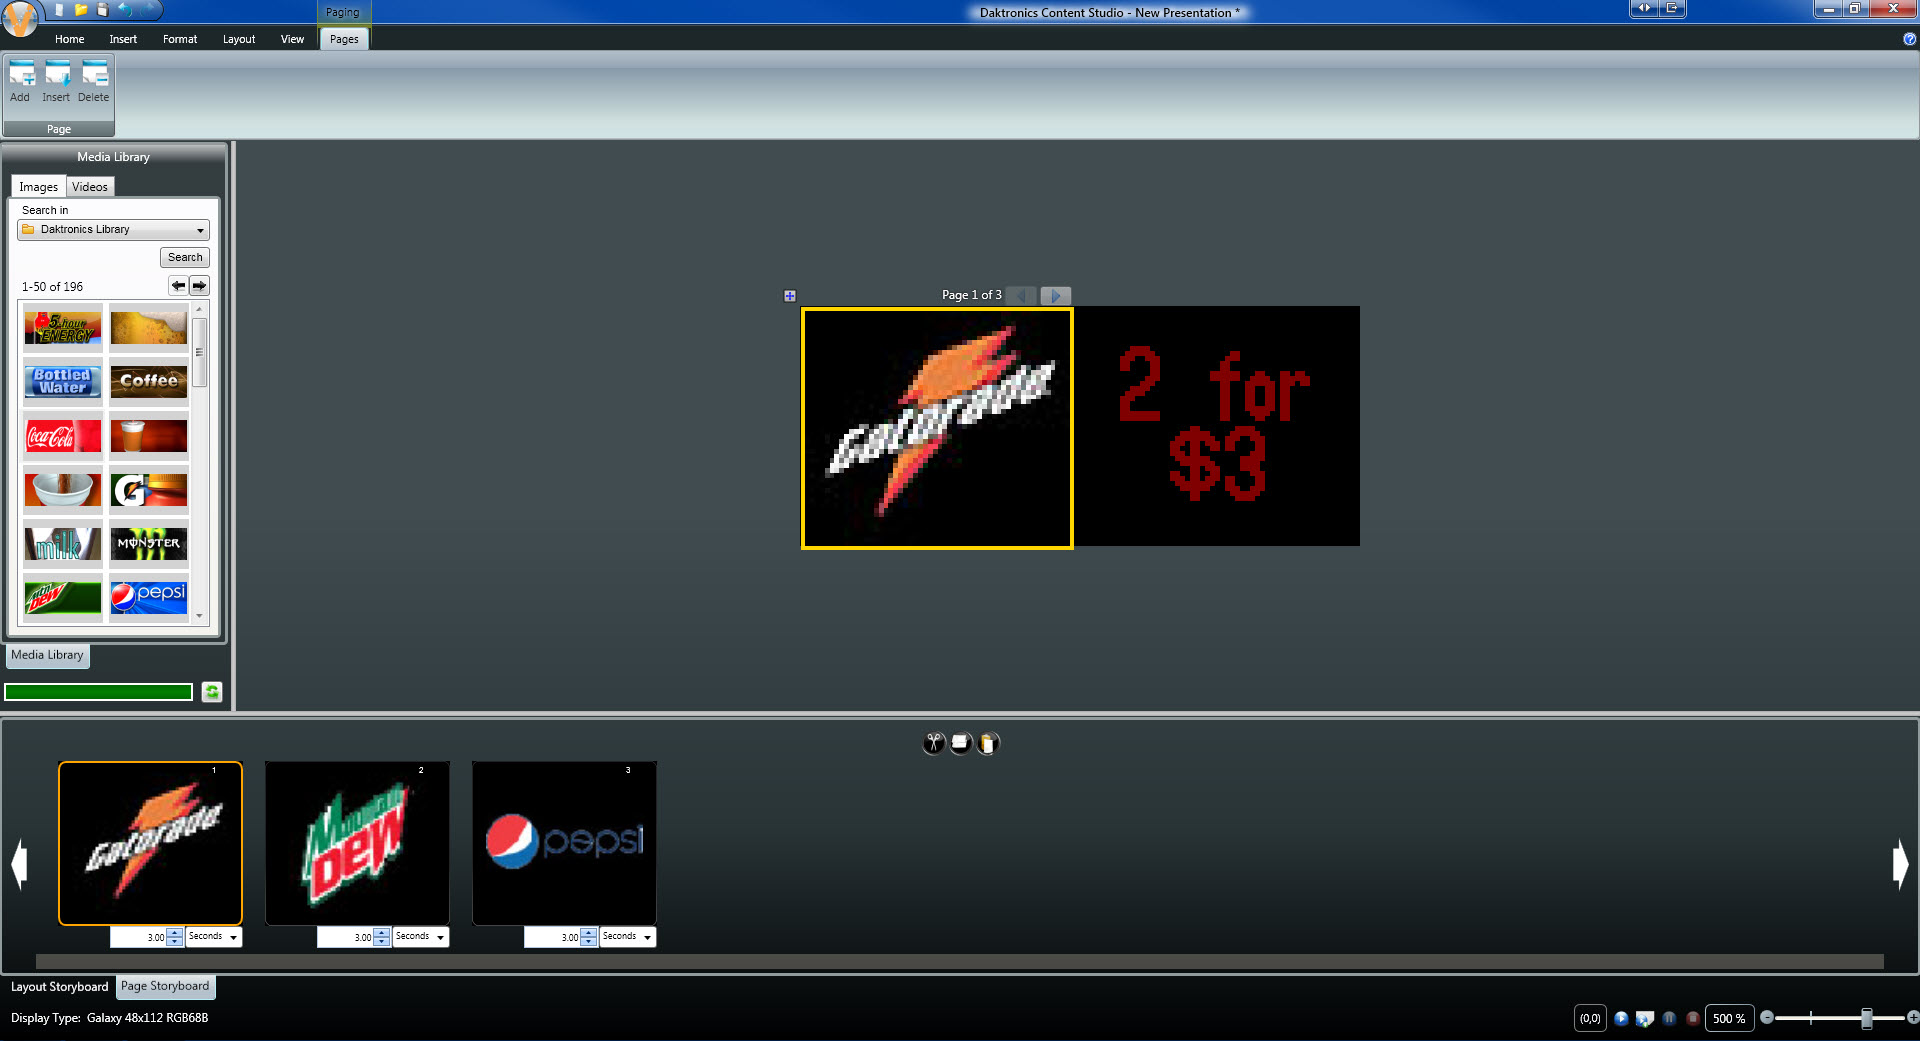
This makes creating presentations quicker, easier and more manageable when you need to edit them down the road. Instead of having to sort through three different layouts or presentations, you can open one single layout within your presentation, make the changes you need and save.
To read the full article, please click the following link: Layouts Within Layouts: How to use the Paging Feature
Back to Basics: Enable the Timeline, posted on April 5, 2017
The second time we mentioned paging was during our “Back to Basics Series.” In this series we reviewed many of the basic settings and uses in Venus 1500 Version 4 that are often overlooked or forgotten. We highly recommend checking out this series when you have time.
- Back to Basics: Registering Venus 1500 V4
- Back to Basics: Downloading the Daktronics Media Kit
- Back to Basics: Playlist Modes
- Back to Basics: Enable the Timeline
- Back to Basics: Doing a Database Transfer
If you have any other topics that you would like us to get back to basics on, then please let us know! We truly do appreciate your feedback!
Now, back to paging! The reason we are including this post while revisiting the Paging feature is because enabling the Timeline makes paging even better!
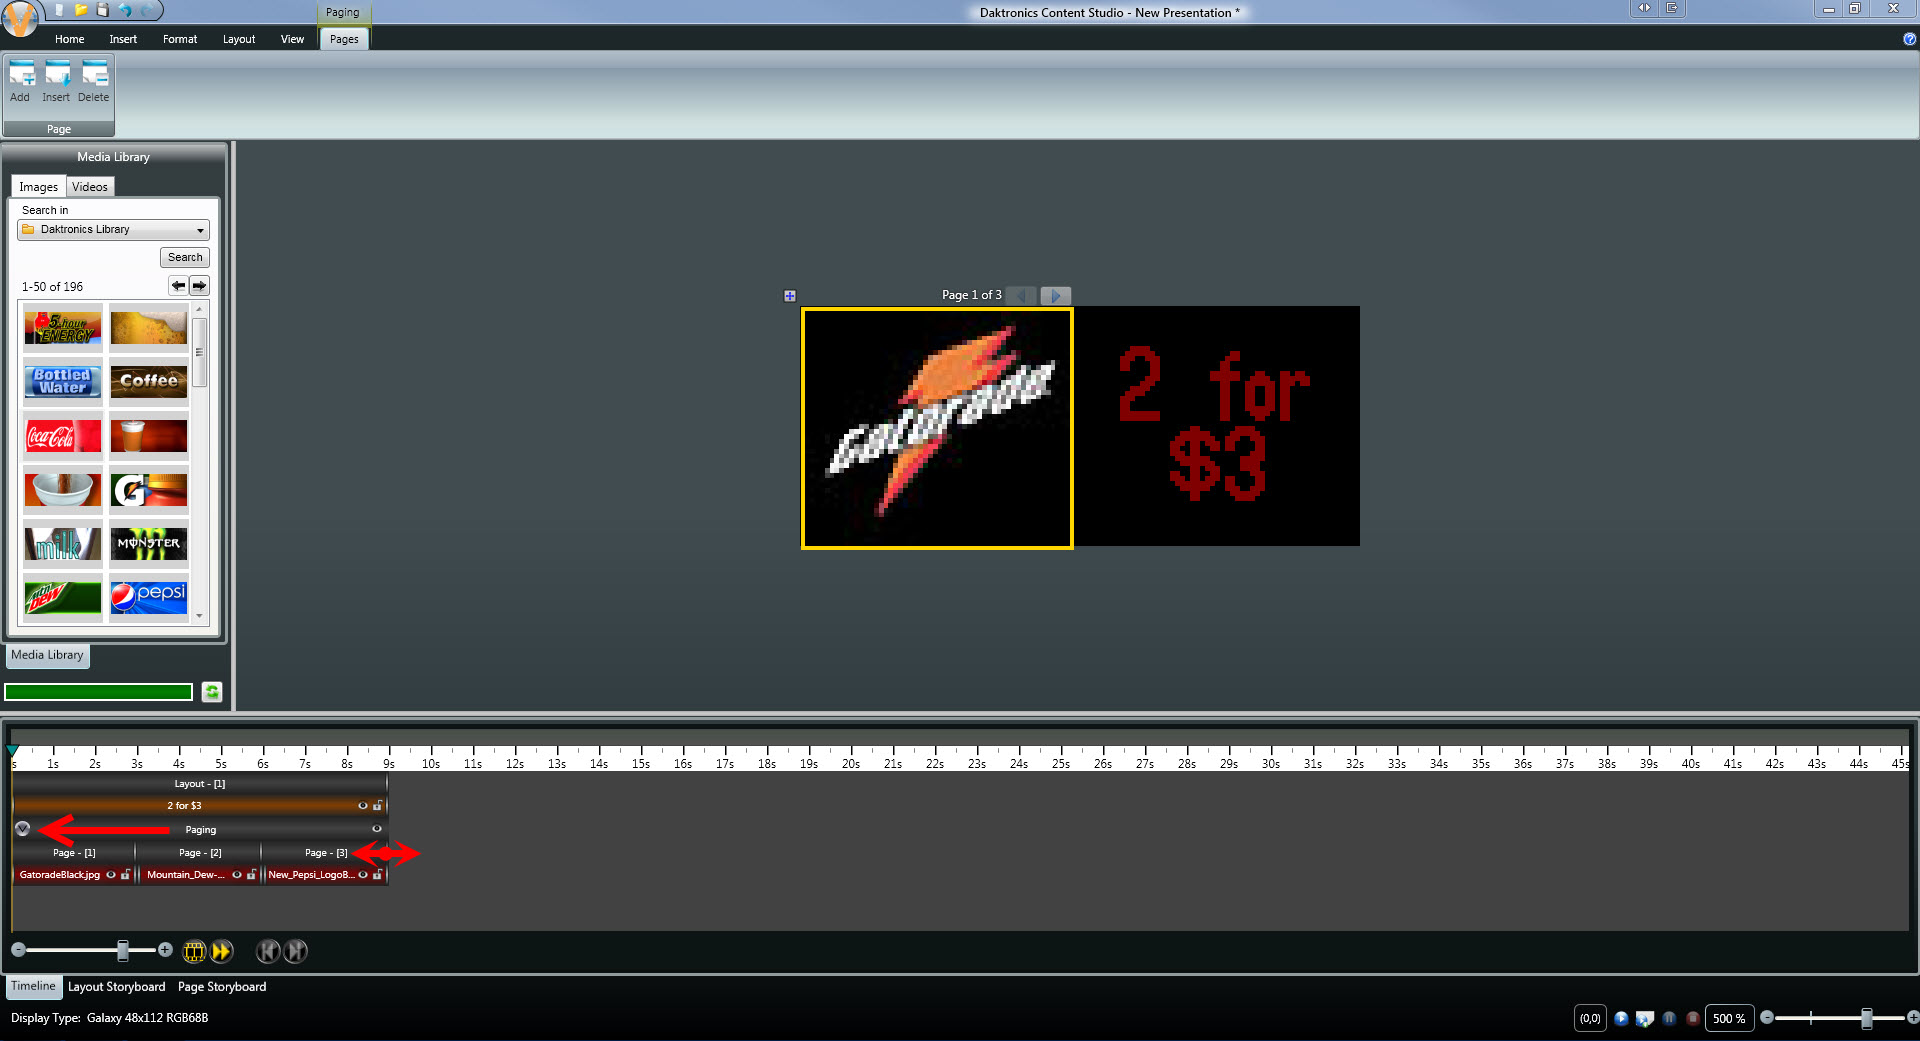
You see, when you enable the Timeline Tab, your pages will appear as an element bar within the Timeline. Clicking on the silver arrow on your paging element bar allows you to see each page and each element contained within those pages. By hovering your mouse over the white edge(s) of the element(s) you can drag and drop to adjust their duration. This comes in very handy when you want to schedule each or all of your elements to play for specific durations on your display!
To read the full article, please click the following link: Back to Basics: Enable the Timeline
We hope you found this review helpful and that you find it useful in your content creating endeavors. Like we always say, thanks for reading! If you do enjoy our blog, be sure to click on the orange “Receive Email Updates” button on the right side of the page to subscribe. Thanks again!!