
Keeping Tabs on Your Tabs: The Schedule Tab (Venus 1500 Hub)
Today, it is finally time to talk about the final tab found in the Venus 1500 Hub, the Schedule Tab. As its name implies, from the Schedule Tab you send your uploaded and created content out to play on your display. We have previously posted about scheduling in our series on “Scheduling Tips.” We explain how […]
Daktronics Commercial Software Training on 1/31/2018
Categories: Venus 1500 Training
Today, it is finally time to talk about the final tab found in the Venus 1500 Hub, the Schedule Tab. As its name implies, from the Schedule Tab you send your uploaded and created content out to play on your display.
We have previously posted about scheduling in our series on “Scheduling Tips.” We explain how to use all the different available scheduling features in the Schedule Tab. If you haven’t had time to read those posts already, we highly recommend you do so now, as they contain very helpful information!
- Venus 1500 Scheduling Tips, Part 1: Playlist Features
- Venus 1500 Scheduling Tips, Part 2: Scheduling Past Midnight
- Venus 1500 Scheduling Tips, Part 3: Emergency Messages
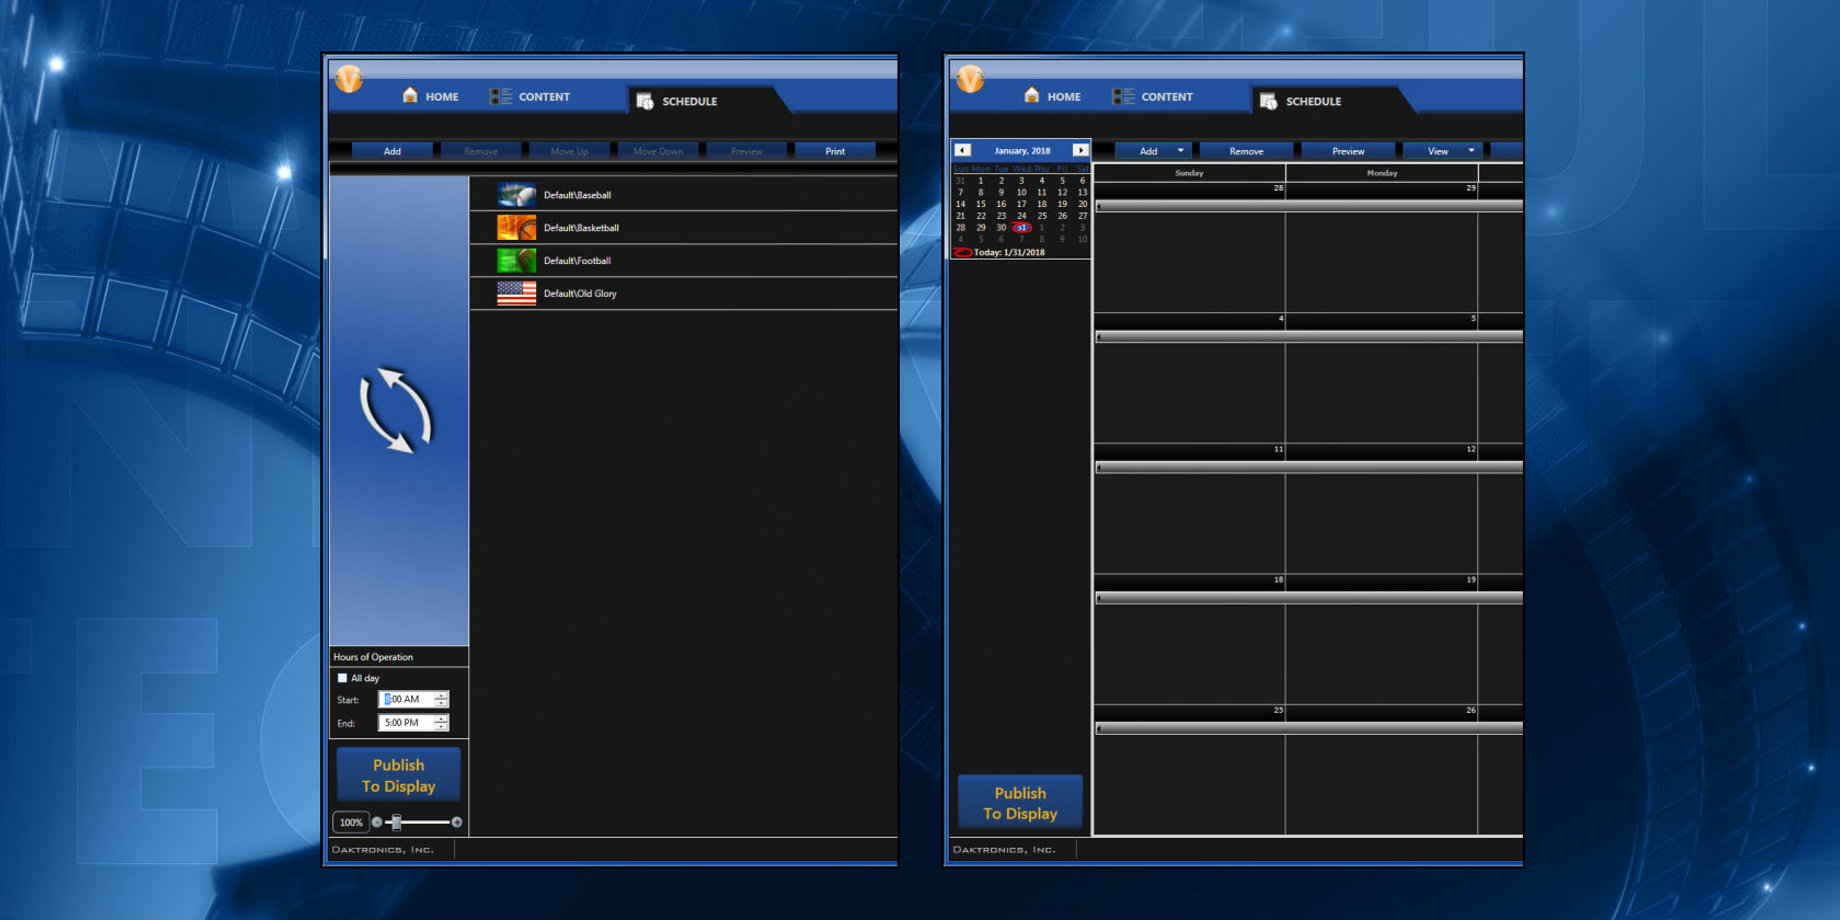
As for today’s post, we will be giving you a tour of the Schedule Tab with the hopes that you learn something new and helpful that you didn’t know before! The Schedule Tab is located to the right of the Content Tab in the top left quadrant of the Venus 1500 Hub.
When in Continuous Playlist Mode
When you first download and install Venus 1500 V4 onto your computer, you will see a large, blue area on the left side of the Schedule Tab containing 2 arrows. This indicates that you are in Continuous Playlist Mode. Continuous Mode is the default setting for your Playlist Mode. It allows you to create one single loop of content to play on your display during the Hours of Operation you set.
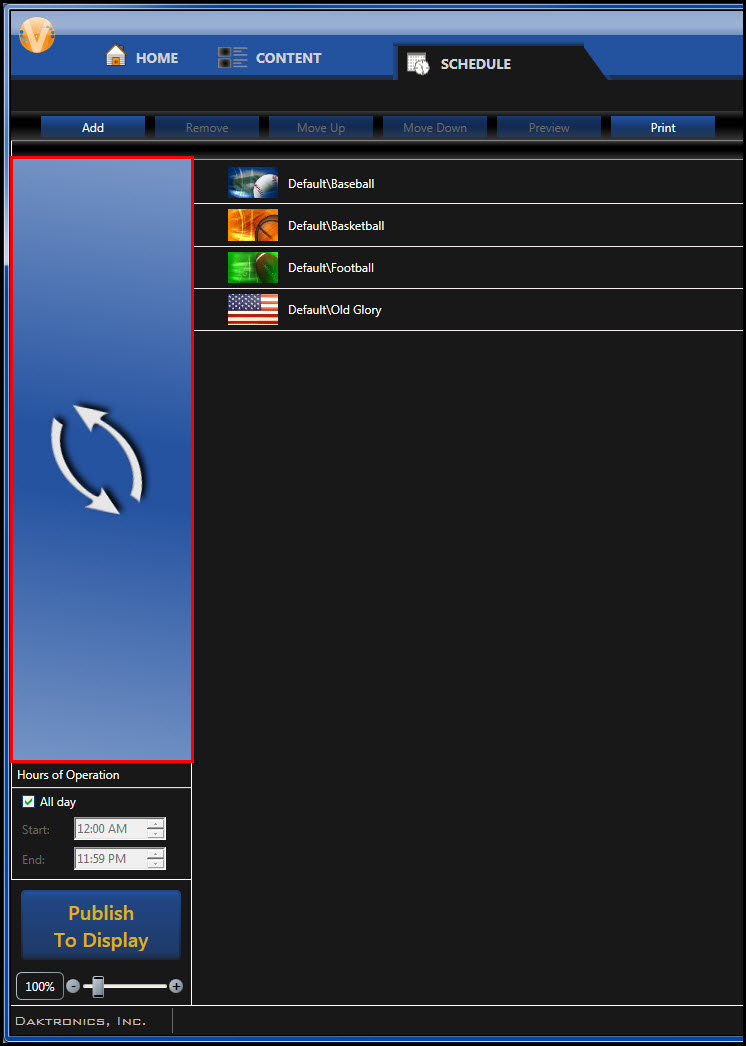
Speaking of which, find the Hours of Operation directly below the large, blue area on the left side of your screen. A checkmark next to “All Day” means your loop of messages will play all day, every day, 24/7. If you remove the checkmark next to “All Day,” you can adjust the daily Start and End Time to whatever you desire. Just remember that your display will be blank when the time is outside of the hours you set.


Below the Hours of Operation, find the big, blue Publish To Display button. When you add or remove anything to or from your loop of messages, you need to click the Publish To Display button. Clicking this button sends out new messages to your display and removes old messages after you add or remove them from your loop. If you don’t click on it, nothing will change on your display.

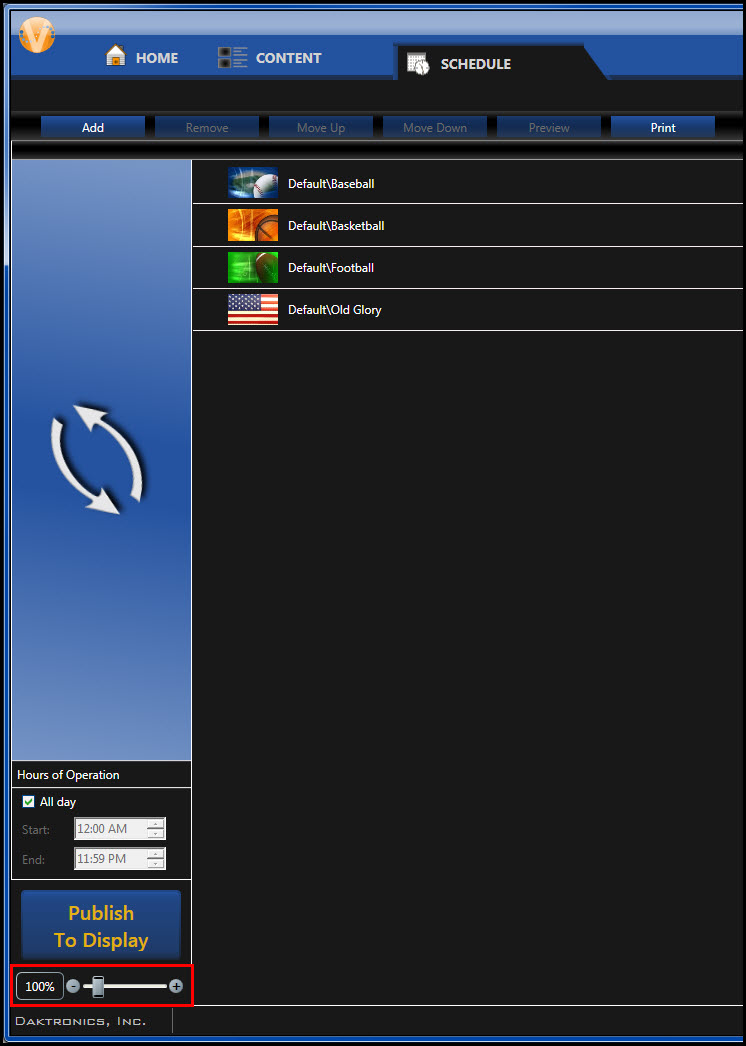
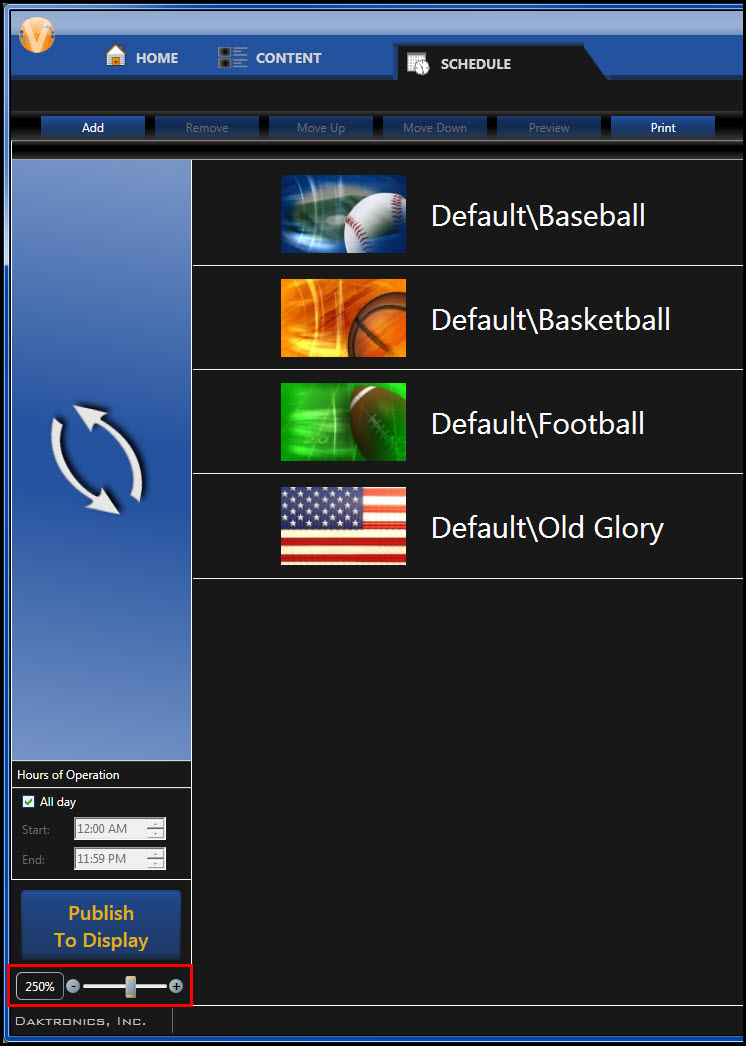
Tucked away under the Publish To Display button is the Zoom Slider. You can click and drag to move the Zoom Slider right or left to increase or decrease the appearance of your presentation list. To put it simply, it will make the thumbnails of all the messages in your loop larger or smaller. This is just a personal preference to make things easier for you to see, or so you can see more thumbnails on your screen at one time.
As long as we’re talking about Thumbnails, let’s take a look at what you can do with the thumbnails in your presentation list. If you click on a single thumbnail, it will be highlighted in blue and two little arrows will appear to the left of it. The up and down arrows allow you to move presentations around if you wish them to play in a different sequence on your display.

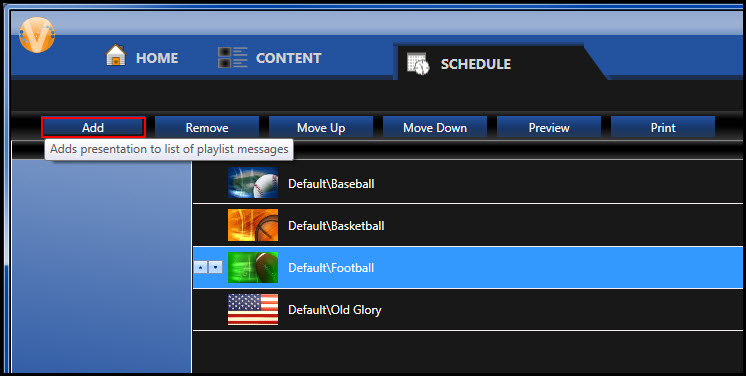
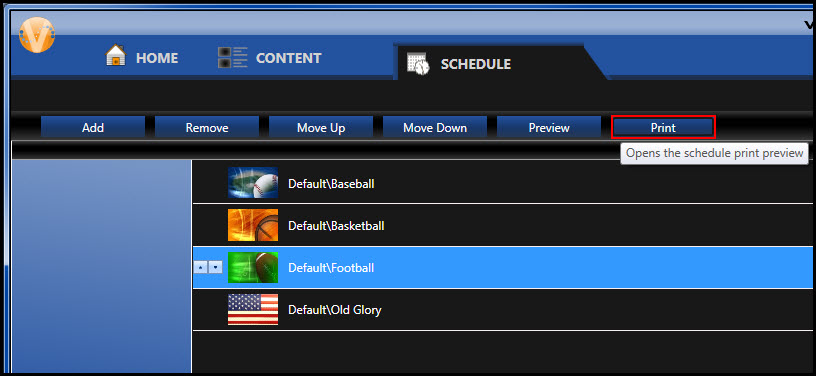
Highlight thumbnails so you can click on several buttons towards the top of the Schedule Tab that would otherwise be grayed out. These buttons from left to right are “Add,” “Remove,” “Move Up,” “Move Down,” “Preview,” and “Print.” Those descriptions are 100% accurate, but just to clarify, let’s go over each button individually.
Add: Click to see all your presentations and choose which one(s) you want to add to your presentation list.
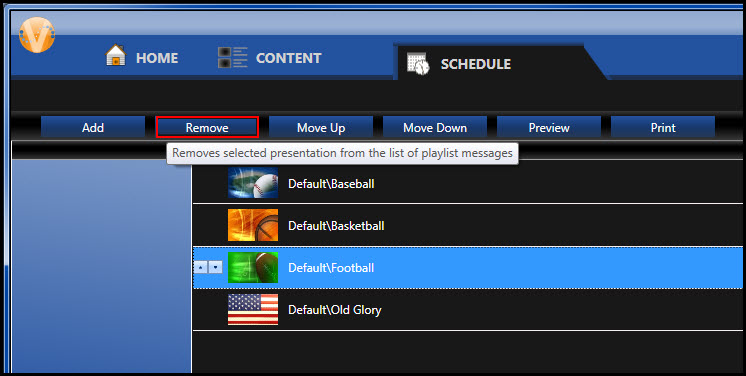
Remove: Click to remove highlighted presentation(s) from your presentation list so they will no longer play on your display. Remember, you still have to click Publish To Display!
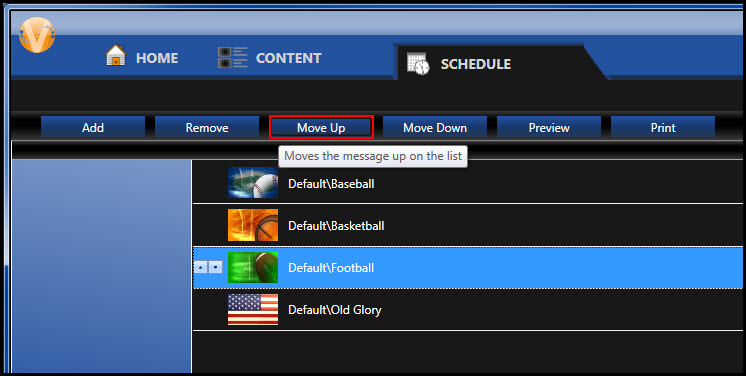
Move Up: Click to move the highlighted presentation up one spot in your presentation list.
Move Down: Click to move the highlighted presentation down one spot in your presentation list.

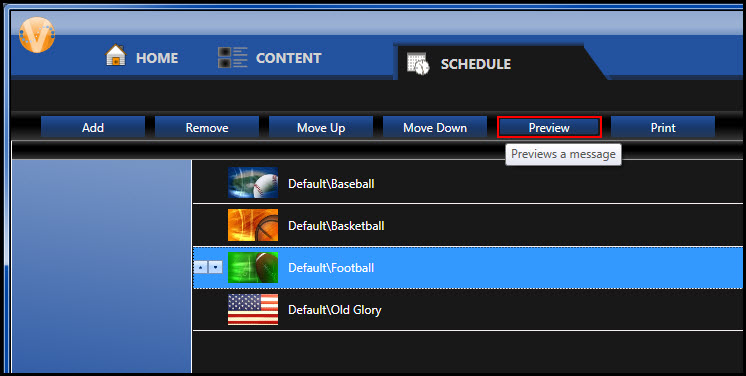
Preview: Click to watch a preview of the selected presentation as it will appear on your display.
Print: Click to open a Print Preview window that allows you to print your schedule. You can choose the Start and End Date and whether or not thumbnails and Play Order are included in the printed schedule. You can even choose to print a document (i.e., a PDF file) in case you need to email the schedule to someone!
Trainer Tip: If you have more than one presentation highlighted at the same time in your presentation list by holding down Control on your keyboard, only “Add,” “Remove,” and “Print” will be available options.
When in Scheduled Playlist Mode
If you are in Scheduled Playlist Mode, then your Schedule Tab will look much, much different. To learn more about why and how to switch to Scheduled Mode, check out the blog below!
Now that you know all about the different Playlist Modes and why you might want to use one instead of the other, we can move on to talking about what the Schedule Tab looks like in Scheduled Playlist Mode.
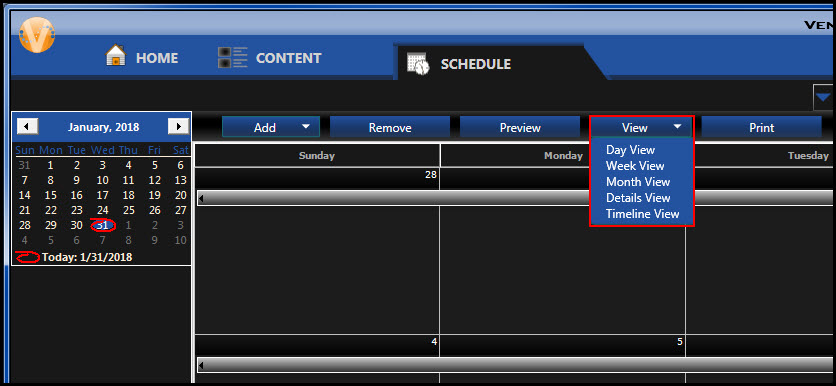
Once you are in Scheduled Mode, you will no longer see a large, blue area on the left side of your screen. Instead, you will see small calendars, one of which will have the current date circled in red. You can click on any date on the calendar, and it will highlight the corresponding date in your schedule view.
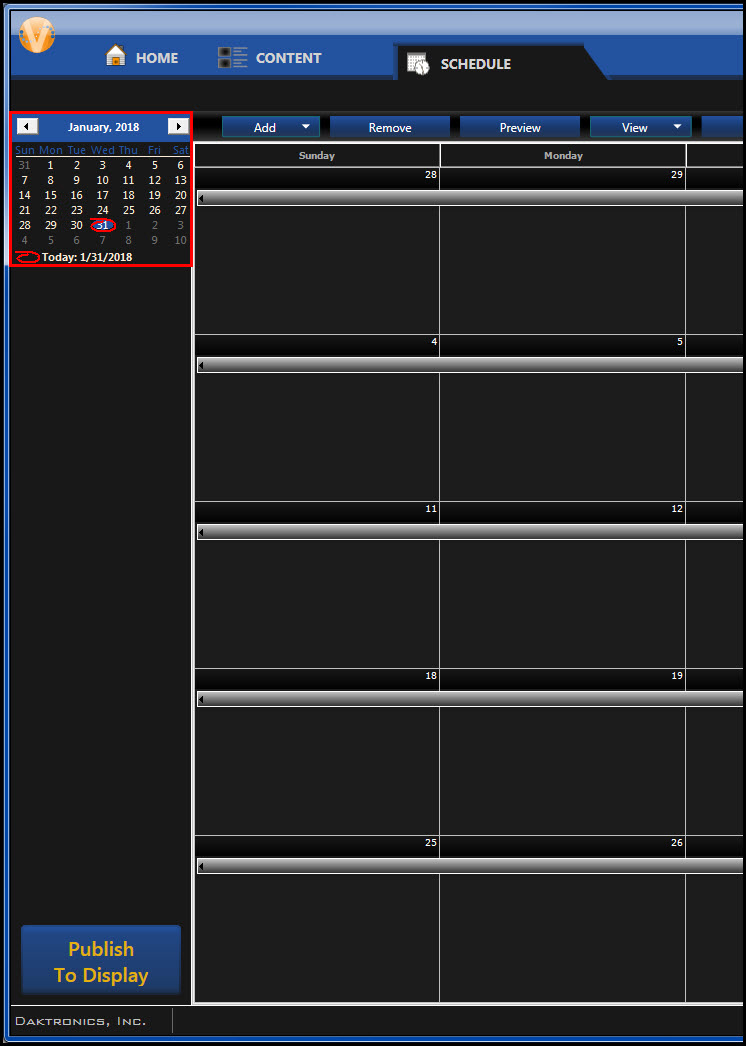
Speaking of your schedule view, that’s changed a lot, hasn’t it?! That’s because in Scheduled Mode you will create playlists that allow you to schedule your messages to play at specific times and dates and/or for specified time and date ranges.
If scheduling content to play at various times of the day interests you, we highly recommend checking out our previous post on that topic. It contains all the information you need for creating and scheduling playlists!
Another difference you will notice when in Scheduled Mode are the blue buttons above your schedule view. Let’s go over how these operate differently in Scheduled Mode, shall we?
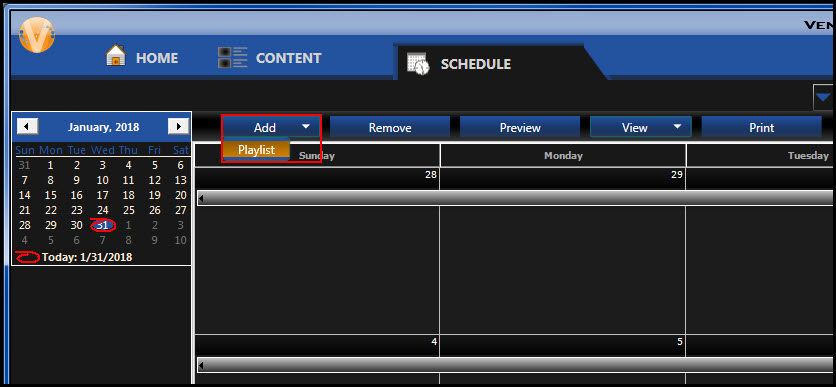
Add: Clicking on the arrow next to “Add,” allows you to choose Playlist. Clicking on Playlist will open a new Playlist for you to begin scheduling.
Remove: When you have a playlist highlighted and click on Remove, it will remove that playlist from your schedule. Remember, you still have to click Publish To Display for the changes to take effect!

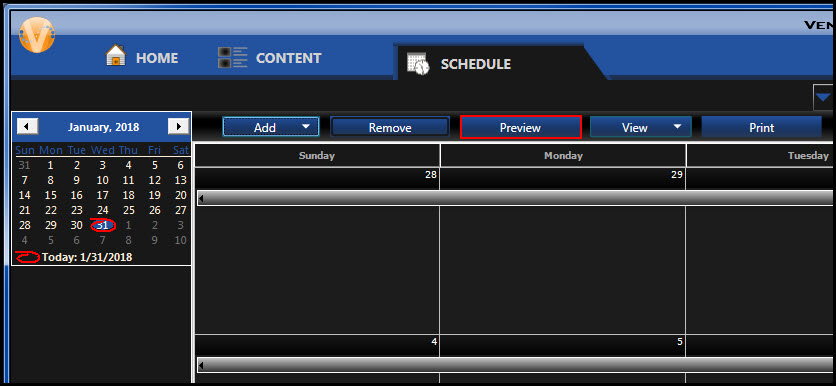
Preview: This button works a little bit differently in that it will preview the selected date range rather than just previewing an individual presentation for you. So, it will show you everything that is scheduled to play, and the order it will play in!
View: The View button is incredibly useful and can be clicked on to change how you view your schedule and whether you see a single day, week, month, or even a detailed breakdown of all your playlists. For more information on the View button, read Details, Details . . . It’s All In the Details . . . View!
The Print button works the same as it did in Continuous Mode, and you won’t find “Move Up,” or “Move Down” buttons while in Scheduled Mode.
We hope this blog and the others we linked to prove useful to your content scheduling endeavors. If you do find our blog helpful, be sure to click on the orange “Receive Email Updates” button on the right side of the page to subscribe. Thanks for reading!