
Keeping Tabs on Your Tabs: The View Tab (Content Studio)
Learn all about the View Tab in Content Studio and how you can use it to create pixel perfect content for your Daktronics display!
Daktronics Commercial Software Training on 4/4/2018
Categories: Venus 1500 Training
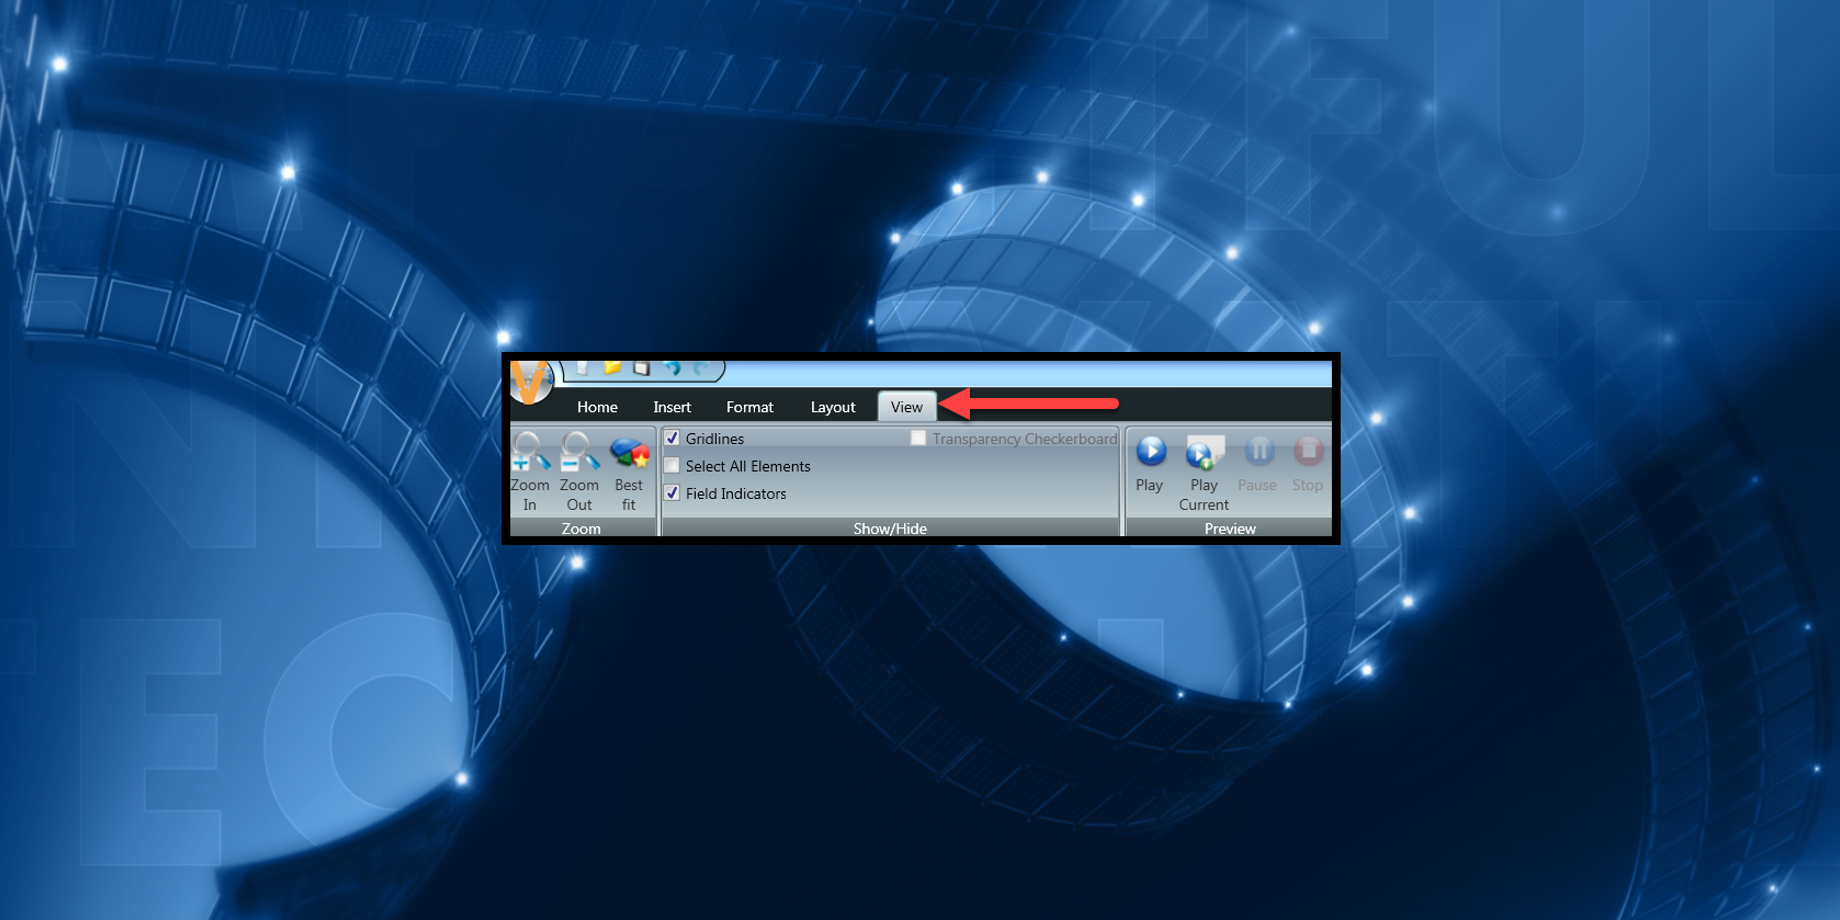
Take a look at that view! The View tab is the 5th tab in the ribbon running left to right across the top of Content Studio. Most of the features included in the View tab are personal preferences, but believe me when I say they can be incredibly helpful as well. Let’s take a look at each of the groups contained in the View tab and see how they can help you.

Zoom
The Zoom group does just that; it gives you the option to zoom in or out on your layout. When you open a new or existing presentation to make changes, the layout will be sized to fit (Best Fit) your screen accordingly. This is helpful because it gives you a nice, large area to create your content in.
The only real issue with using a large workspace to create presentations is that your presentations can look a bit blurry or pixelated. This is normal though, so don’t panic! You see, when you are zoomed in, the pixels making up your presentation are also zoomed in, making them more visible.

In order to see what your presentation will actually look like out on your display, you need to find the true clarity. You can find the true clarity of any presentation by zooming down to exactly 100%. Once you are zoomed into that percentage, your layout will appear much smaller, and blurriness or pixilation should be gone. Rather, your presentation should appear crystal clear, just as it will on your display!

Another thing you should watch out for is the size of your text. When you are zoomed in at 100% because your text is too small to read, that indicates that you need to make your text larger. If you cannot read your text when zoomed in at 100%, then people will not be able to read it out on the display, either. If it’s too small when being previewed at 100%, then it will be too small on your display as well.
Show/Hide
This group may sound like a mish-mash of children’s games, but it’s asking if you want to see certain things in your layout or have them hidden from view. So, what exactly are these things?
Gridlines are the black horizontal and vertical lines that appear in your layout. Gridlines turn on by default. They show all the pixels that make up your display and can be incredibly helpful if you are trying to resize elements to make them pixel perfect.
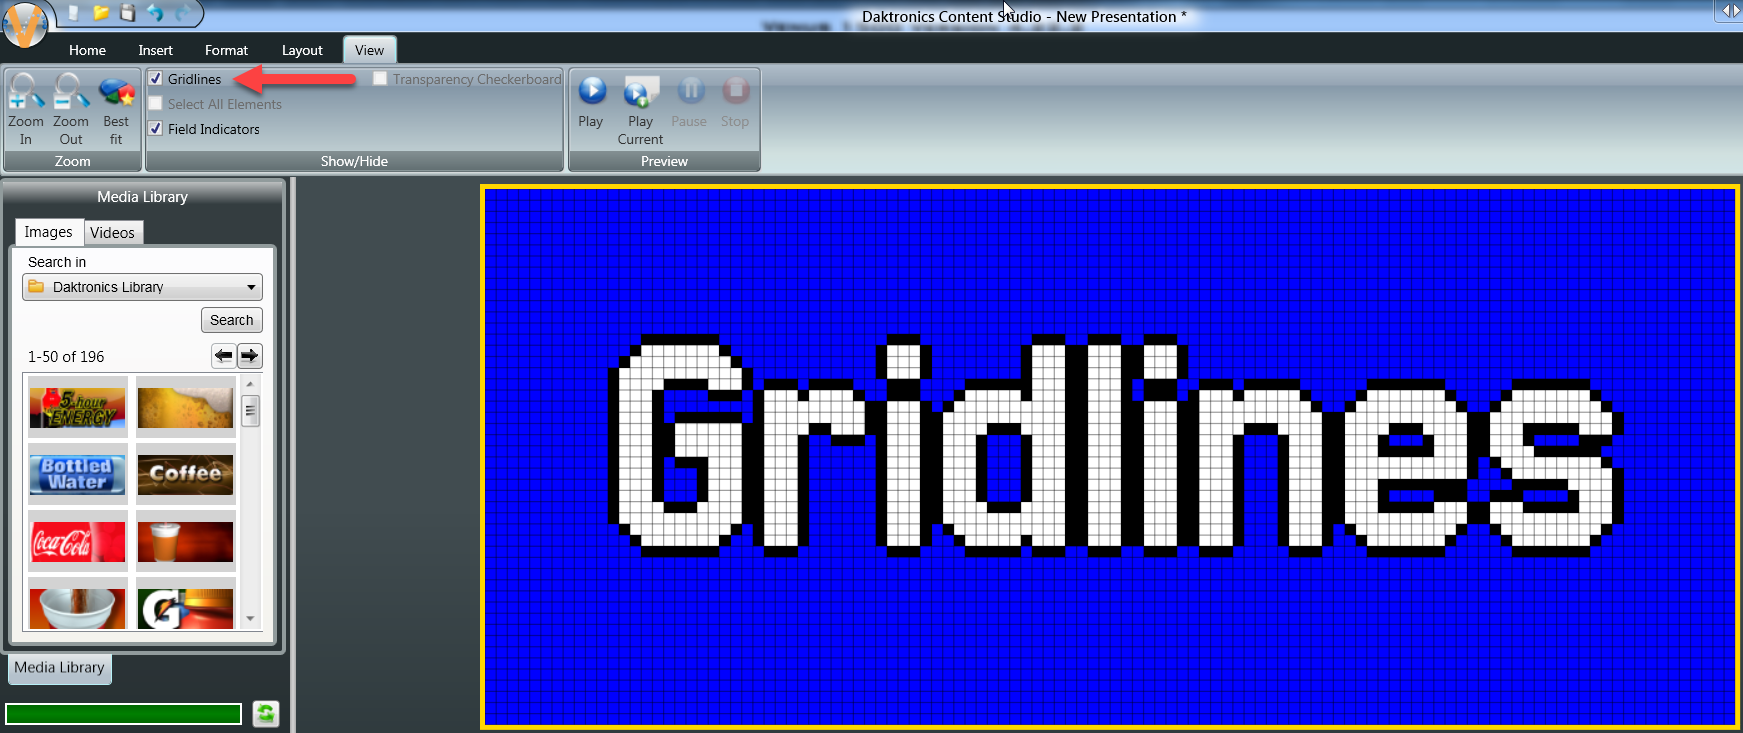
Gridlines
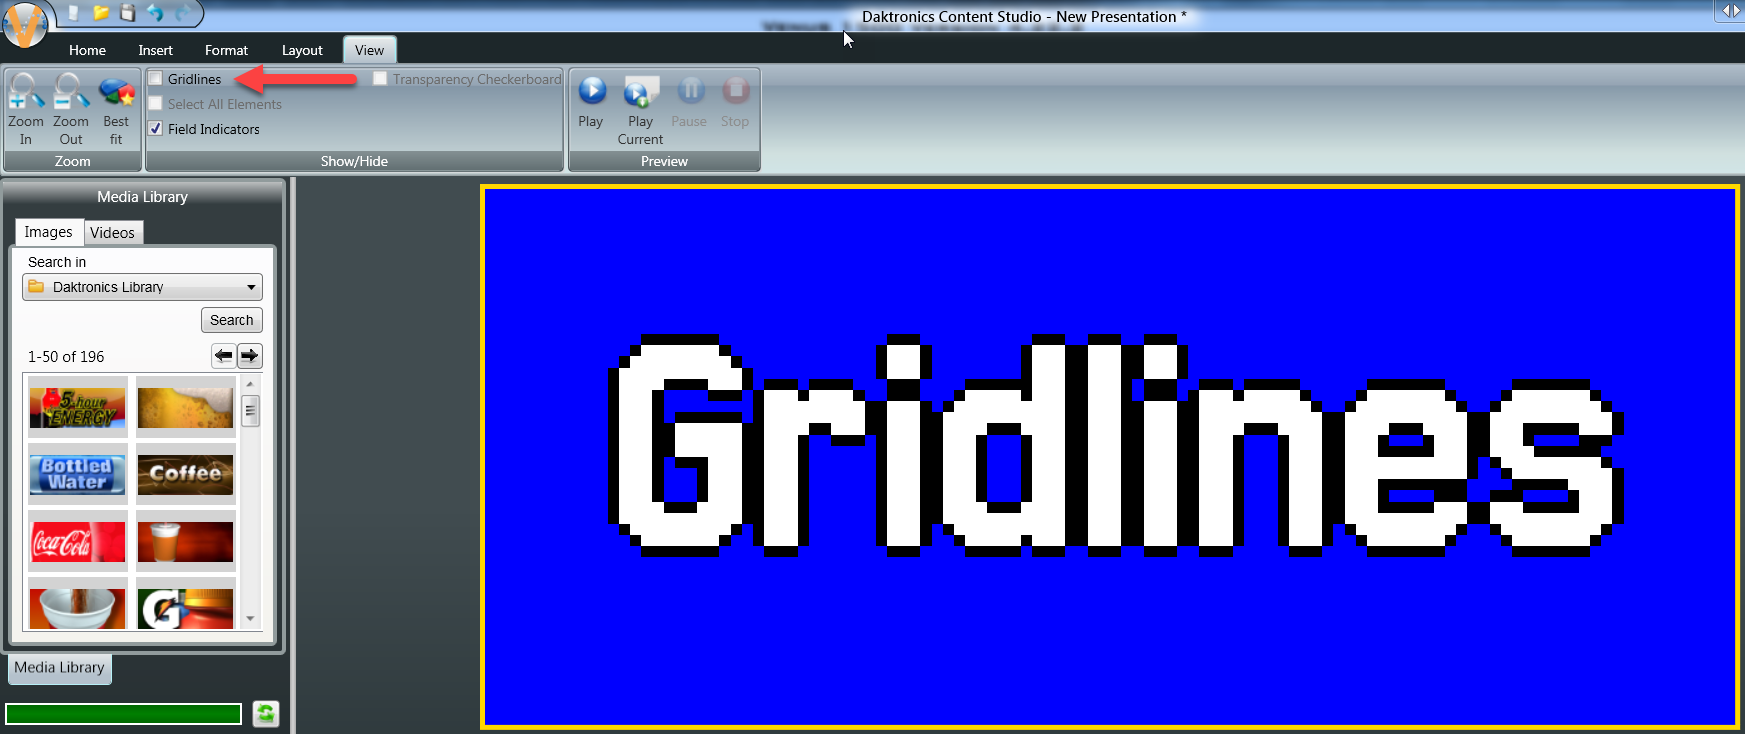
No Gridlines
Select All Elements gives you the option to select each and every element in your presentation at once. This can be extremely helpful if you have multiple text boxes that you want to change the size, color and/or style of your font, so they all match.

Field Indicators are the yellow borders that appear around data. They let you know how many characters are possible for that particular data field. For example, if you are creating a time, temp and date message, the field indicator will appear large enough to fit the longest day of the week, or the longest month of the year, character wise.
Whenever you are resizing text boxes with Field Indicators around them, make sure that you see the entire yellow border to ensure nothing is cut off on your display. Also, just in case you were worried, no, the field indicators will not appear on your display; they only appear in Content Studio while you are creating.

Transparency Checkerboard allows you to see transparent images after you have imported them into your layout. Remember, only GP3, GP4 and GPR display types support the use of transparent PNG files, so if this option is grayed out for you, that is perfectly normal.
Preview
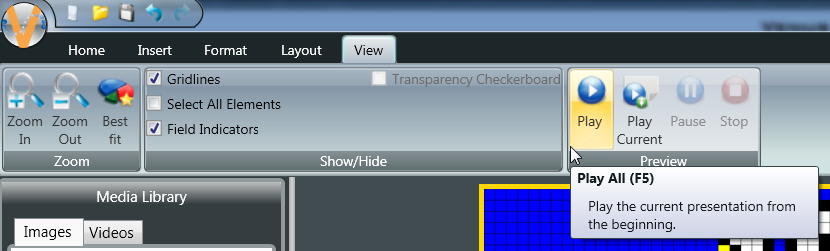
The Preview group allows you to preview your presentations. If you click on Play, it will preview the entire presentation from beginning to end.
If you click on Play Current, it will preview only the selected layout.

If you click Pause, it will pause and hold the presentation in place.
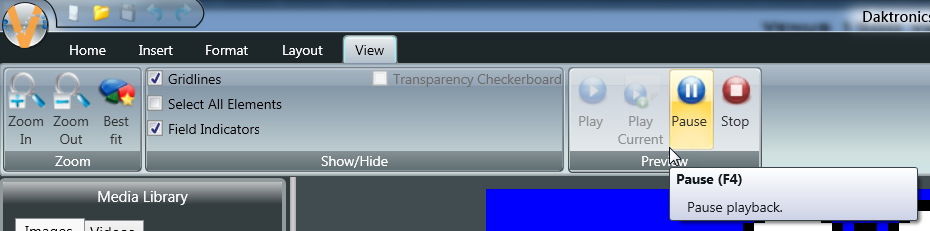
If you click Stop, the preview will stop, and you can go back to creating content.

Trainer Tip: While you are previewing your presentation, all the rest of the options and features in Venus 1500 will be grayed out and inaccessible. Therefore, if you see something that you want to make changes to while previewing, you will first have to click the Stop button. Then you will be able to edit your presentation.
You can find Preview buttons at the bottom, right corner of Content Studio as well. It’s right next to the Layout Zoom Bar, which you can use to zoom down to 100% before you preview your presentations!

Hopefully, you found this blog educational and learned something new! If you do enjoy reading our blog, be sure to click on the orange “Receive Email Updates” button on the right side of the page to subscribe.
Thanks for reading!