
Organization Is Key: How to Create, Use, and Manage Folders
It’s easy to lose or misplace something. How many times have you been running a little behind in the morning before work and forgot something at home? Worse yet, have you ever forgotten where you put your keys? That definitely makes the morning more interesting! I don’t know how many times I’ve had to retrace […]
Daktronics Commercial Software Training on 9/30/2015
Categories: Venus 1500 Training
It’s easy to lose or misplace something. How many times have you been running a little behind in the morning before work and forgot something at home? Worse yet, have you ever forgotten where you put your keys? That definitely makes the morning more interesting! I don’t know how many times I’ve had to retrace my steps to find something I lost, but I do know that I didn’t enjoy it!
When we get busy or overwhelmed, we have a tendency to feel anxious and overlook things that we typically can do in our sleep. It’s a normal occurrence for us to feel this way; we are only human, after all. We can take steps to ease the load though, so we don’t end up falling behind. This week, we will talk about a few things you can do in Venus 1500 V4 and Content Studio to help you out with that.
Here’s something simple you can do that will save you a lot of time in the long run: create folders in Content Studio to store all of your creative content. Creating new folders to organize your content library is important because:
- It will help you locate a specific presentation to add to your playlist.
- It will save you time in the future when reusing and editing content.
- Storing everything in only the default folder will be a nightmare a year from now!
Now that you know why you should use folders, let’s discuss how to create them, how they can be used, and how to manage them long term.
Creating Folders
Go ahead and launch Venus 1500 V4, go to the Content tab, and click create to open Content Studio. Once you are in Content Studio there are two ways you can access your folders.
- Click on the Application Menu (Orange V) in the upper, left-hand corner and then select Open. This will bring up a window showing all of your existing content and folders. Now you can find and open a presentation to edit.
- After you have created a new presentation, click on the Application Menu (Orange V) in the upper, left-hand corner and then select Save or Save As. This will open up the Save As Window where you can give your new piece of content a file name and choose whether to save internally in a folder (or not), or externally to share.
You will notice a yellow folder with a green star icon in the upper, right-hand corner in both of the windows mentioned above. In order to create a new folder, just click on this icon, give your new folder a name, and click OK. It’s that easy!


Using Folders
Naming your folders appropriately is of the upmost importance. Remember, we are trying to make finding content easier. If it takes us forever to find the right folder, then we are right back to where we were when we didn’t have any folders. When naming folders, please consider the following recommendations:
- Make sure they are spelled correctly so anyone and everyone working in the software will be on the same page.
- Check to be sure you don’t have a folder with an identical meaning before creating an additional folder.
- Make sure that the folder names are informative and clear. Remember, we want to be able to quickly and easily search for content, so the choice should be obvious.
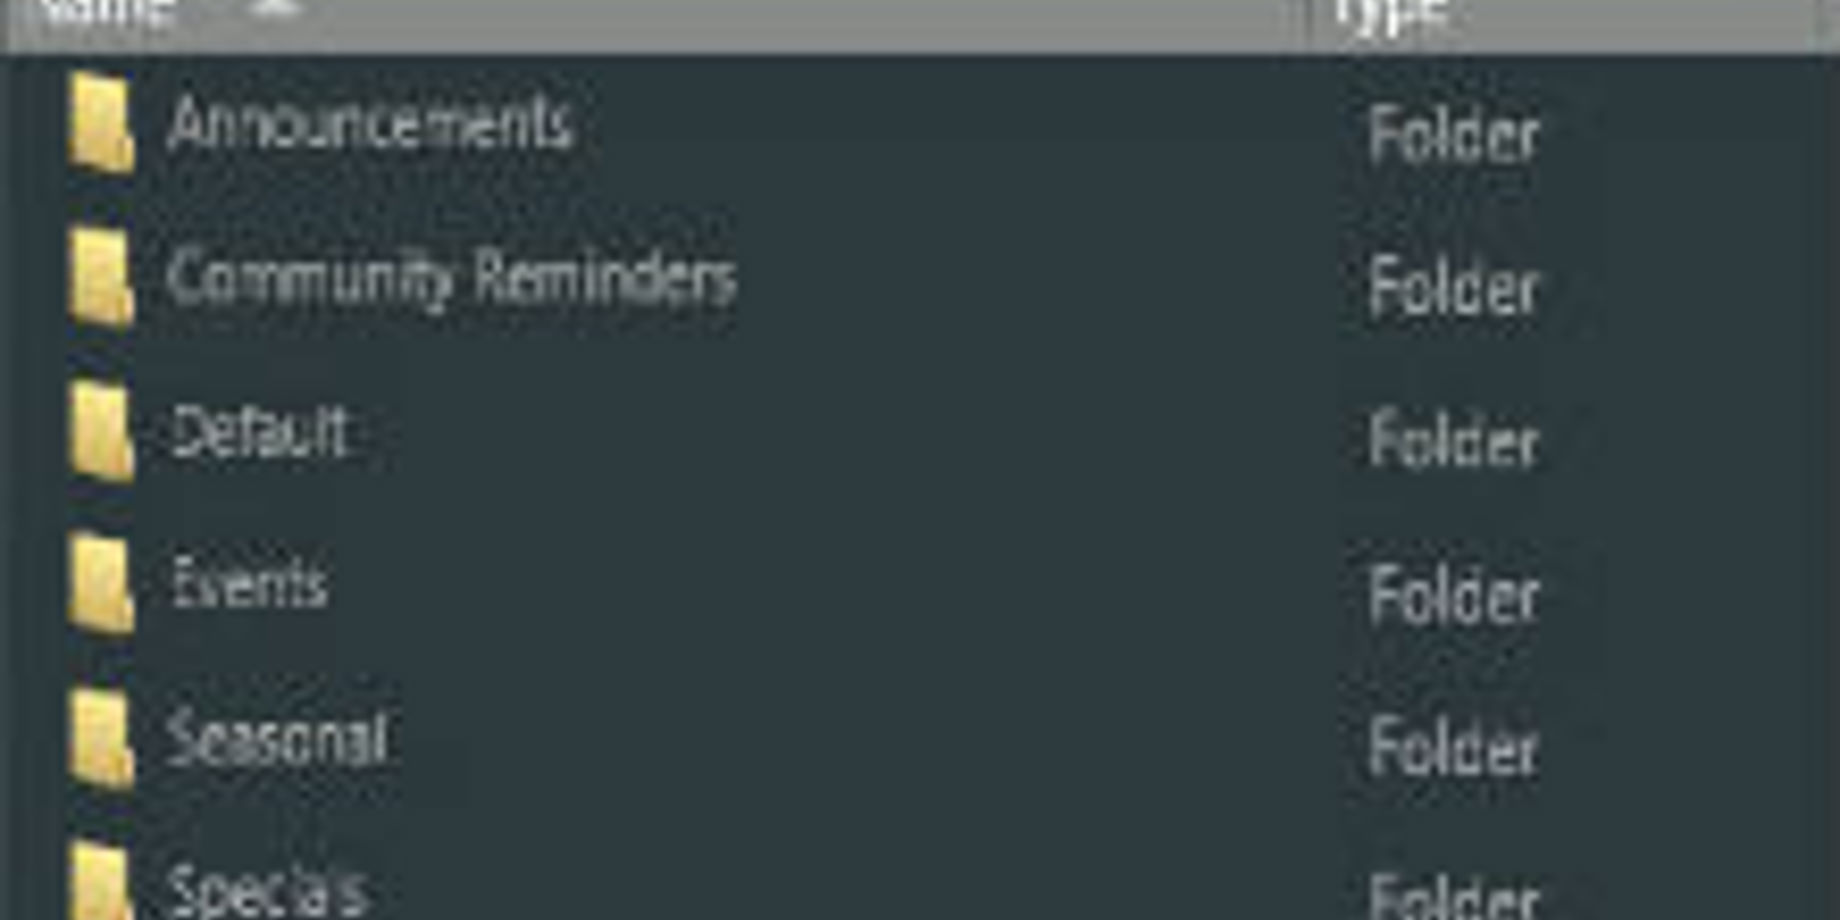
Here are some examples of folder names that you can use.
Announcements | Athletics/Activities | Events | Community Reminders | Different 3rd Party Advertisers | Different seasons | Holidays | Sales | Seasonal | Self-Promotion | Specials | Special Occasions | Sponsors |
Keep in mind you already have a Default folder that you can use right from the get-go. However, saving everything in that folder, or any single folder for that matter, is the equivalent of not using a folder at all. The Default folder is a great place to start learning, though!
Once you have your folder(s) named, begin to actually use them. Save a new presentation to one of your folders by going to the Application Menu and choosing Save or Save as. Next, give your presentation a file name. Then, simply double-click the folder you want, which will make that folder the Save in folder. Normally, the Save in folder will be your actual display.


To open a previously created presentation saved in a folder, go to the Application Menu, and click Open. Then double-click the folder storing the presentation, and highlight the presentation name. Click Open, or just double-click the presentation name, to open. Now you can make whatever changes you need, and when you are finished, all you have to do is click Save in the Application Menu, and it will re-save the presentation with the same file name in the same folder!
Let’s visit the Venus 1500 Hub, shall we? Back in the hub, if you click on the Content Tab, you will see thumbnails of all your presentations. If you don’t see the presentation(s) you are looking for it could be because you aren’t looking in your folder. A drop down on the left side of the screen will default to your display. However, if you click the drop down, then you will be able to select any folder you had created, and by doing so, all of the presentations in that folder will now appear as thumbnails in the Content Tab.

Trainer Tip: If you don’t see any presentations in the Content Tab at all no matter what folder you look in, then you could be experiencing a Microsoft .NET Framework issue. Don’t worry, there’s an easy fix. Simply create and save a new piece of creative. Now you will be able to see all your presentations in the Content Tab again! For more information, click the Knowledge Base article below.
Presentations are not showing or are missing from the Content Tab
View your presentations in the Content Tab three different ways:
- List shows the presentations as a list.
- Thumbnail shows a snapshot of each presentation.
- Filmstrip shows a larger view of the selected presentation and details about it.
Regardless of which view you choose, if you right-click on one of your presentations, you will see a list of additional options to choose from. If you click on Create, you will be see a new instance of Content Studio where you can create a new presentation. If you choose edit, you will be brought to Content Studio where you can make changes to said presentation. If you choose delete, you will permanently delete the file. If you click preview, a larger preview window will open.

However, the options that I want to bring to your attention, are Move To and Copy To. If you click on either one of these options, a new Choose Save Folder window will pop up allowing you to move or copy your presentation to a different folder if you so choose.

Managing Folders
You are probably asking yourself, why would I want to move or copy my presentation(s) to a different folder? The most obvious reason would be that you don’t have your presentation(s) saved in a folder already. By choosing Move To or Copy To, you have the ability to take a presentation and organize it in a folder, or if it was already in a folder, you could move it to a more appropriate folder and delete an older, irrelevant, unused folder back in Content Studio.
If you have folders or content that you aren’t using anymore, it’s OK to delete them or re-purpose them. Remember, we are trying to make things easier on ourselves, and clearing out old clutter is one of the best ways to do that!
- To Rename/Edit a folder, highlight the folder, then single left click to get flashing curser; type the new desired name.
![Rename folder]()
- To Delete a folder, highlight the folder, then click the red X in the top right corner of window.
![delete folder]()


One thing to note is that when deleting folders, and moving messages around, you will need to remove the messages from the playlist and re-add to playlist so it knows where to look for the message.
Back in the day, we wrote a few articles about folders as well. They aren’t as long as this one, but they are full of good, helpful information. Be sure to check them out by clicking on the links below!
Easily Locate Presentations to Reuse
We Can Help You Get Your Folders in Order!
If you made it all the way to the end of this article, I applaud you, my friend. Thank you so much for taking the time to read this week’s post. As always, please let us know if you have any ideas for future posts. Thanks again!
Related Knowledge Base Article:
How do I create, delete and/or edit folders in Venus 1500 v4?