
Check Your Work, Part 1: How to Preview Content in Content Studio
Remember back in elementary school when you first learned how to check your work in math to make sure you had the correct answer? How cool was that?! Over the next 3 posts, we are going to try and top that.We’ll show you how to check your creative content to make sure it looks acceptable for […]
Daktronics Commercial Software Training on 4/27/2016
Categories: Venus 1500 Training
Remember back in elementary school when you first learned how to check your work in math to make sure you had the correct answer? How cool was that?!
Over the next 3 posts, we are going to try and top that.We’ll show you how to check your creative content to make sure it looks acceptable for your business.
When you finish creating your presentation in Content Studio, we always recommend that you preview it. Take time to make sure the text is large enough, and the message as a whole is of high enough quality to send to your display.
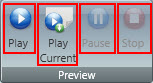
You can find the preview buttons in the bottom, right-hand corner, as well as in the View Tab in the ribbon running across the top of Content Studio.

![]()
The preview buttons are only half of the story, though. They need to be used in conjunction with the Layout Zoom Bar.

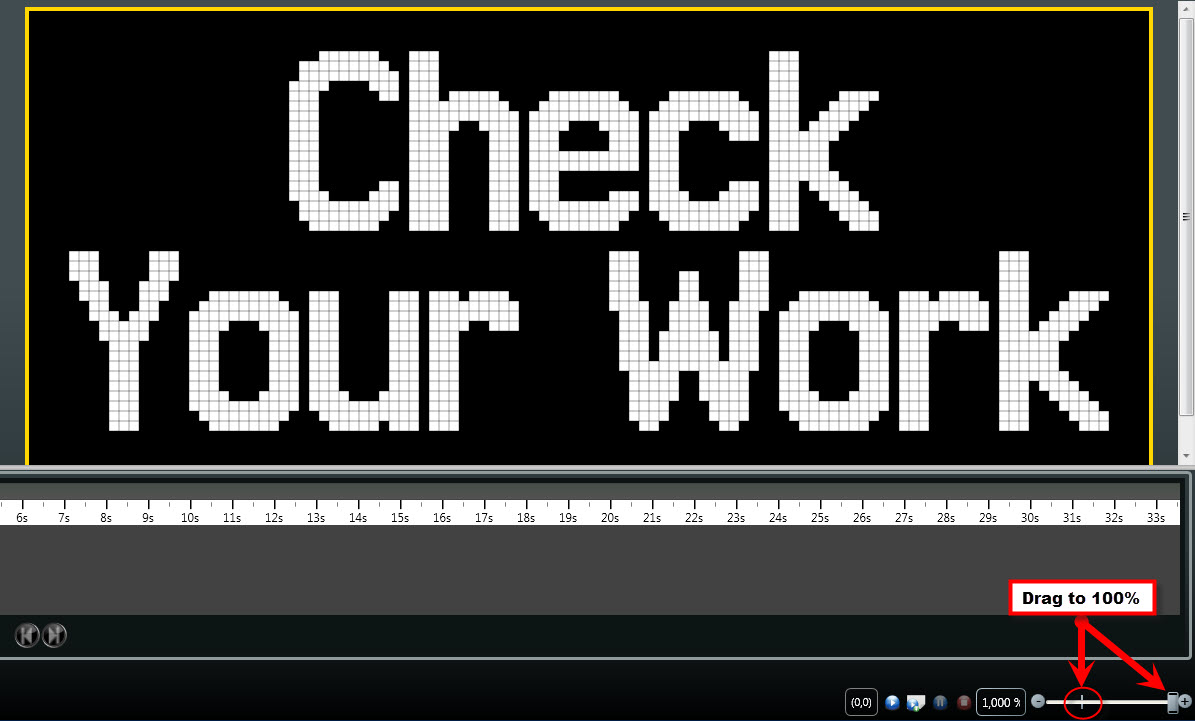
The Layout Zoom Bar is also found in the bottom, right-hand corner of the software, just to the right of the preview buttons. The percentage represents how zoomed in on the layout you are. The larger the percentage, the larger the layout, which makes creating content easier. However, the larger the percentage, the more pixelated your content will look, as well.
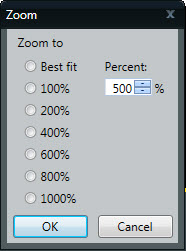
This is where the Layout Zoom Bar comes in handy.You can actually click and drag it to 100% to see your presentation’s true clarity as it looks on your display.The vertical line crossing the Zoom Bar right at 100% helps you line it up, but you also can simply type 100% into the percentage box as well.
![]()
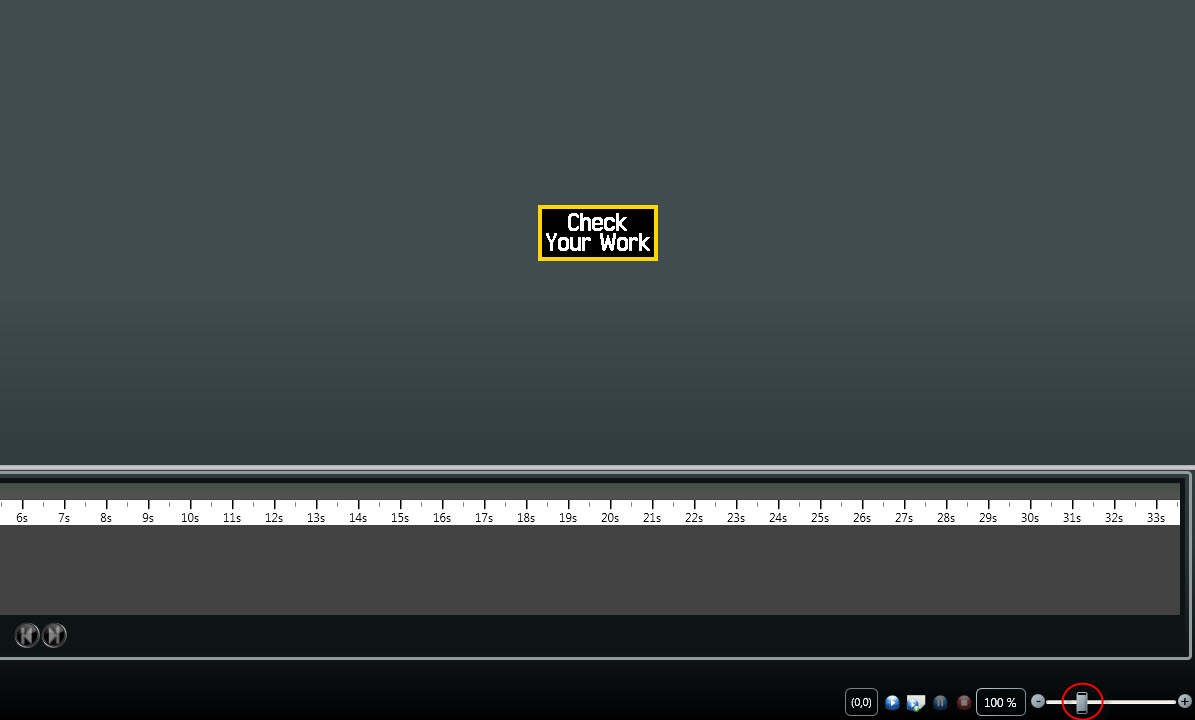
Once you have your presentation set at 100%, the layout box will be much smaller. Don’t worry, it isn’t going to be that tiny on the display. This just shows you how clear and smooth it will be.
This is also a great time to determine whether or not any text you have entered into the layout is large enough to be read on the display. If the text is too small for you to read at 100%, then it will be too small for people to read on your display. That is a good indication that you need to make your text larger.
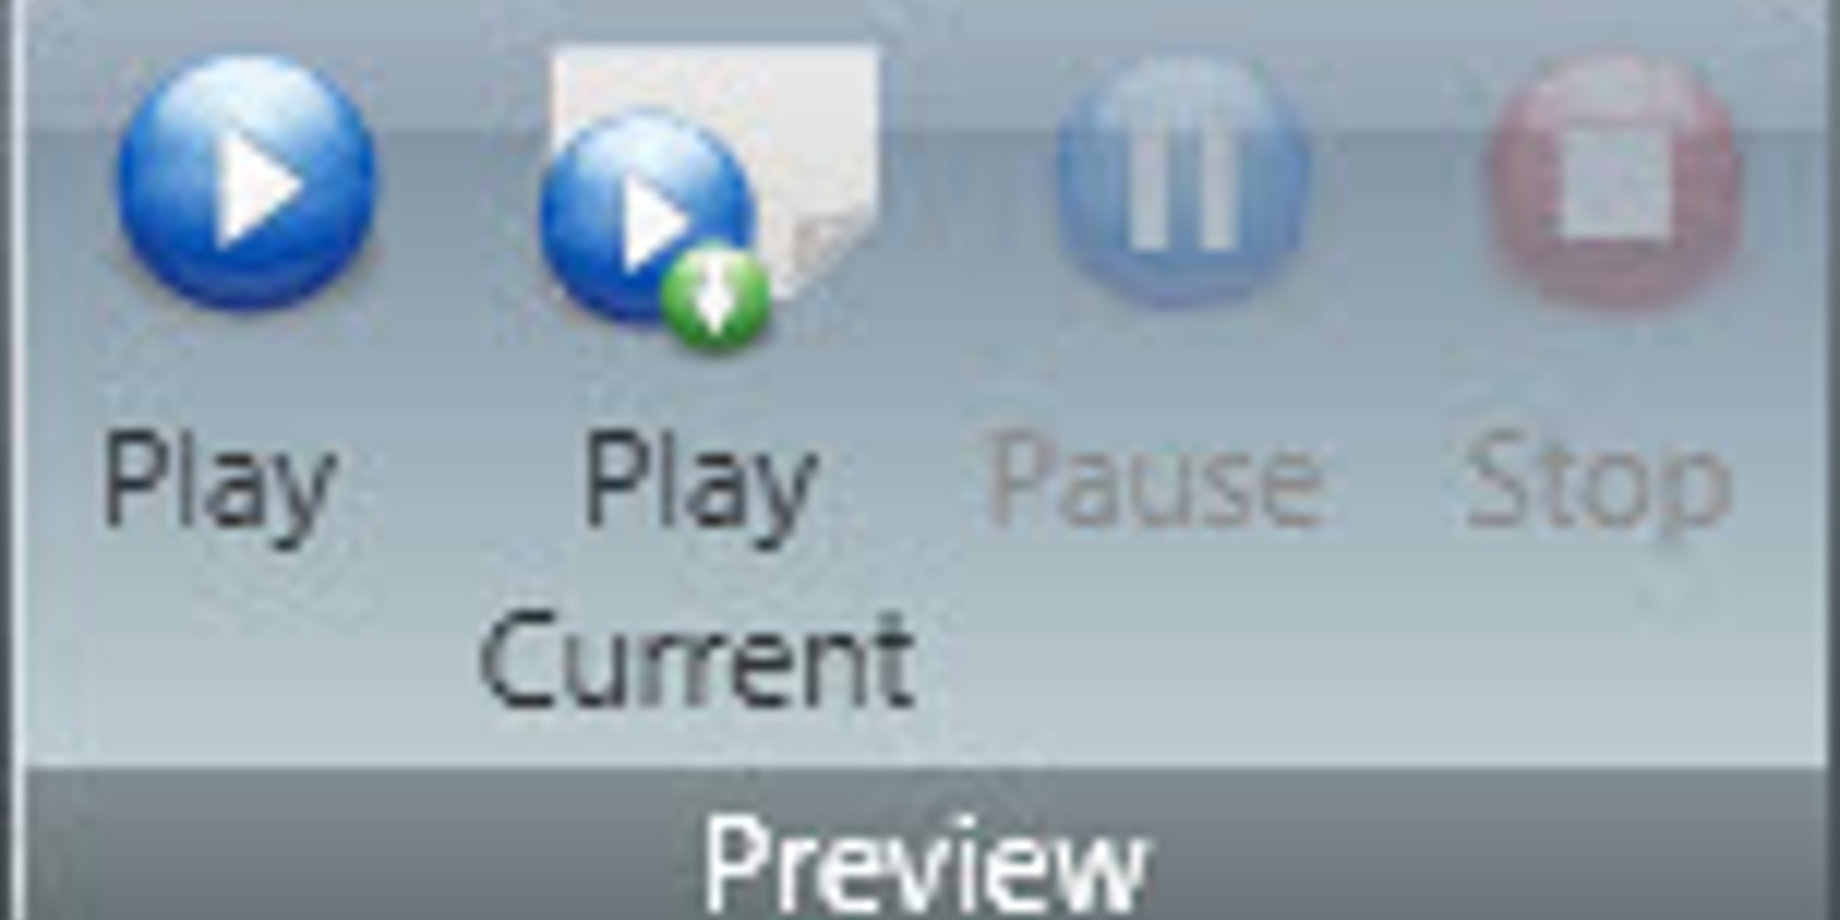
Now that you have zoomed down to 100%, your text is large enough to be easy to read, and all the pixilation and blurriness are gone, so you can use the preview buttons. Click on the:
- Play button to play all the layouts in the presentation from beginning to end.
- Play Current button to play selected layout only.
- Pause button to pause the preview.
- Stop button to stop the preview and return to the beginning.
One thing to note is that during the preview, you will not be able to edit anything or make any changes until you click the Stop button.
Trainer Tip: If you are creating a Scrolling Text message, you can preview it within the Scrolling Text Import window before you import it into the layout. On the last page where you choose your scrolling text speed, press the play button to preview your message. I like to preview it while clicking through the different speeds to see what it will look like as it scrolls faster or slower! When you finish importing, all you have to do is click the Stop button and import into your layout.
Be sure to check out our previous blog post, I didn’t know I could do that! Part Three: Odds and Ends, to see how you can save your scrolling text message as an image to preview the entire thing at once.
We hope you found this week’s post helpful! If you did, be sure to click on that orange “Receive Email Updates” button on the right side of your screen to subscribe to our blog so you never miss any of our future posts!
We’ll be back in 2 weeks for part 2 of our series about checking your work. We’ll show you all the ways you can preview your content in the Venus 1500 hub.
Thanks for reading!