
Importing & Creating Headshots Revisited
We receive a lot of phone calls and questions about how to import pictures of people, particularly headshots, onto displays and actually have them look good.
Daktronics Commercial Software Training on 1/25/2017
Categories: Venus 1500 Training

Welcome back to the blog, my fellow bloggers!
This week will mark the final entry in our series on revisiting our most popular posts. We receive a lot of phone calls and questions about how to import pictures of people, particularly headshots, onto displays and actually have them look good. So we thought revisiting our series on headshots would be the perfect choice for you.
Importing Headshots with Busy Backgrounds, posted on September 17, 2014
The most important aspect of creating a presentation with a quality headshot is choosing the right photo to begin with. Did you know that in outdoor advertising we are limited to 2-3 seconds to grab the attention of those driving by? Therefore, choose a picture that isn’t too detailed, so customers won’t miss your message while looking at extra details.
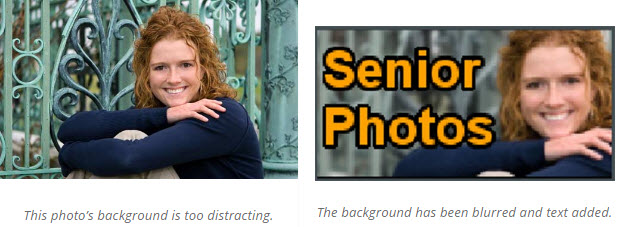
When dealing with headshots, you really want people to focus on the person first, then the message. Busy backgrounds get in the way of both. Backgrounds in many professional pictures for example, have different themes going on that can be distracting. We recommend cutting those backgrounds out and going with a simple color or more subdued pattern, giving your picture the opportunity to shine!
You can use a free online program called Pixlr to apply filters, blur backgrounds, resize images, and more. Be sure to check out the Help Guide to find tutorials if you’re new to that type of editing program.
Now let’s say you’ve blurred the background successfully, and it isn’t so distracting anymore. Your next step is to add a text box over the layout. Make sure your text is a good contrasting color and don’t forget the outline! You can even fill in the text box with a complementary color or opacity if you want!
To read the full article, please click the following link: Importing Headshots with Busy Backgrounds
Importing Headshots – Cropping and/or Resizing, posted on September 24, 2014
Did you know that resizing and cropping your photo has the potential to make your message appear more professional? Before doing so, you will want to remember our rule of thumb,though. Do not start with an image that is too big. We recommend when resizing an image to start with a picture no bigger than 3 times the sign size for best image quality.
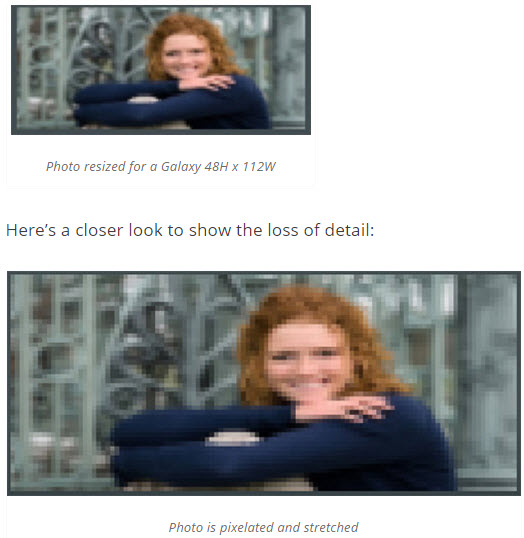
The least desirable option to import an image or video into Content Studio is to resize the file. Essentially, you are combining many extra pixels into one, resulting in a loss of detail and usually changing the picture into something that looks unnatural.
Cropping is more acceptable when fitting the image into the display size. Cropping means selecting the sign size of your original image and removing the rest.
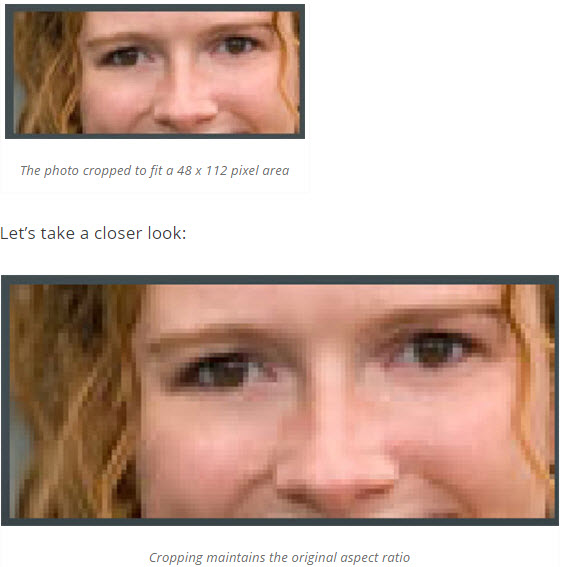
The downside is that you can only use a small area of the original image.
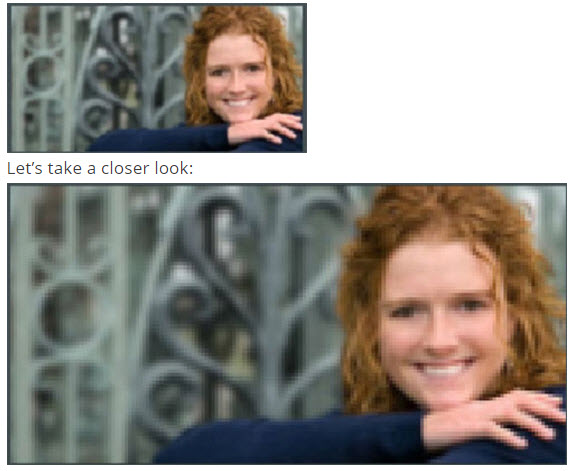
The best approach is to find a compromise between resizing and cropping that will give us the benefits of both. This is done by resizing the image first, keeping the aspect ratio, and then cropping.
Be sure to read the following Knowledge Base articles for instructions on Resizing and Cropping.
- Resizing: How to resize a photo in Content Studio. & How do I resize an image using Pixlr?
- Image looks fuzzy when importing into Content Studio and out on display.
To read the full article, please click the following link: Importing Headshots – Cropping and/or Resizing
Creating Outstanding Headshots in Content Studio with an Online Photo Editor, posted on October 14, 2014
The final post in our series on Importing & Creating Headshots went into great detail providing specific instructions on how to resize and crop photos using Pixlr and Content Studio. Let’s get started!
Resizing the photo and maintaining the aspect ratio in Pixlr:
- Go to http://pixlr.com/
- Click on Pixlr Editor.
- Click on Open Image from computer.
- Browse to the picture location; select the file and click open.
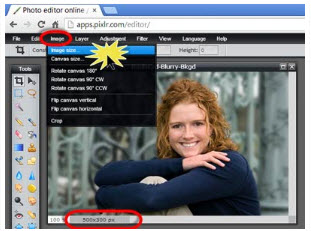
- Click on the Image Menu and choose Image Size.
![pixlr1]()
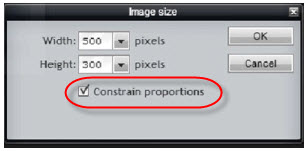
- Make sure that “Constrain Proportions” is check marked. By doing so, you can change the value of the width, and Pixlr will automatically calculate the correct value for the height so the photo will not become distorted. Click OK after the desired pixels are entered.
![constrain-proportions]()
- Click on the File Menu and choose Save. Type in a new file name for your resized photo and adjust the Quality setting. The higher the quality, the larger the size of the file will be. Leave the slider at 80% and click OK. Pixlr will automatically save the image resolution at 72 dpi.
If your image is now the exact size of your display dimensions, then you are all set and good to go! However, the most likely scenario is that the height of your picture is still different than the height of your display. If that’s the case, keep reading!
Cropping the photo to fit your display dimensions in Content Studio:
- Launch Content Studio.
- Go to the Quick Insert panel, then Media Item, then Picture and browse to my resized photo and click Open.
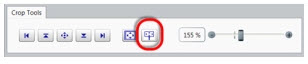
- Now you are in the Image Import Window. At the bottom of the window there are Cropping tools. Click on the icon that says “Select an area that matches the display dimension” when you hover over it.
![cropping-tools]()
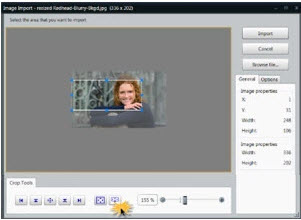
- Now you will see a representation of your display size on top of your image preview.
- Click and drag the window until you find the best part of your image to drop it on.
![representation]()
- Now click import and everything outside of the window will be cropped out when the image appears in the layout.
![import-into-layout]()
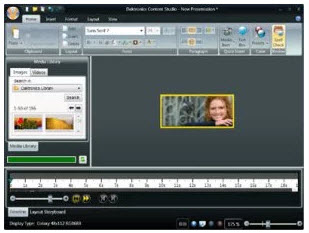
Congratulations! You have just successfully resized and cropped an image to fit into your exact display dimensions! You can also resize your image within the Image Import Window in Content Studio, but you’ll have to read the original article for instructions on how to do that!
To read the full article, please click the following link: Creating Outstanding Headshots in Content Studio with an Online Photo Editor
We hope you found this post, and our revisited series as a whole, very helpful. Be sure to click on the orange Receive Email Updates button on the right side of your screen to subscribe to our blog.
Thanks for reading!