
Playlist Properties: Active vs. Inactive
A couple months ago, we posted about the Redesigned Playlist Editor and provided instructions on how to use it. Today, we are going to elaborate on a new feature in the redesigned Playlist Editor and explain how it will save you time! Active vs. Inactive Each time you set your Playlist properties, whether creating a […]
Daktronics Commercial Software Training on 9/13/2017
Categories: Venus Control Suite Training
A couple months ago, we posted about the Redesigned Playlist Editor and provided instructions on how to use it. Today, we are going to elaborate on a new feature in the redesigned Playlist Editor and explain how it will save you time!
Active vs. Inactive
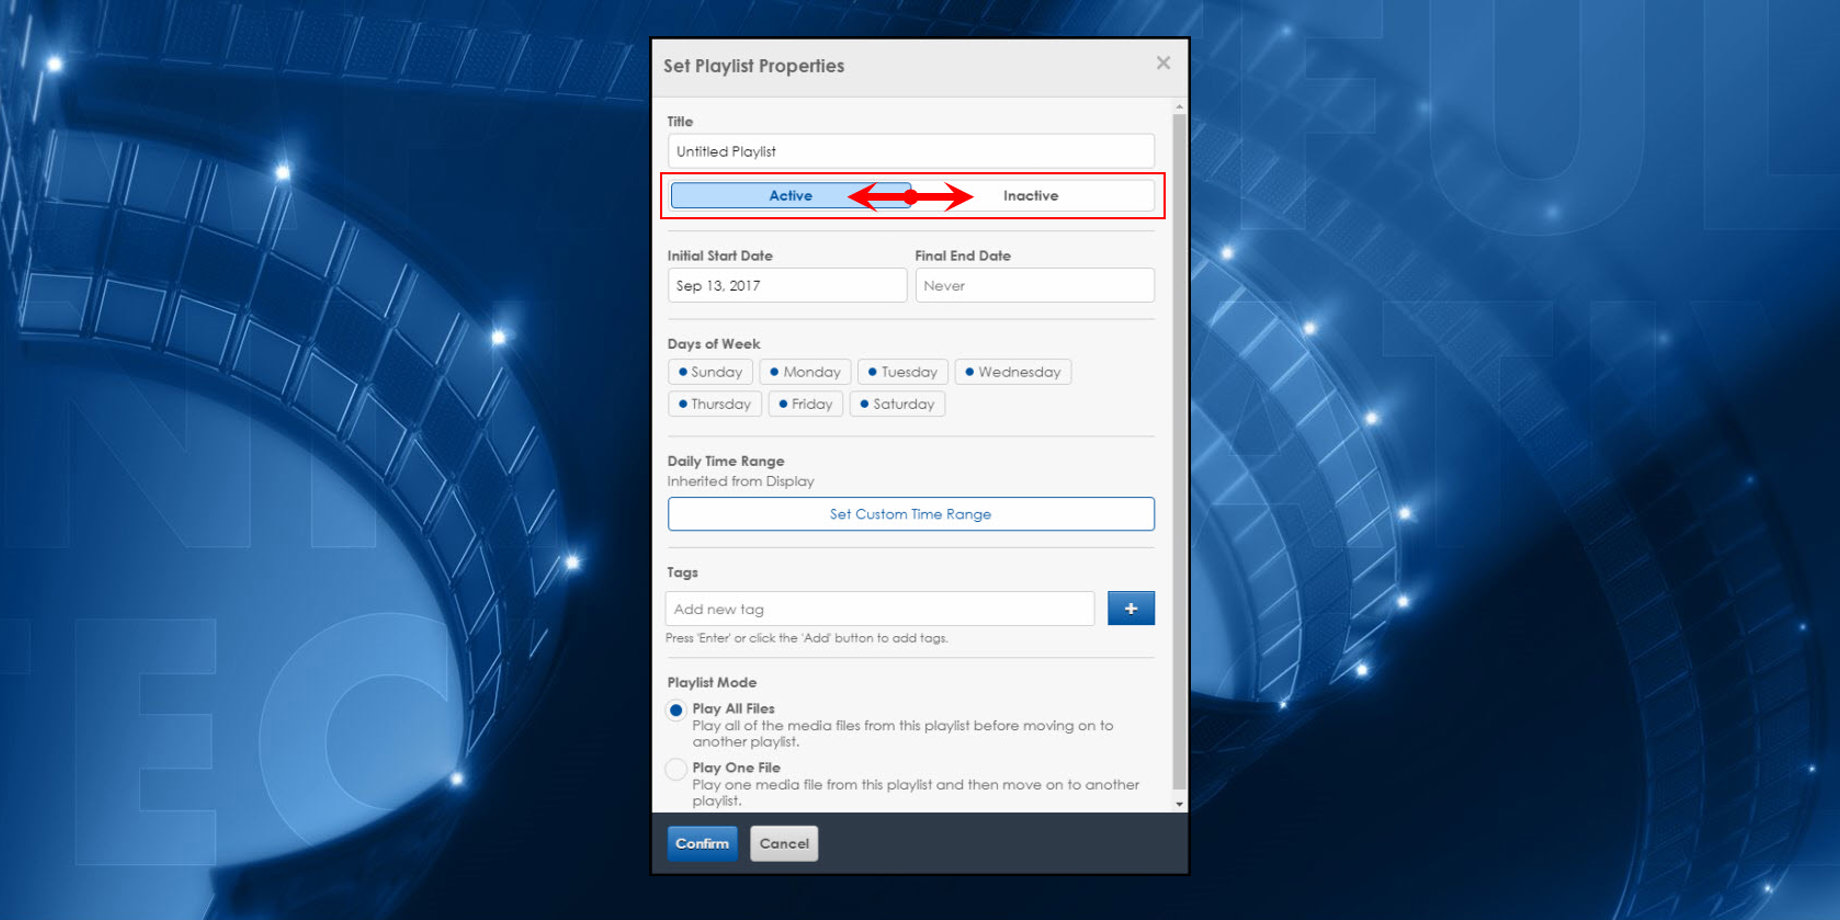
Each time you set your Playlist properties, whether creating a new Playlist or editing an existing one, you have the option to mark your Playlist as Active or Inactive.
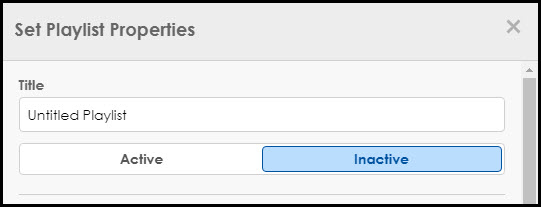
By default, when you first create a Playlist, it will be set to Active. You can Click Inactive to disable the Playlist at any time. Just remember to click Save when you’re finished!

Similarly, you can also go into your Playlist properties at any time to switch it back to Active. Again, remember to click that blue Save button after you make the switch!
So, now that you have clicked Inactive and remembered to click Save, you have a Playlist created that won’t play. You might be asking yourself, “Why would I ever need to create a Playlist that doesn’t actually play?”
Example
Let’s say you have an existing Playlist that you need to stop playing right now, but there’s a good chance you’ll want to play it again in the future. Instead of deleting your Playlist and having to re-create it again in the future, just mark it as Inactive!
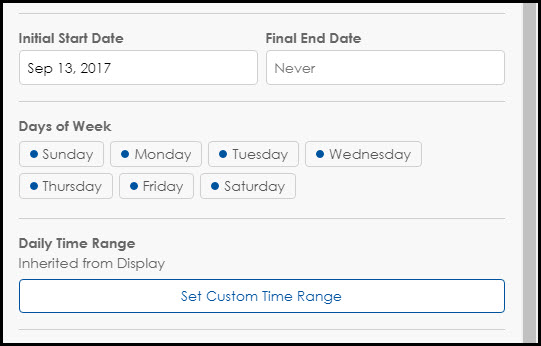
Then, when you need it to play again, simply change it to Active, update your Start and End Dates and Times, if necessary, and click Save!
Basically, this is a time-saving measure to help you be more efficient when scheduling content for your display.
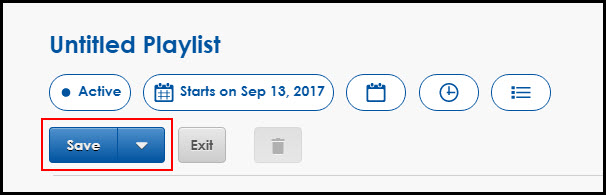
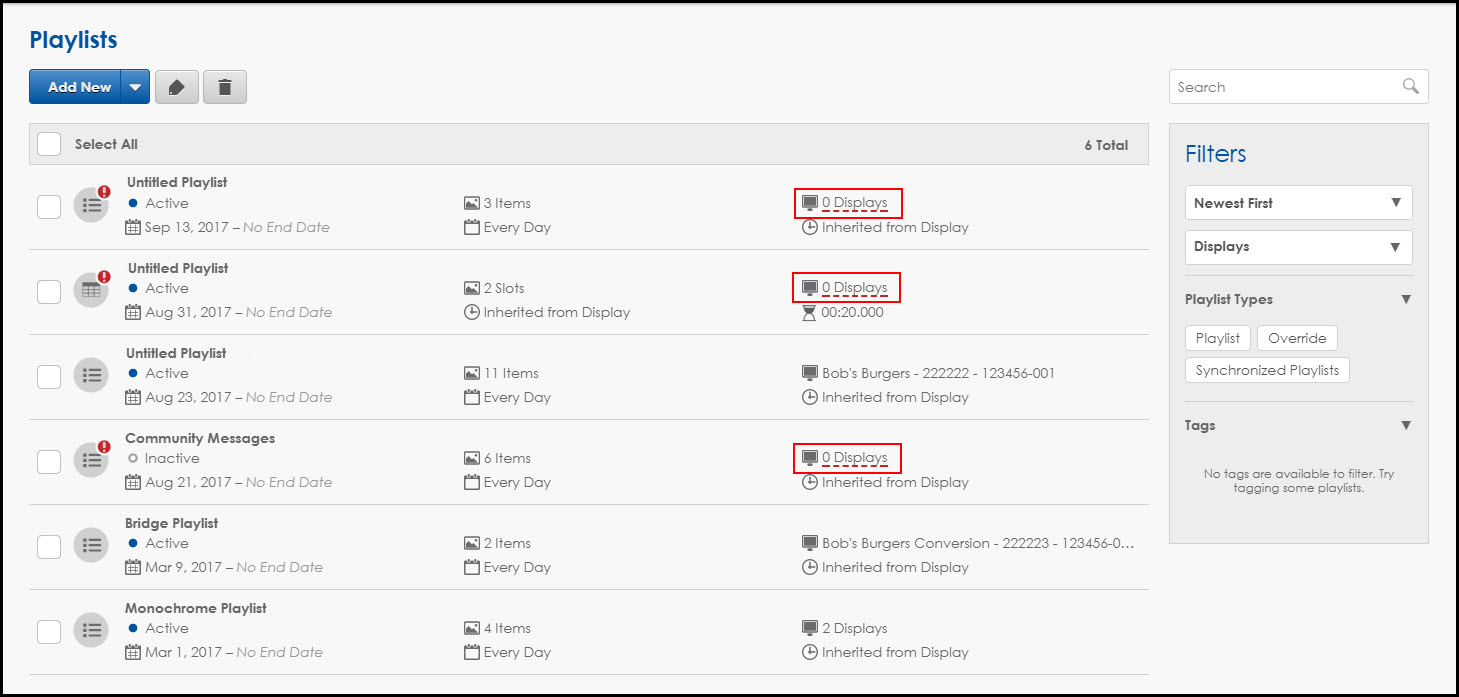
The nice thing about using the “Active” and “Inactive” statuses is when you go into your Playlists tab, you will see which ones are Active and which are Inactive without even opening any of your Playlists!

Alternative
To achieve the same objective, don’t select a display to associate your Playlist to. This means that after creating a Playlist, choosing your Playlist properties, and adding your files, don’t click on Add Displays to target a display for the Playlist.
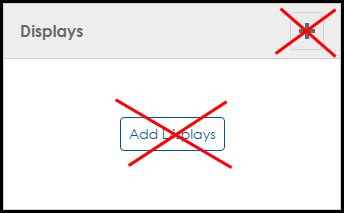
By leaving the Add Displays field empty and not choosing a display, you are essentially saving your Playlist for a later date. The Playlists tab serves as a reminder, showing a red underline pointing out that you have zero displays selected for that Playlist.
We hope these tips help you save some time when you are scheduling. Be sure to click on the orange “Receive Email Updates” button on the right side of the screen to subscribe to our blog! Thanks for reading!