
Keeping Tabs on Your Tabs: The Format Tab (Content Studio)
Learn about all the different features found in the Format Tab in Content Studio.
Daktronics Commercial Software Training on 3/7/2018
Categories: Venus 1500 Training
Welcome back to our ongoing series about all the Tabs in Venus 1500 Version 4!
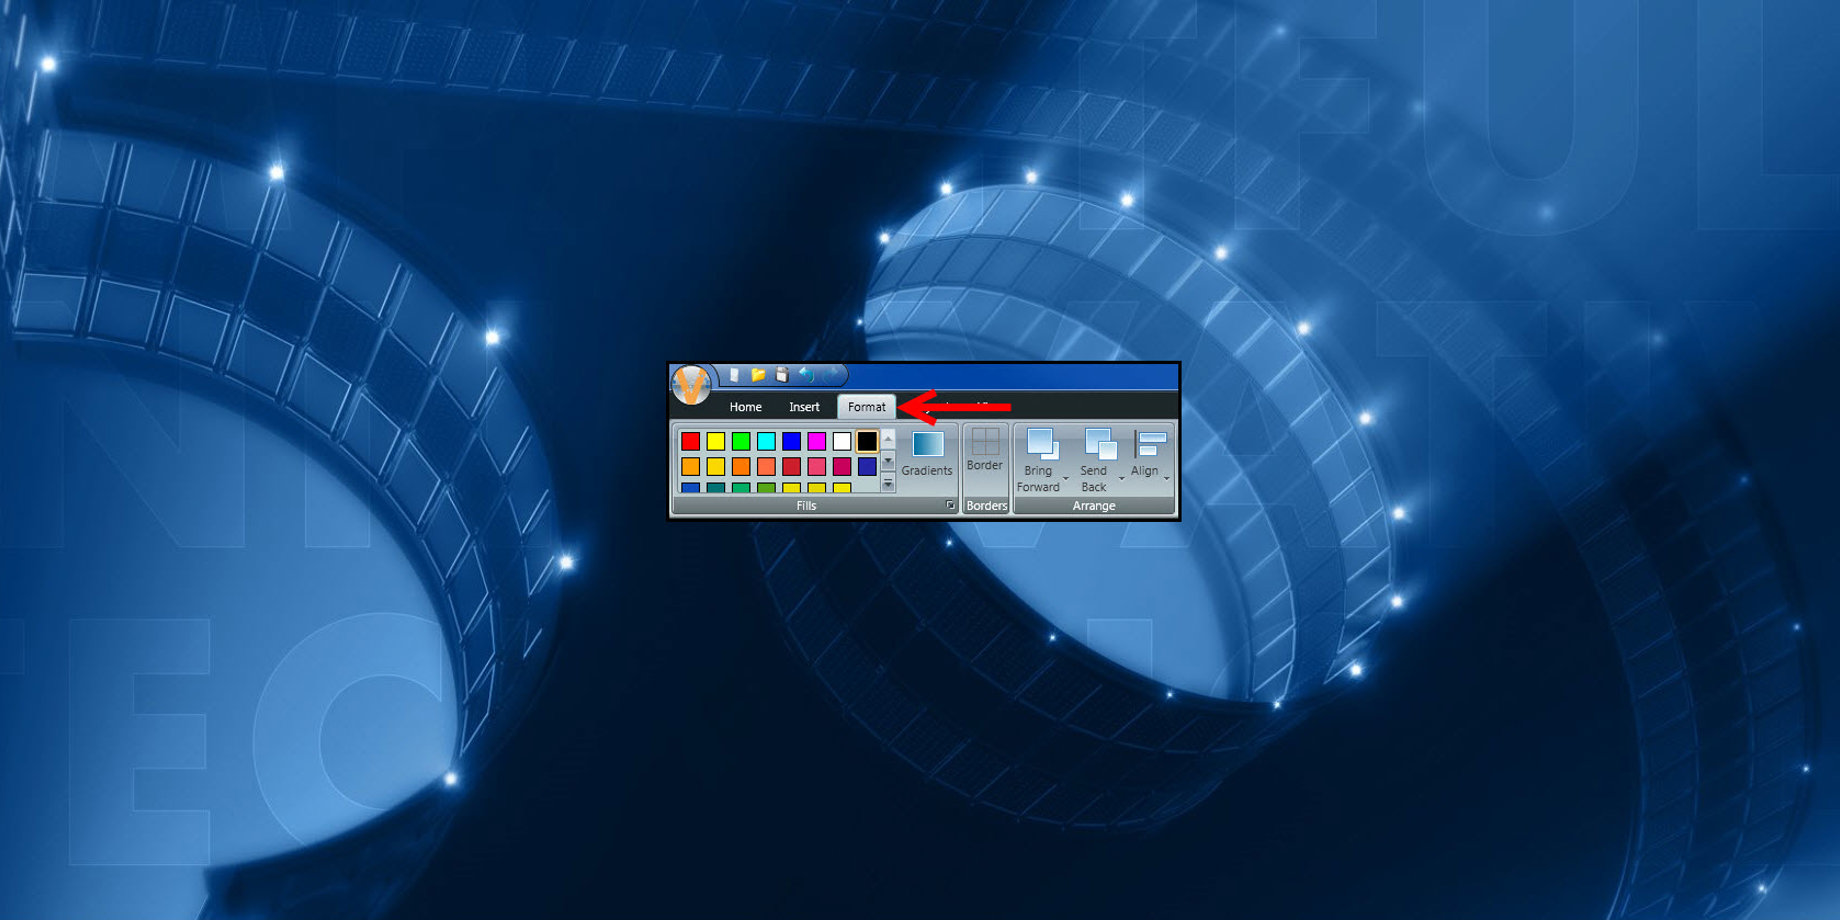
This week we will review the Format Tab in Content Studio. The Format Tab is located between the Insert and Layout tabs in the ribbon running across the top of the software.
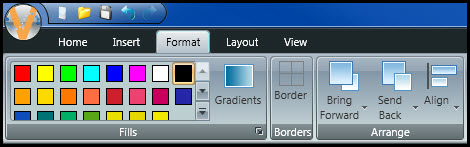
Three groups are in the Format tab. Each of them gives you the ability to, you guessed it, choose a format of some kind for your presentation. Whether it is choosing the background color, arranging elements within your layout or even applying borders for some display owners, all of the options found within the Format tab are crucial when it comes to creating high-quality content for your LED display.
Fills
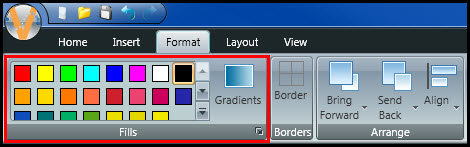
The Fills group lets you choose background colors to apply to your layout. You can even create custom colors or select a color from a picture or video that has been imported into a layout. Check out the blogs below to learn more!
It also gives you the ability to add Gradients to your background to make your presentations more visually appealing. You can learn all about Gradients by reading the following blog!
Borders
The Borders group is only available for GalaxyPro Revolution and GP4 displays, so some of you may not actually be able to see that group in your ribbon. That is perfectly ok; nothing is wrong with your software or display!
For those of you who can see the Borders group, please continue reading to learn more. As for the rest of you, go ahead and skip down to the next section, please!
Borders can be added around elements (Pictures, videos, text boxes, etc.) to help them stand out from the background.
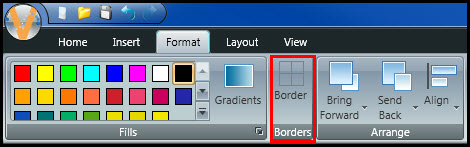
To apply a border around an element, follow the steps below.
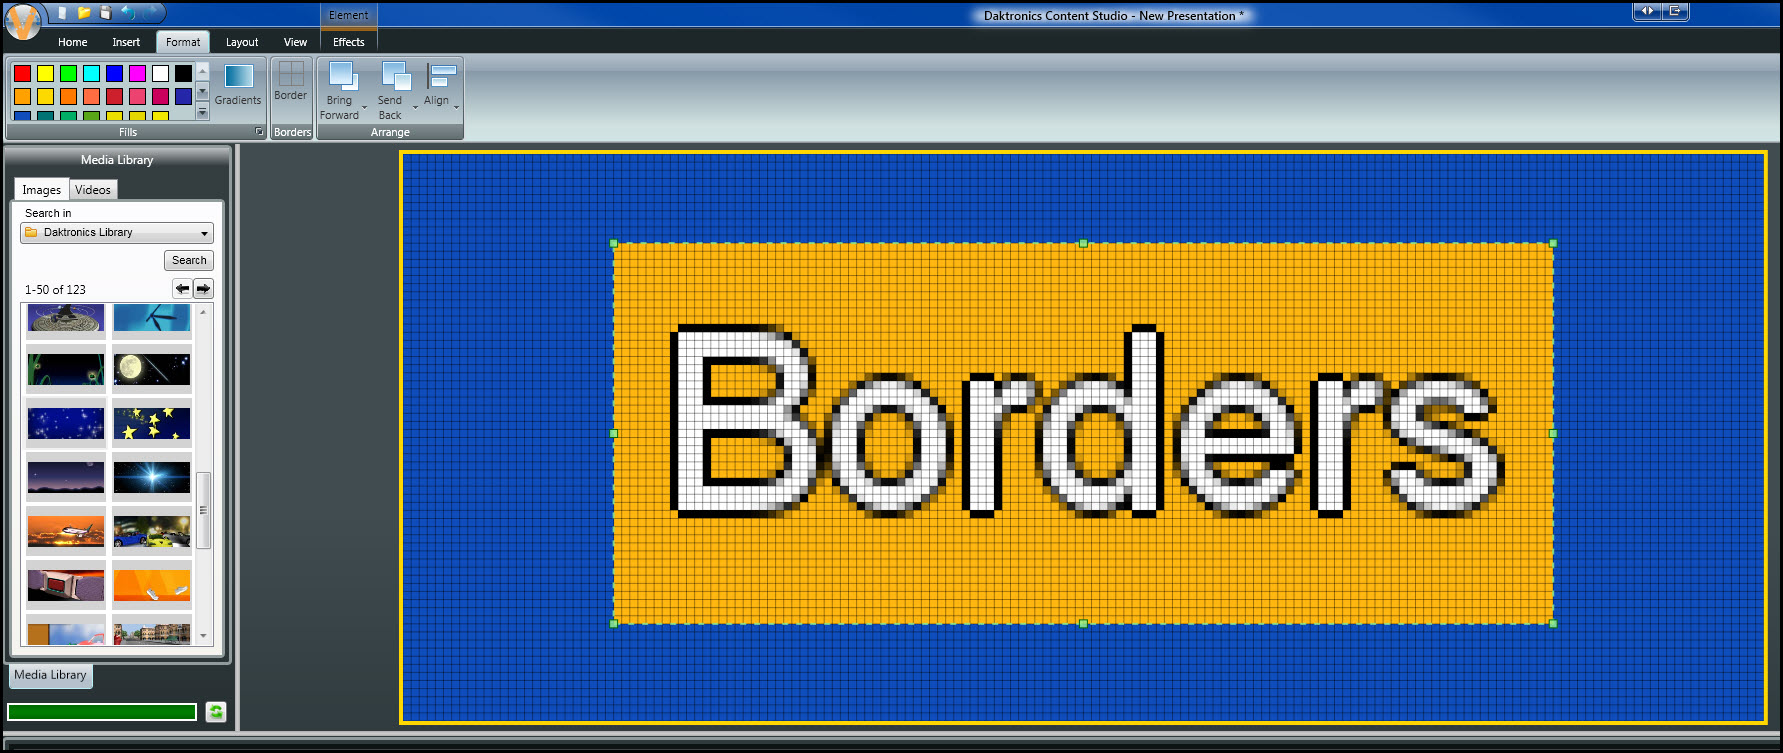
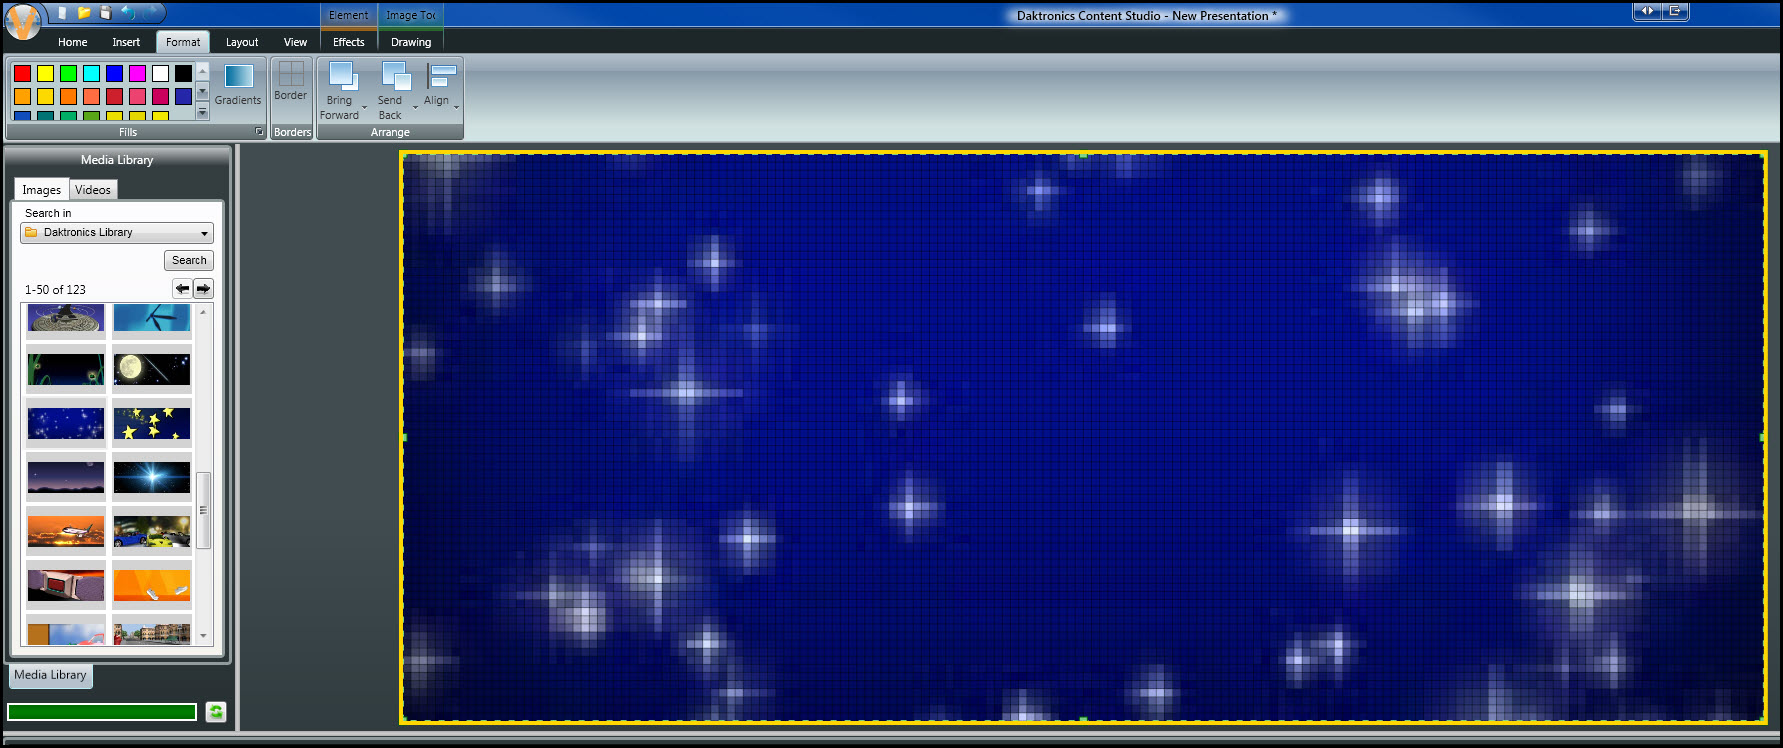
- Select the element you want to add a border to. You will know it is selected if you see a green border around it.
![Borders Step 1]()
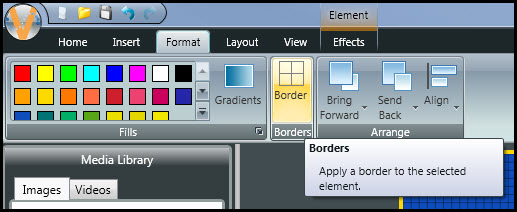
- Go to the Format tab, in the Borders group, click Border.
![Borders Button]()
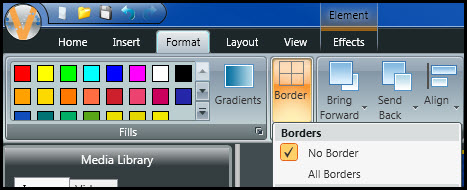
- Choose the type of border from the Borders drop-down menu.
![Border Type]()
- No Border does not place a border around the element by default.
- All Borders place a border on all sides of the element.
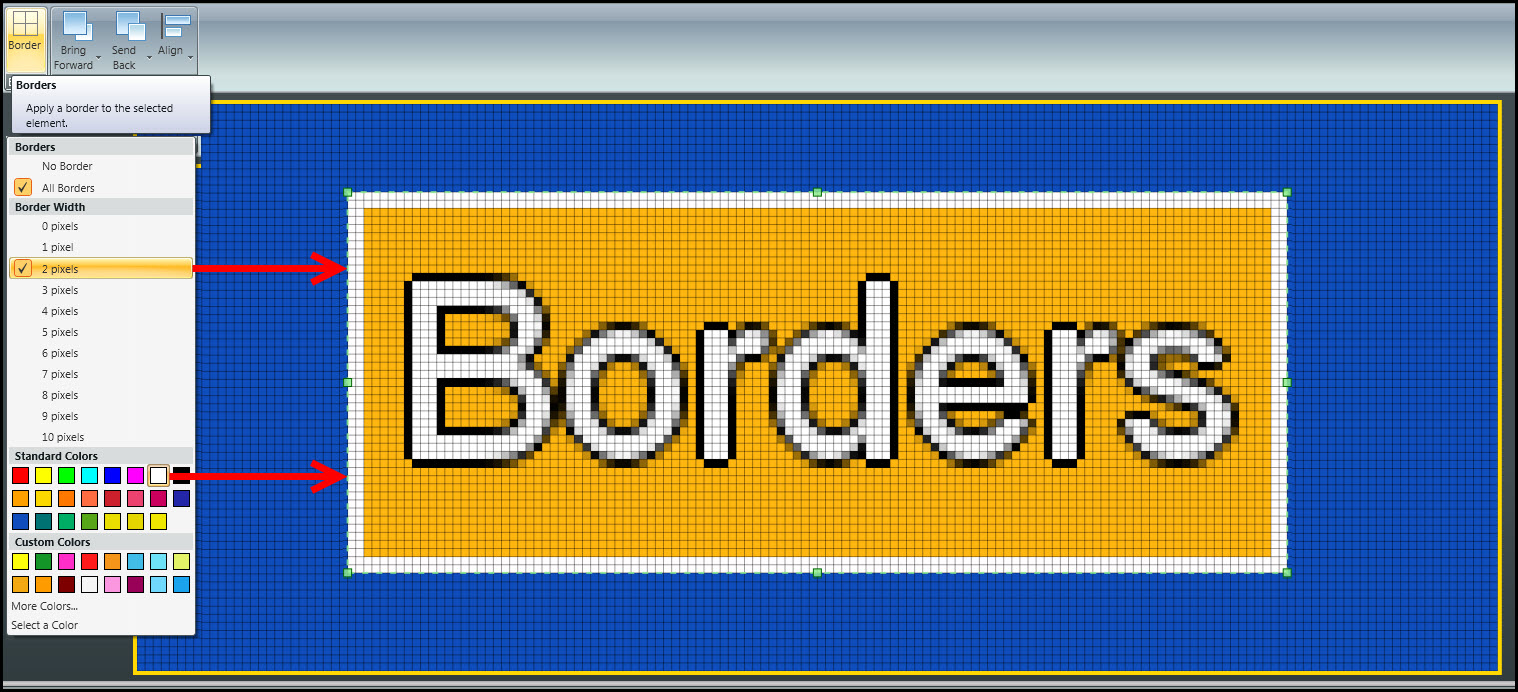
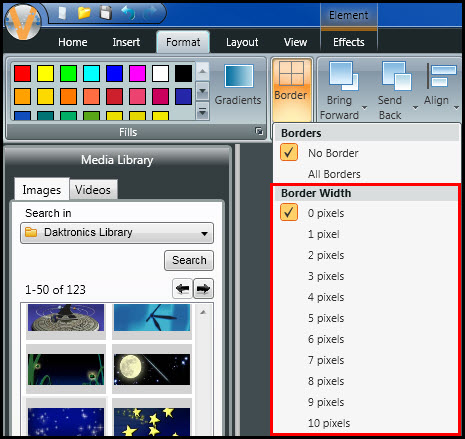
- Select the pixel width for the border. A check mark appears next to the selected pixel width.
![Border Width]()
- Border widths range from 1 to 10 pixels thick. The larger the number, the wider the border. 1 pixel is the default setting when All Borders is selected. 0 pixels is the default setting with No Borders is selected.
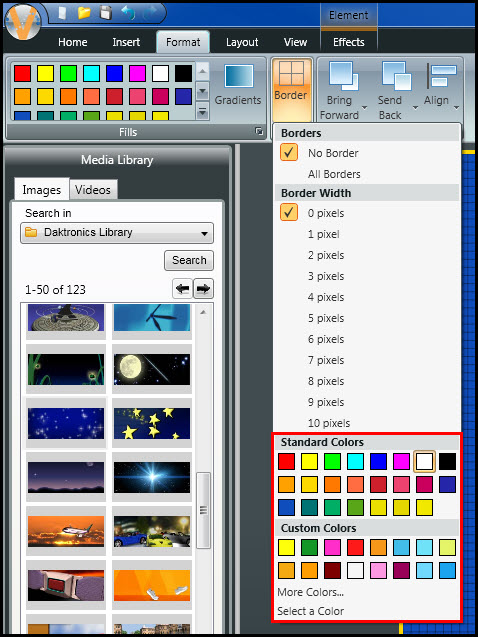
- Select the border color from the Border Colors palette. To choose a color that is not offered in the Border Colors palette, create a custom color by clicking on More Colors.
![Custom colors]()
Arrange
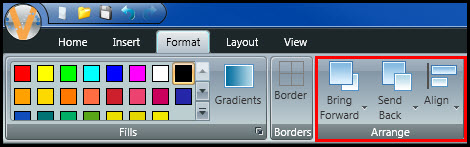
The Arrange group lets you adjust the layers of elements within your presentation. It also allows you to align elements within your presentation.
We all know that you can click and drag elements to place them wherever you like within your layout; however, if you have many different elements that need to be aligned, then this is really the best way to go.
Let’s say we just imported a picture into a presentation that already had a text box in it. At first, the picture would appear in front of the text box, hiding it completely.
However, if we select our picture so that we can see the green border around it, and then click on Send Back in the Arrange group, we can choose to move it behind out text box.
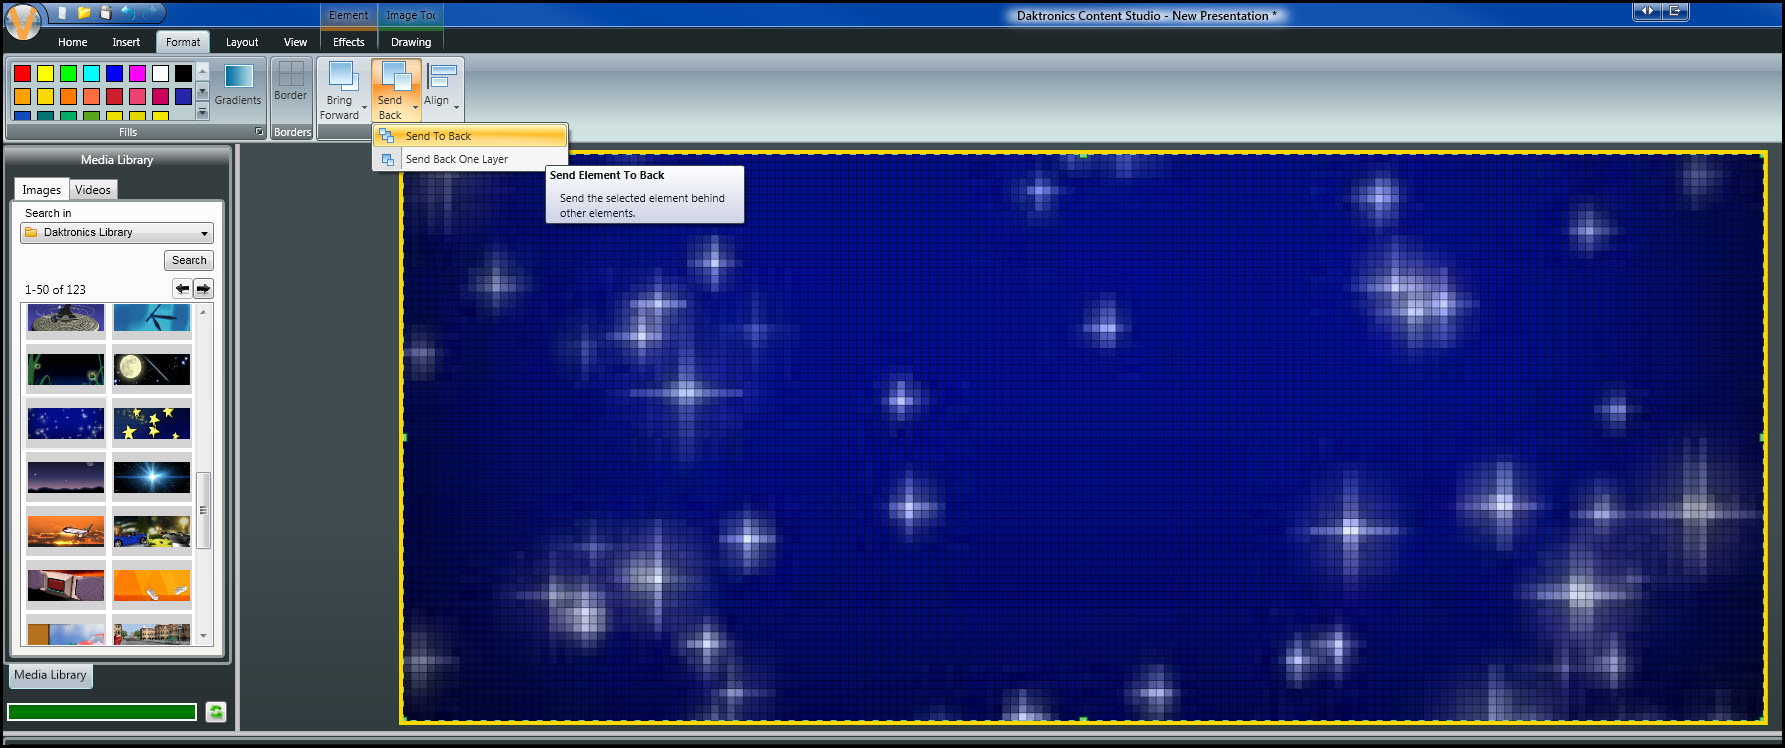
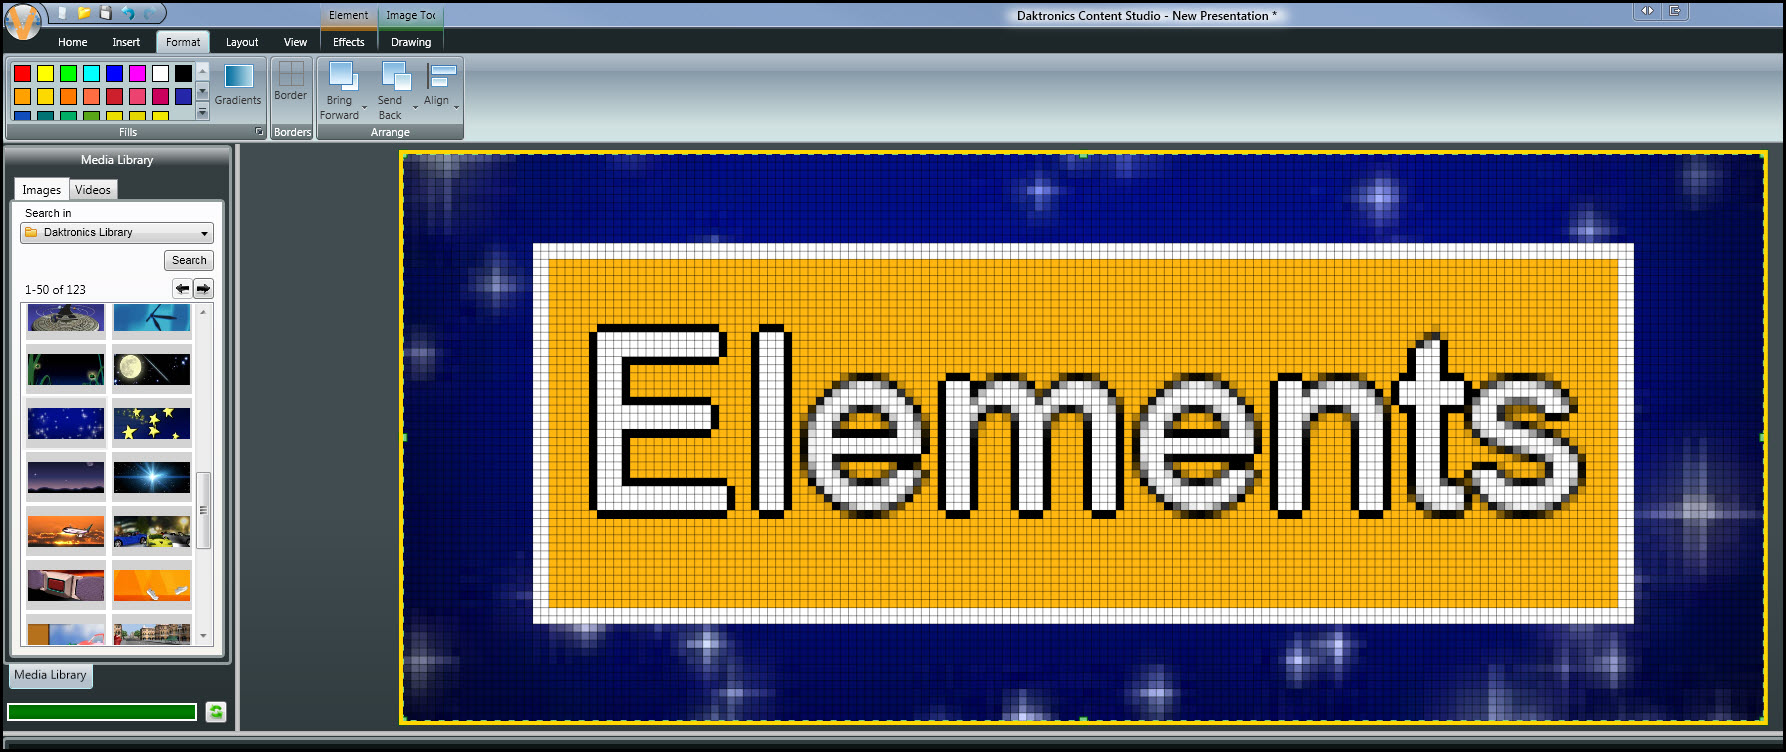
Now our text box is on top of our background. You can do the opposite as well, by clicking on an element that you want to Bring Forward! Isn’t that cool?!
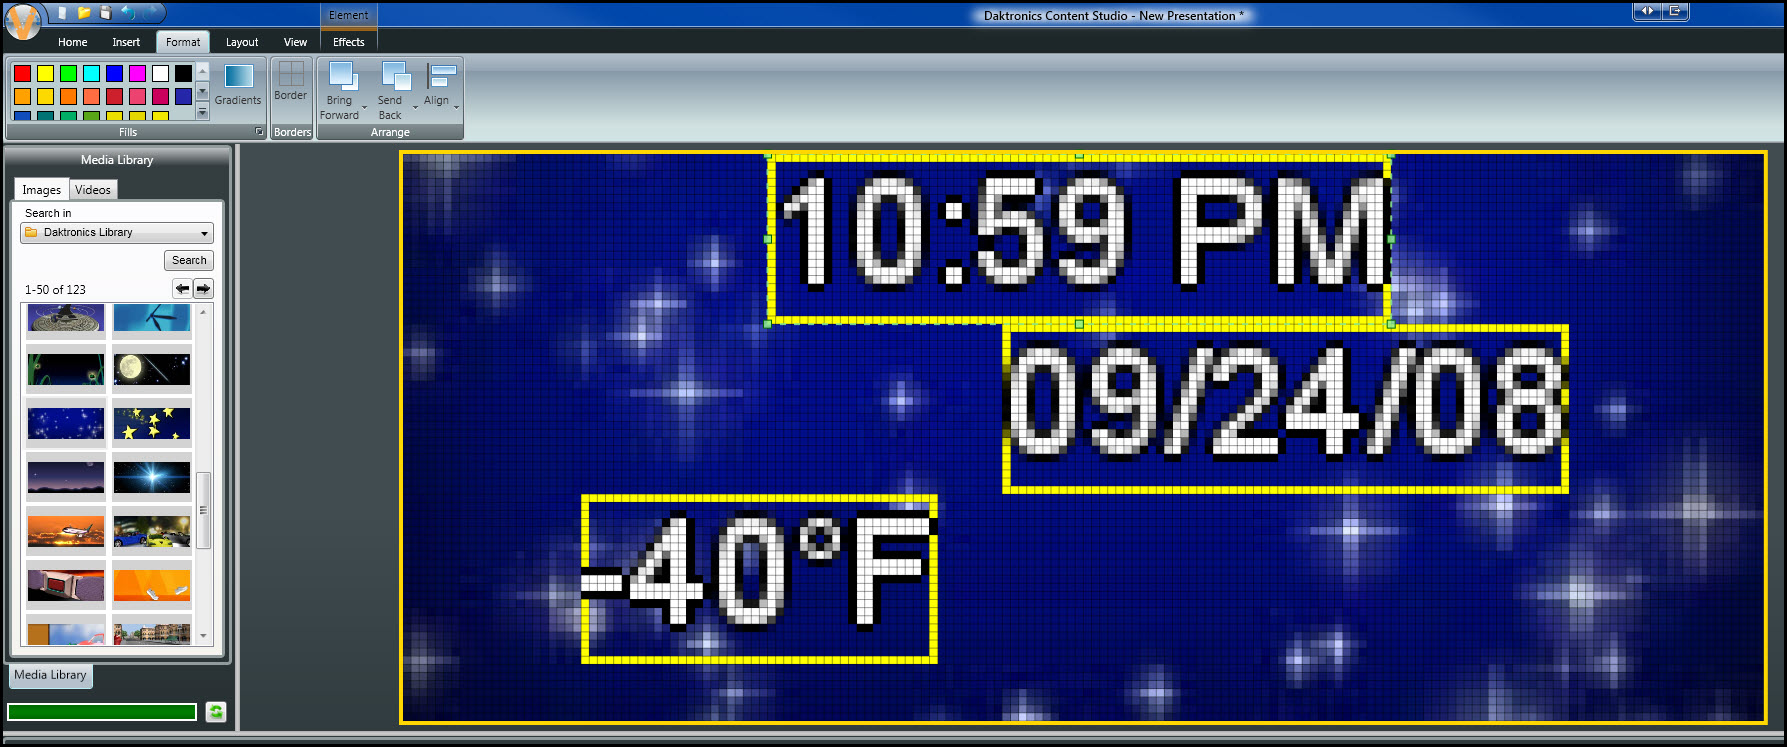
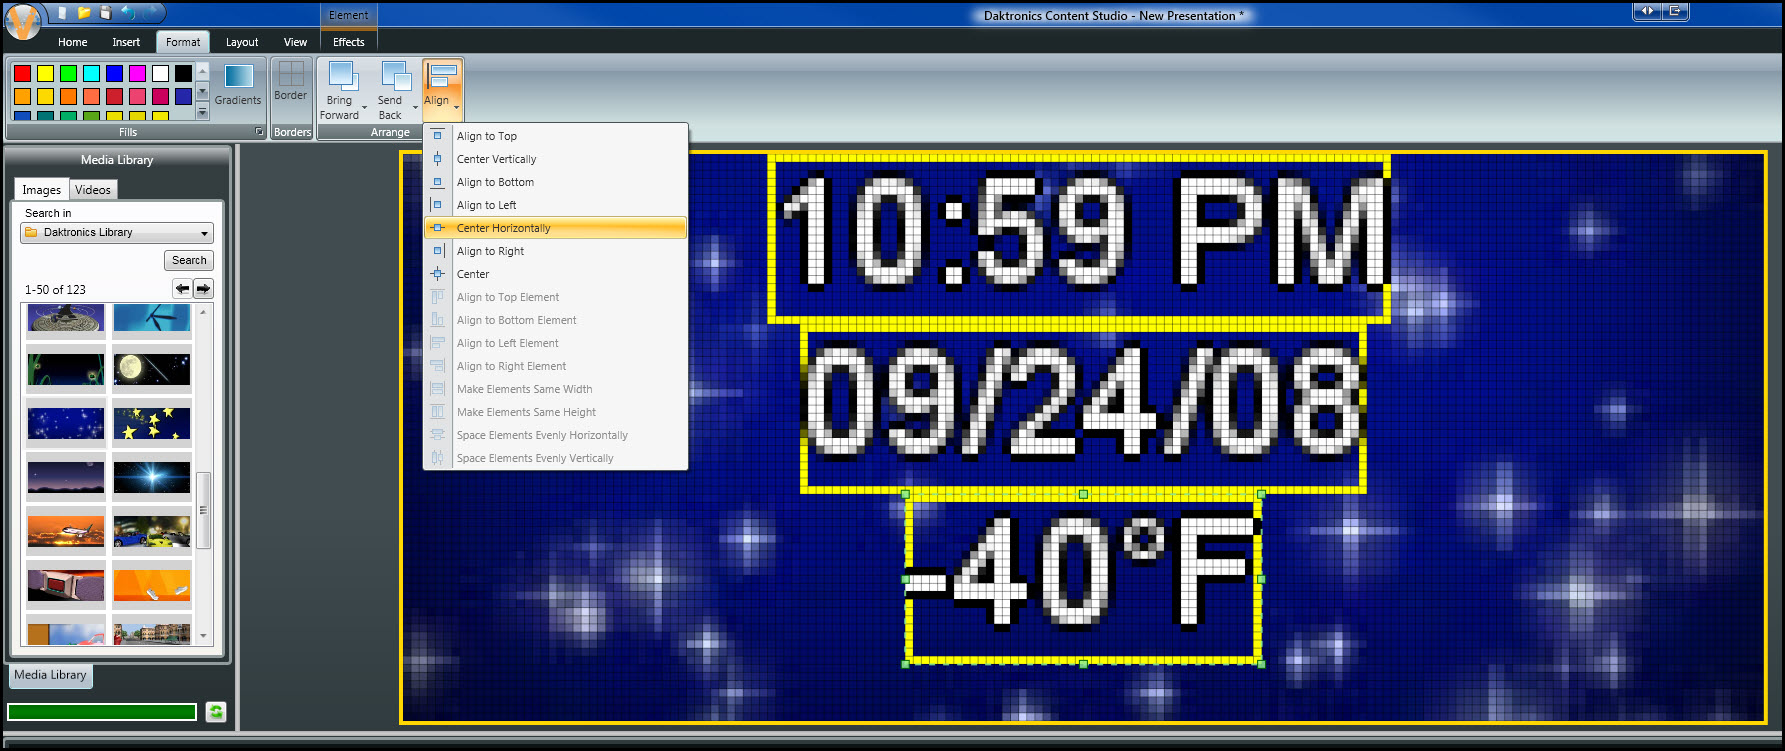
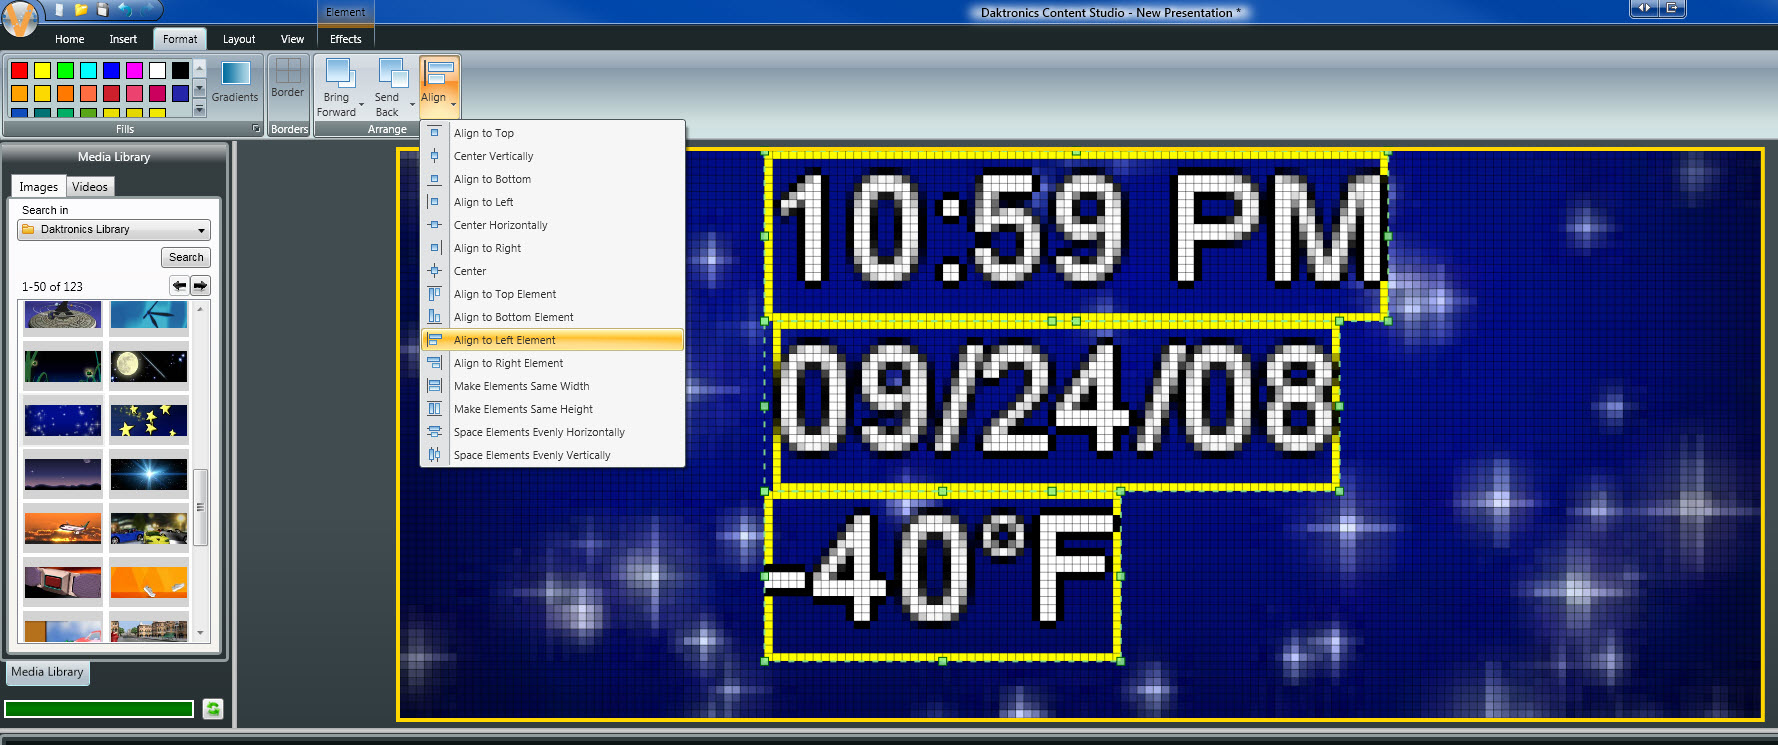
When it comes to aligning elements, there really is no substitute for the Align button. Let’s say, for example, that you are creating a time, temp and date message and you want all 3 of the elements to be aligned to the center of your layout.
All you have to do is select each element individually, click on the Align button and choose Center Horizontally.
Another situation you may find yourself in is needing to align the bottom two elements with the top element so they are all flush on the left or right side.
For this, you would select all 3 elements by clicking on each of them while holding down the Control key on your keyboard. From there, click on the Align button and choose Align to Left Element.
These are only a couple of the options available when it comes to aligning elements within your layout. Try the rest out, and let us know what you think!
We hope you found this overview of the Format tab helpful and that you learned something new.
Be sure to click on the orange “Receive Email Updates” button on the right side of the page to subscribe.
Thanks for reading!