
Keeping Tabs on Your Tabs: Pages, Effects & Drawing (Content Studio)
Learn all about the Pages, Effects and Drawing tabs found in Content Studio and how you can use them to liven up your content!
Daktronics Commercial Software Training on 4/18/2018
Categories: Venus 1500 Training
Welcome to the penultimate post in our series focusing on all the tabs in Venus 1500 Version 4. This week, we will be looking at some very special tabs that aren’t always visible. You see, there are 3 tabs that appear only after other features have first been engaged.
Trainer Tip: Before we begin, make sure you are using the latest, compatible version of Venus 1500 V4 by visiting www.Daktronics.com/Venus1500. From there, scroll down and click on the orange “Download Venus 1500” button that will take you to the Venus 1500 Software Downloads page. Now, scroll down and click on the orange “Update” button that corresponds with the Operating System on your computer to download and install the latest update.
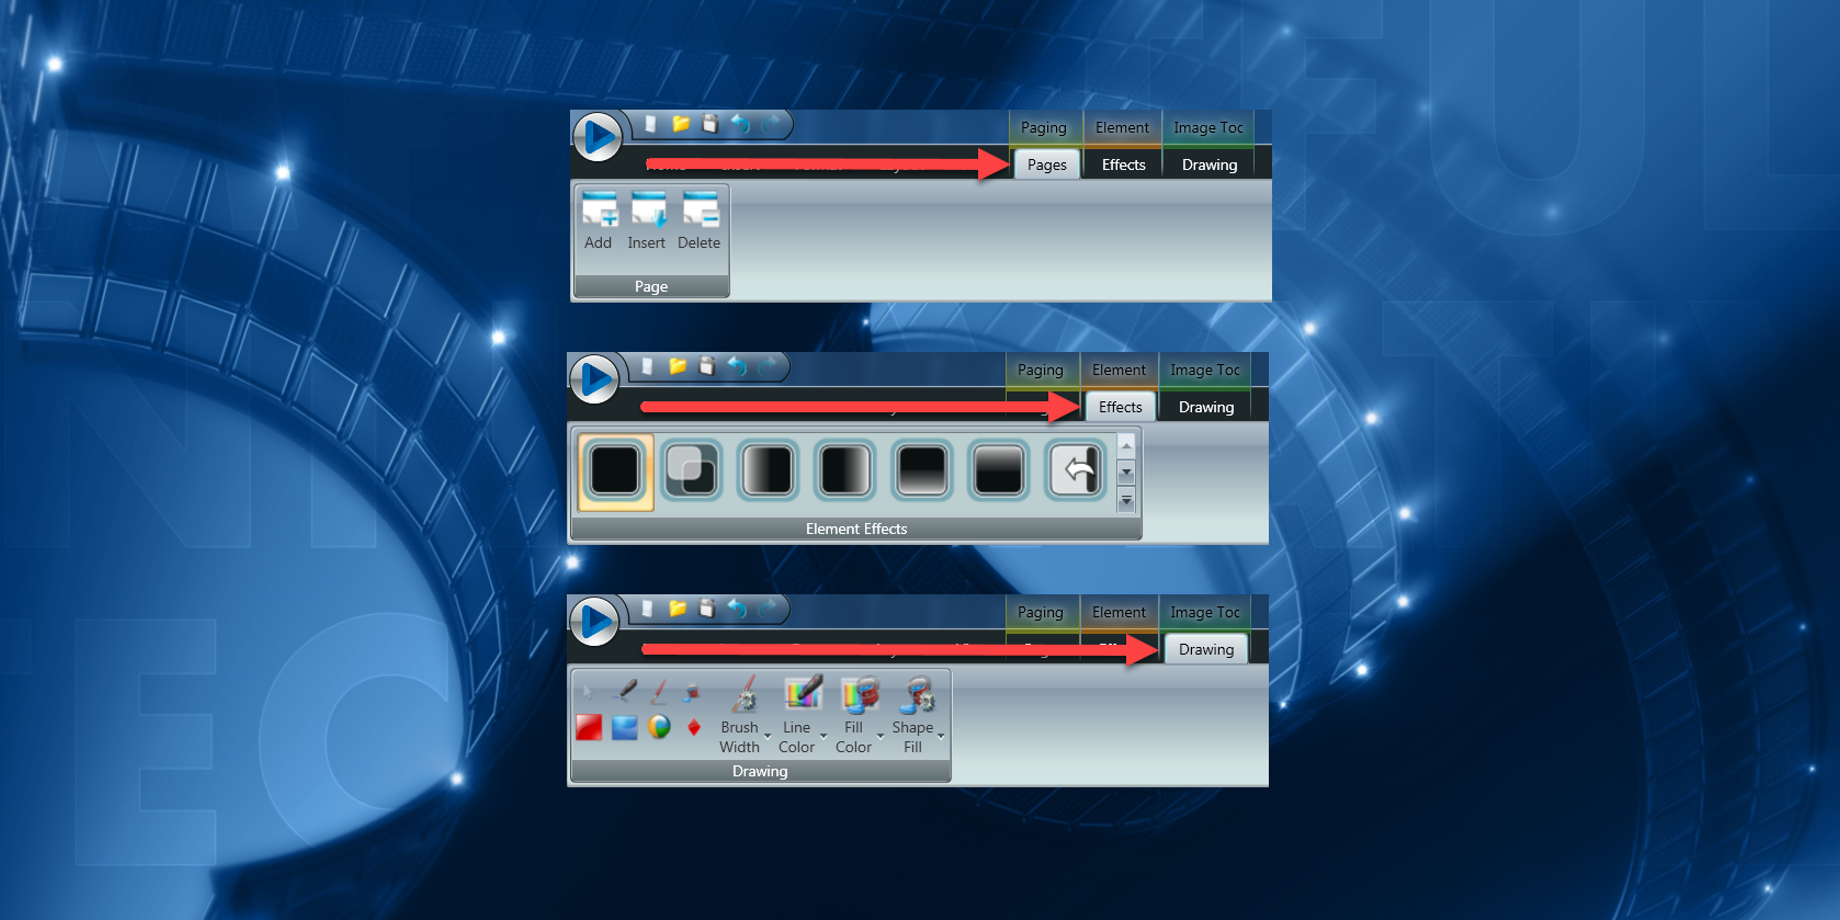
Pages Tab
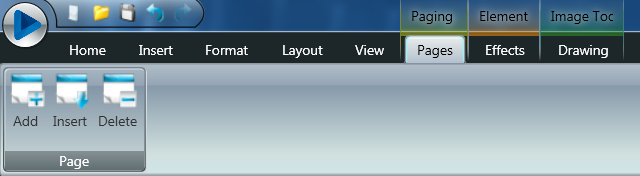
To see the Pages tab, you must first click on the Insert Tab, and then click on Paging in the Media Group. Paging is a very useful tool that allows you to create multiple pages within the same layout. When I think of paging, I picture layouts within layouts. You can use pages for announcements, daily specials, event calendars, awards and honors ceremonies and other promotions.
To learn more about paging, click the links below and read our previous blogs about it.
- Layouts Within Layouts: How to use the Paging Feature
- Keeping Tabs on Your Tabs: The Insert Tab (Content Studio)
Effects Tab
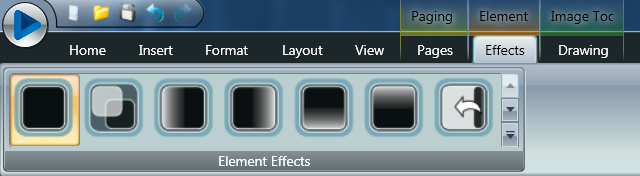
To see the Effects tab, you must first click on the element(s) in your layout that you want to apply the effect to. When the Effects tab appears, you will click on the Element Effect you want to apply.
The Effects tab will only appear for those of you with GPC, GP3, GP4 and DVX/DVN model displays. So, if you have a different display model and click on an element, and can see the green border around it, but no Effects tab appears, that is perfectly normal. For those of you who do have compatible displays, read the following directions to learn how to apply element effects.
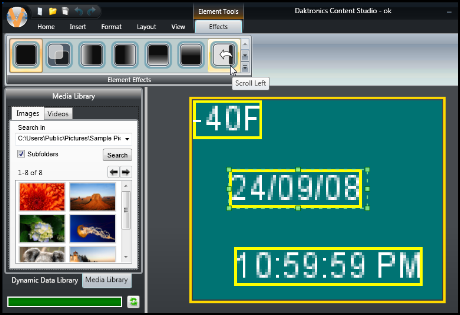
1. Select the Element you want to apply the effect to from the Element Effects group.
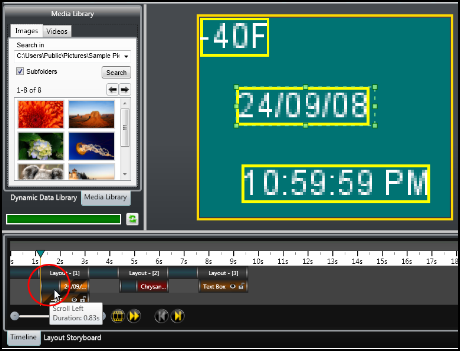
2. The effect appears to the left of the element bar it is applied to in the Timeline view.
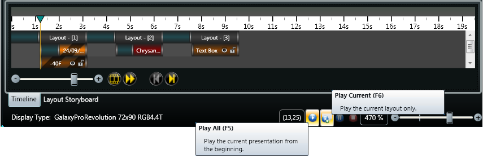
3. Click either the Play All button or the Play Current button to preview the element effect.
Element effects are very similar to Transitional Effects, but can be applied to specific, individual elements rather than to the entire layout. An element is anything that you import into a layout, such as text boxes, images, videos, scrolling text. Basically, anything other than text typed directly into your layout would be considered an element.
You can use both element effects and transitional effects in the same layout, though. Effects are a great way to get potential customers’ attention! Passersby will be more likely to notice the movement in their peripheral vision than a static message.
To learn more about effects, click the links below and read our previous blogs about them.
Drawing Tab
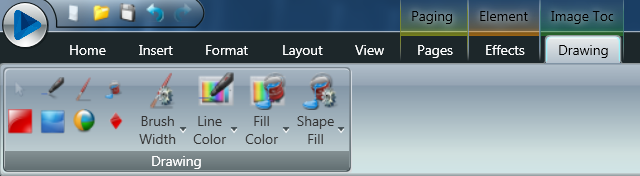
To see the Drawing tab, you must first click on an image that has been imported into a layout. Once you have the picture selected and can see the green border around it, the drawing tab will appear.
If you have the Timeline enabled, you can click on the image’s element bar to make it appear as well. The main purpose of the Drawing Tools is to clean up or modify images.
To learn more about the drawing tools, click the links below to read about them.
- Image Tools: Drawing Tab
- How do I use the Drawing Tools in Content Studio or edit an imported graphic?
We hope you find this information useful when creating content for your Daktronics display. Go ahead and click on the orange “Receive Email Updates” button on the right side of the page to subscribe!
Be sure to tune in next time for the final post in our ongoing series about tabs that will focus on the Layout Storyboard and Timeline tabs. Thanks for reading!