
All About the Application Menu: Content Studio
Learn all about the Application Menu in Content Studio, and how you can use it to customize your software settings.
Daktronics Commercial Software Training on 6/27/2018
Categories: Venus 1500 Training
Welcome back, everyone!
Last time, we showed you all about the Application Menu in the Venus 1500 Hub. Did you know that there is also an Application Menu in Content Studio? Well, there is! It’s that big orange ‘V’ in the upper left corner of Content Studio.
Just like in the Venus 1500 Hub, the orange ‘V’ is a variant of the Venus 1500 logo and stands for Venus 1500.
The better you know Content Studio, the better your content creation experience will be! So let’s jump in and learn more about using it.
Now that we have all that out of the way, we can talk about all the different features and options available in the Content Studio Application Menu. Before we get started though, let’s make sure you know how to get to it.
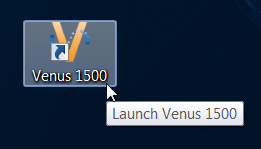
- Open Venus 1500 V4.
![Open v4]()
- Select your display.
![select display]()
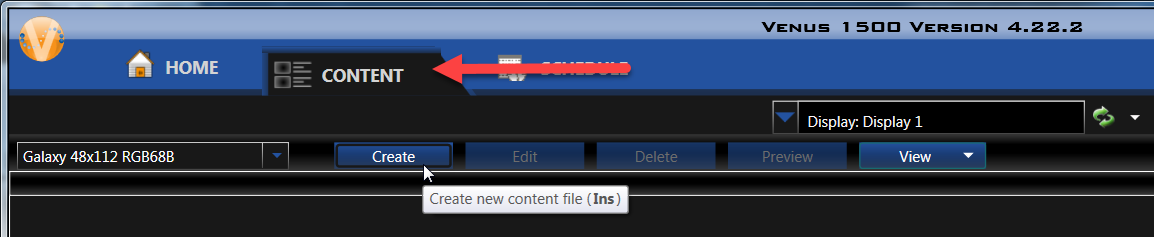
- Click on the Content Tab.
- Click on the blue Create button or double-click on an existing presentation.
![Content]()
- Once Content Studio opens, find the orange “V” in the upper left corner. There it is!
![App Menu 0]()


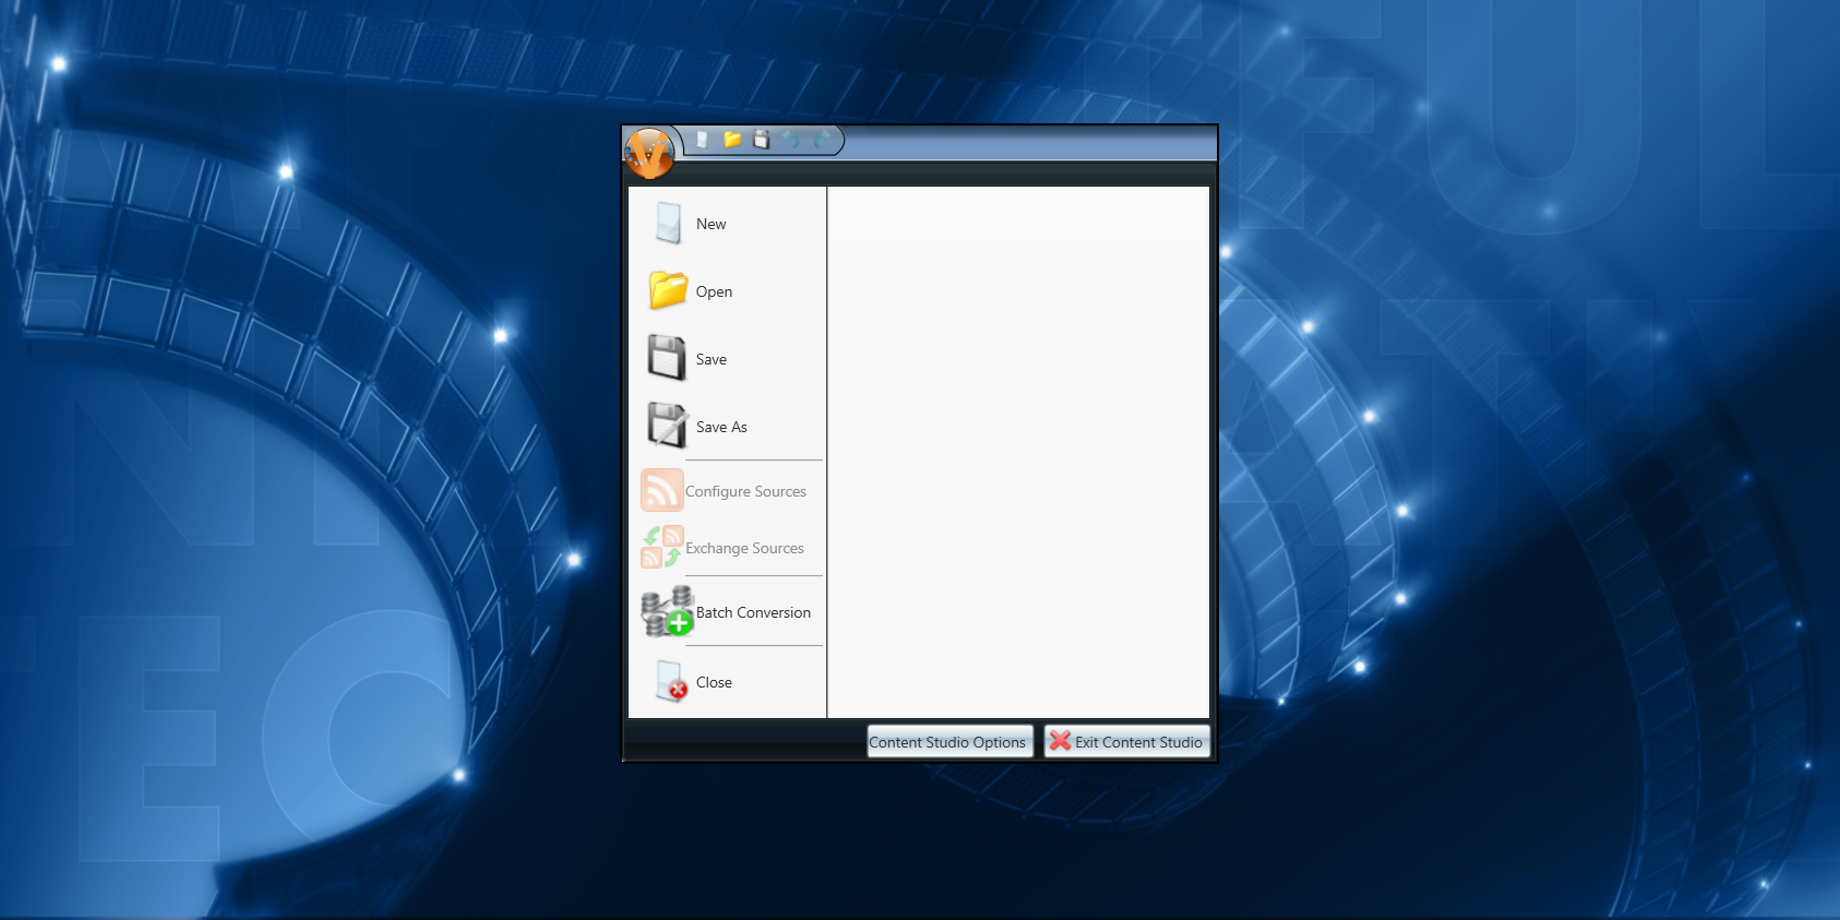
Go ahead and click on the Application Menu (Orange V) and see what happens …
You will see a drop-down menu appear with several different options to choose from. The first section of the menu gives you the ability to create a NEW presentation, OPEN an existing presentation, or SAVE the presentation you are currently working on.

You will also notice that you can choose from SAVE or SAVE AS. If you choose SAVE, you will be prompted to give the presentation a name the first time you save it. If you make any changes to it in the future and choose to SAVE again, it will automatically save the changes you made as the same file name.
Whereas, every time you click SAVE AS, you will be prompted to give the presentation a name, whether it be the first time you save it, or after the hundredth time you’ve edited it. If you change the file name, then you will have 2 presentations: the original one, and the one you edited and saved with a different name.
The next section down allows you to configure sources and exchange sources. This means you will be able to set up a data feed. Keep in mind that feeds are only available GP4 or newer model displays and Venus 1500 V4.20 or newer software.

Click the links below to learn more about configuring data feeds!
The next section down is called Batch Conversion. Batch Conversion is used to convert multiple still images or videos into one single presentation or multiple presentations. It allows you to import multiple still images or videos at the same time, rather than importing each still image or video one at a time.

This may come in useful during graduation ceremonies if you wanted to display pictures of each student graduating, especially if you have 100 or more students graduating! Just think of the time you’ll save!!
Click the below link to learn even more about Batch Conversion:
The final button on the left side of the Application Menu dropdown is the “Close” button. If you click on this button, it will leave Content Studio open, and close out of the current presentation you are working on.

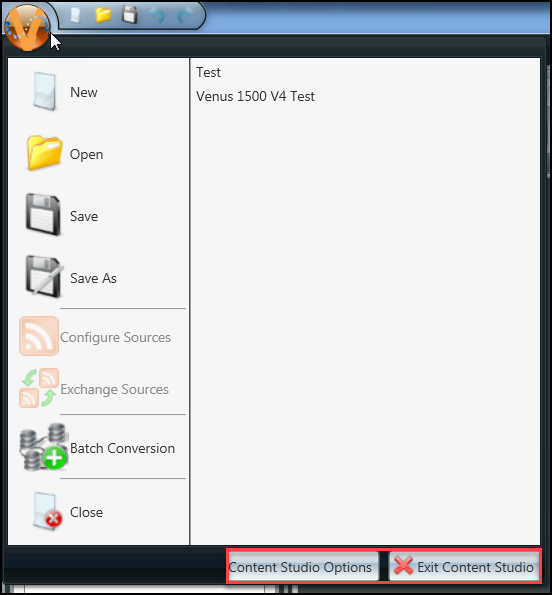
The right side of the Application Menu lists out all the presentations you have recently had open. You can click on them to re-open them if you want, but if they have been deleted then you will receive an error message saying the file cannot be found.

Below the list of recent presentations, you will find two additional buttons. If you click on the button that says, “Exit Content Studio,” it will close Content Studio entirely. If you click on the Content Studio Options button, it will take you into all the settings for Content Studio. This is where you can customize the appearance and features of your software!
Environment: This is where you can change the default time for Layouts and Pages. The default setting is 10 seconds, but can be changed to meet your needs. We recommend 3 – 5 seconds per layout. Your entire presentation (set of layouts with one thought) should not be longer than 15 seconds. The average is around 8 seconds. This is all dependent on zoning restrictions in your local municipality.

Plug-ins: You can enable or disable your time line feature with the plug-ins section. If you place a check mark in the box in front of Timeline, a new tab will appear in bottom left of Content Studio. Timeline is another way to view your presentation and your layouts.
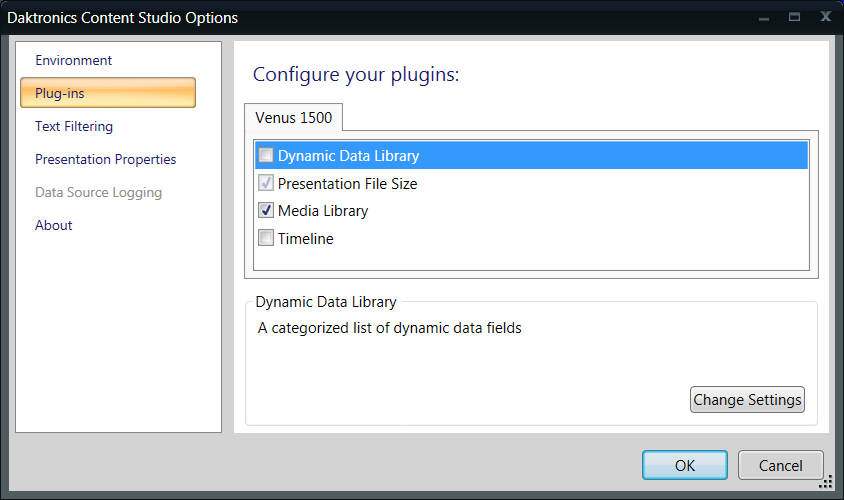
Text Filtering: These are words that the FCC has deemed inappropriate for the airways. They are not case sensitive and when saving, all text is scanned. If a filtered word is in the presentation, the user is not allowed to save. If you would like to add a word to the prohibited word list, just type it in and click on the plus sign to the right of the field.

About: Has Daktronics contact information should you have questions or concerns.

Click below to learn how you can change Content Studio’s default options:
We hope you find all this information helpful when it comes to familiarizing yourself with Content Studio. The better you know Content Studio, the better your content creation experience will be!
Be sure to click on the orange “Receive Email Updates” button on the right side of the page to subscribe to our blog. Thanks for reading!