
Photograph Digital Signs Like a Pro
LED displays are difficult to capture in a photo. A few simple adjustments to your process or camera settings can help you capture a breathtaking photo.
11/1/2021
Categories: Business & Community, Out of Home Advertising, Sign Company News
First and foremost, if you have great photos of your signs you want us to promote on our site, submit them by clicking the button below.
Getting a high-quality photo of a digital display can be tricky. But, showing off all your digital assets is worth the effort of breaking out the camera and adjusting some settings. Here are some important considerations:
Timing and Lighting
When venturing out to photograph your LED display, pay attention to these elements before for snapping some shots:
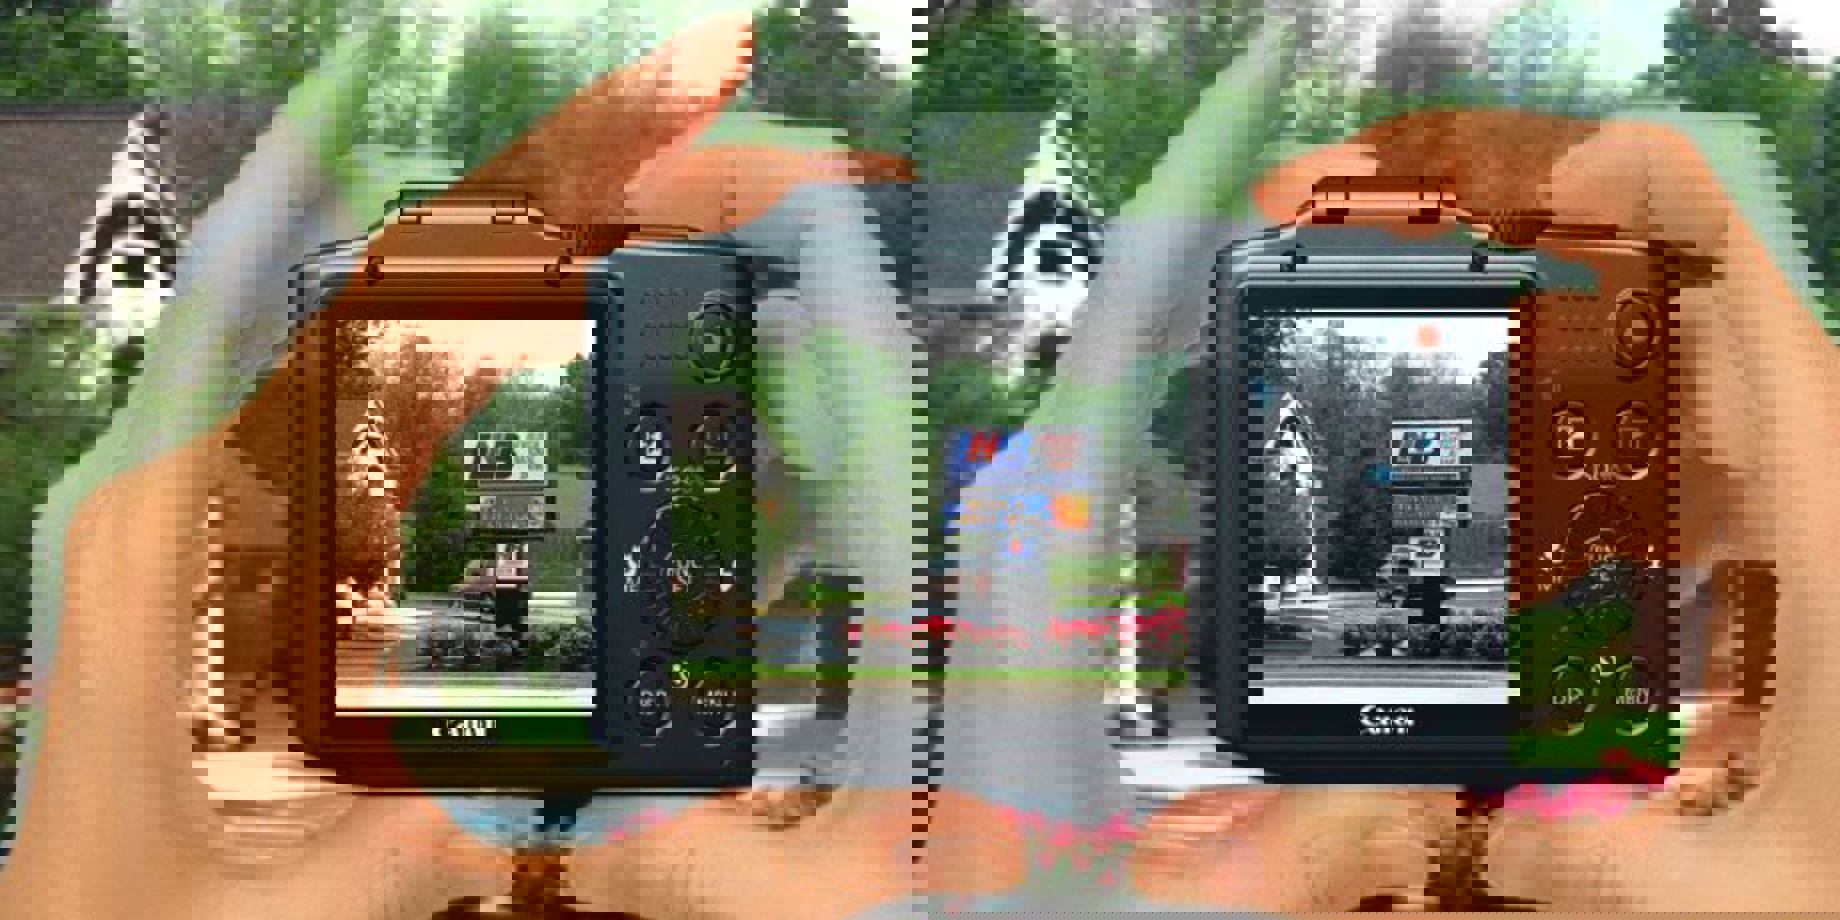
- Weather conditions – Overcast skies or precipitation drown out the color of the display. We recommend shooting the sunny side of the display at mid-morning or late afternoon.
- Background – Vehicles, people, construction, or other objects in the background distracts from the signage.
- Avoid Zooming – The zoom tool decreases clarity. If you want a tighter shot, physically move closer to the sign.
- Lighting Contrast – When shooting images at night or indoors, the extreme contrast between the dark surroundings and bright LEDs makes proper lighting difficult to achieve. Try turning the display to 15-20% brightness and put darker content on the screen.
Display Content
Choose your best, cleanest content when photographing your LED display. Avoid content with white backgrounds as much as possible.
If your photos are plagued with tiling (visible LED modules) or moiré (those annoying wavy lines), try taking a step or two in any direction until it goes away. More tips for solving these issues can be found in the advanced section below.
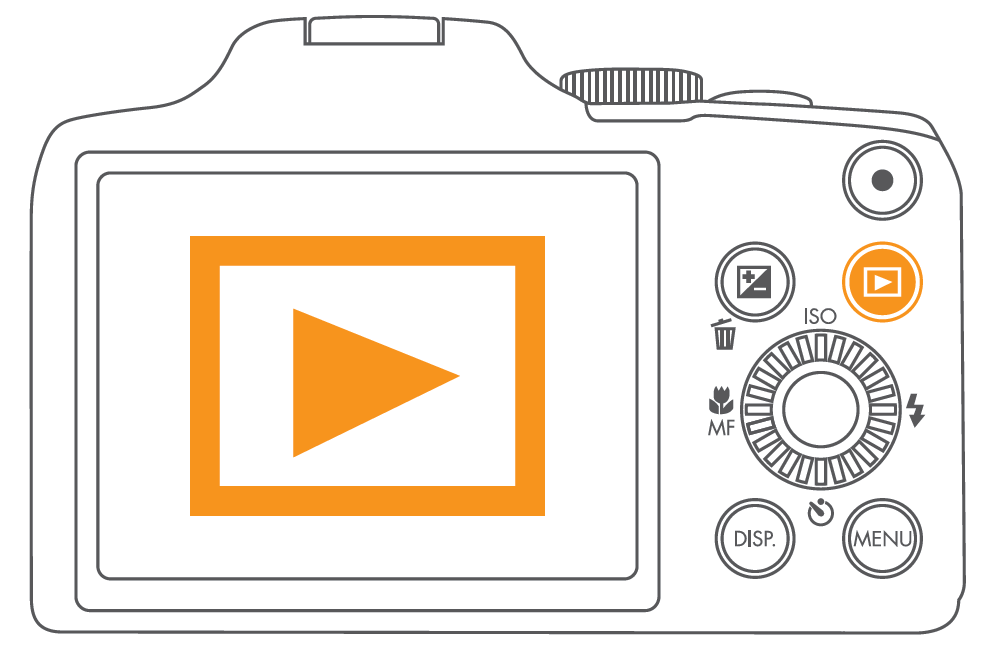
Try to take at least 10 photos so you have a nice selection and always review your pictures before leaving the site. If you’re still struggling to get a clear shot of your display, keep reading for tips on adjusting camera settings.
Angles and Composition
Get creative with your shots – move around! Take photos from multiple vantage points to see which angle best suits your installation. Straight on, level shots tend to lack character.
We also recommend using a tripod to stabilize your camera, reducing blur.
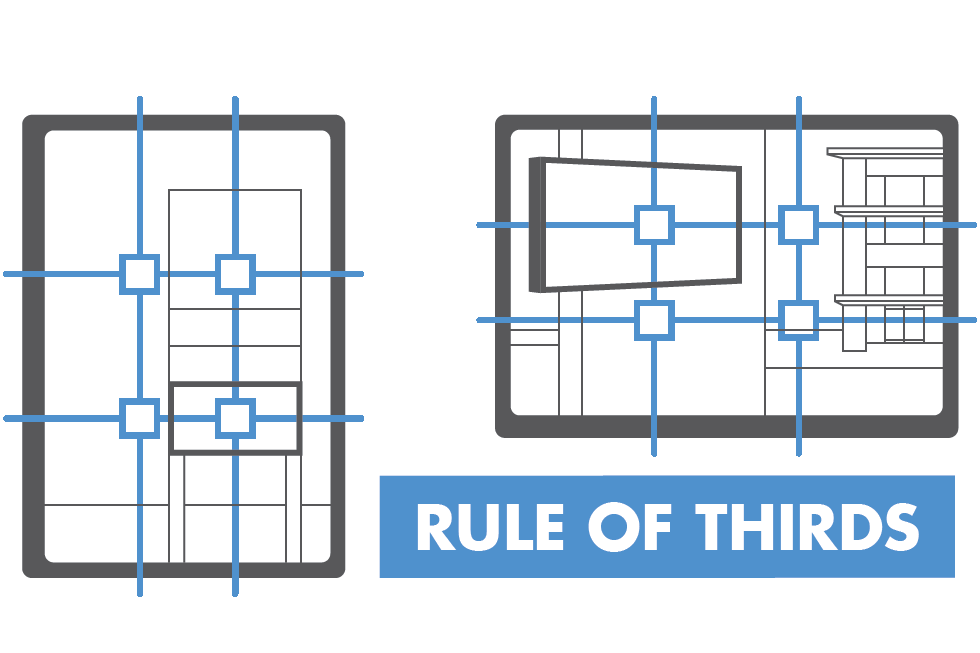
Rule of Thirds
Using the rule of thirds makes your content easier to look at and allows the photographer to fit both the LED display and a prominent landmark or building in the background.
Advanced Section
Camera Settings
Shooting in auto mode will usually give you good results, but if you’re feeling adventurous or want tailor your camera for a specific shot, keep reading.
The plethora of buttons and dials on cameras these days can be overwhelming, but adjusting just a few settings can help you get that perfect photo. We’ll walk you through it!
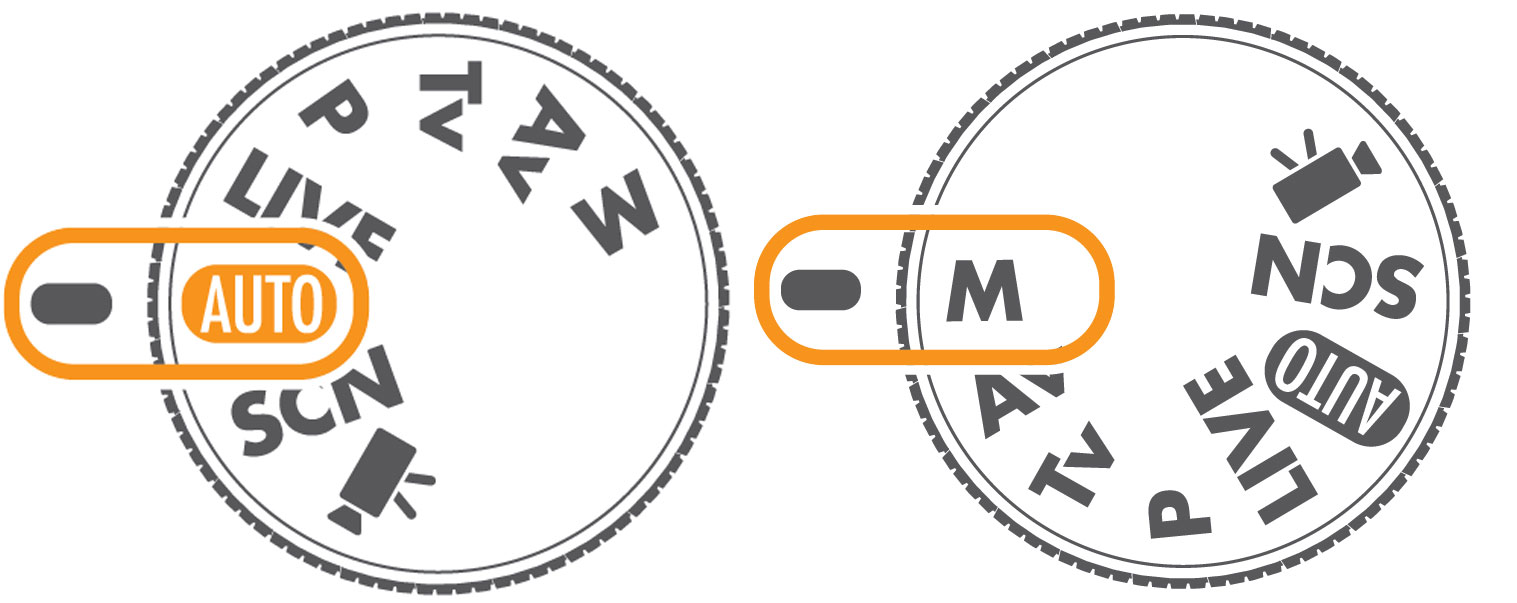
First, change the dial on your camera to “M” for manual mode. Next, you’ll want to adjust the settings for your shutter speed, ISO, and aperture to get the perfect combination for your environment and desired outcome.
 |  |  |
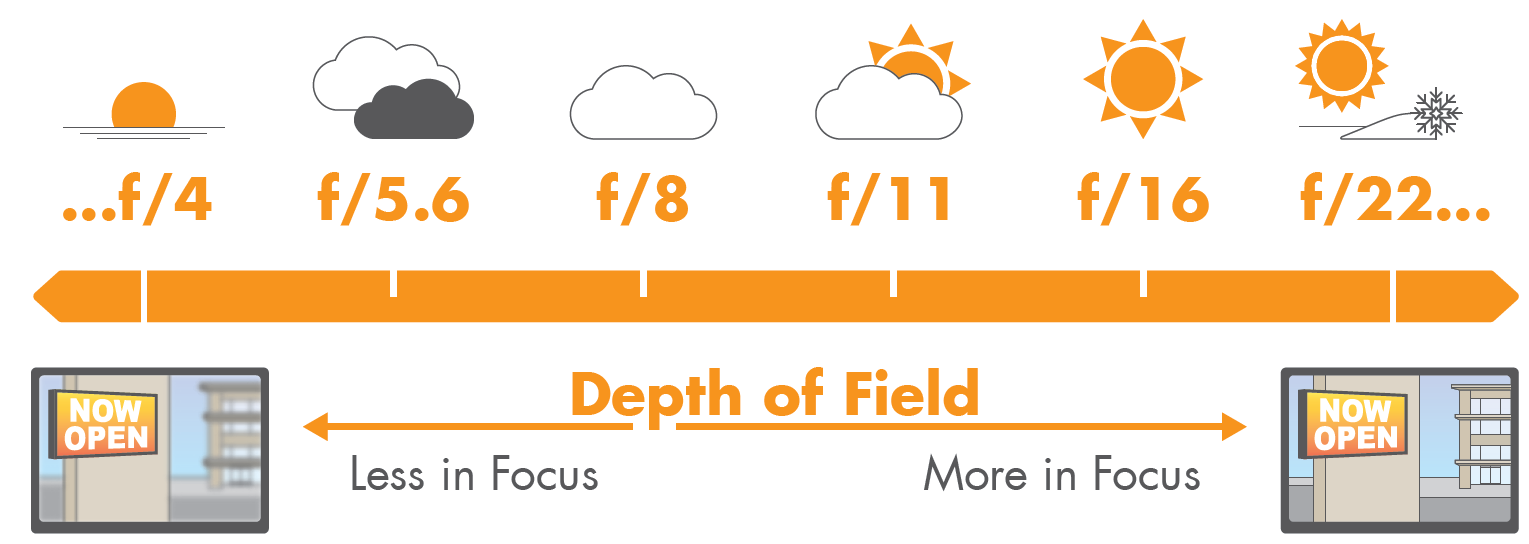
| Shutter Speed Shutter speed determines how quickly photos are taken. Too high of shutter rates can cause tiling, so use slower settings such as 1/15, 1/30, 1/60, 1/100 or 1/125. We recommend 1/60 or 1/100. | ISO Lower ISO will produce a cleaner photo with less noise. Since most outdoor settings will have sunlight, an ISO between 100 and 400 should do the trick. | Aperture Aperture controls how much light is let into the camera, determining what is in focus. If you want to adjust it manually, smaller F-stops will focus more on the foreground and larger F-stops will increase the focus on the background. |
Share Your Photos
Now that you’ve captured the perfect image of your digital display, send us your photos! For more information on the best digital photography tips with helpful graphics, check out our guide Digital Photography Made Easier.