
With A Little Help . . . Transparent Images
Learn where to find and how to create transparent images for your Daktronics display.
Daktronics Commercial Software Training on 3/30/2018
Categories: Venus Control Suite Training
Have you ever wanted to put an image on your display, but it had a background color that you didn’t want or couldn’t get rid of? If so, then you’re in luck! Today, we will show you how to get rid of that pesky background and import only what you actually want.
Graphic Requirements for Your LED Display
Before we really get into it, we should clarify a few things first. GS6 displays support the use of transparent PNGs. Transparent PNG (.png) files allow part of a graphic to be fully transparent.
Think of your favorite sports team’s logo. If you had a graphic of their logo, most likely it would be surrounded by a white background. However, if the graphic were a transparent PNG file, all the space around the logo are transparent or see-through.
In addition to GS6/GC6 displays, GRP, GP3, GP4 and GPR display types also support the use of transparent PNG files. We should also mention that Venus Control Suite allows you not only the option for .png files, but also supports .avi, jpeg and .bmp when it comes to graphics.
Keep in mind though, only .png files allow for transparency! Click the link below to read a Knowledge Base article all about the graphic requirements for Venus Control Suite.
Now that we have all that out of the way, let’s go ahead and get transparent, shall we?!
When it comes to creating transparencies for your display, you have a few choices. You can utilize the Building Blocks graphic elements created by Daktronics Creative Services, you can search the internet for transparent images, or you can use a 3rd party software program like Adobe Photoshop to create your own.
Trainer Tip: Just remember, if you are searching the internet, make sure the images you use are the same size as the dimensions of your display, and no larger than 3 times your display dimensions for best image quality. Please refer to our previous blog in this series to learn more.
Building Blocks – Graphic Elements
Last fall, our Creative Services team here at Daktronics released more than 225 new graphic elements that are all transparent PNGs. These graphic elements allow you to layer your choice of graphic elements with any of our still or animated backgrounds and then pair with text of your choice. All of this is designed to help you create effective content efficiently so messaging can stay fresh and timely.
And the best part is, they’re all 100% FREE! Click on the links below to read our blogs and learn more. The blogs also contain links for you to download the Media Kit Building Blocks Graphic Elements.
- NEW Building Blocks Help You Create Better Content for FREE!
- Your Customers Can Build Better Messages with New, Free Content
3rd Party Content Editors: Online Image Editor & Pixlr
If you have your own graphic element(s) that you would like to use instead, like a logo, for example, you can use 3rd party Content Editors like Adobe Photoshop to remove those pesky white backgrounds. We have actually found 2 FREE online content editors that will do this for you as well.
The first one we will mention is called the Free Online Image Editor and can be found by going to http://online-image-editor.com/. We have previously blogged about the Online Image Editor and provided step-by-step instructions about how to create transparent PNG files using it. If you are interested in learning how to do so, please click the link below.
In addition to the Free Online Image Editor, we also found a website called PIXLR, where you can create transparent PNGs for free, as well. PIXLR can be found at https://pixlr.com/. We mentioned PIXLR last week as well, as an option you can use to resize images, should you need to. In addition to that, we have posted about it multiple other times if you are interested in learning even more.
When it comes to creating transparent PNG files using PIXLR, you can follow the directions below.
- Go to https://pixlr.com/.
- Scroll down and click on Launch Web App under PIXLR Editor.
![Launch web app]()
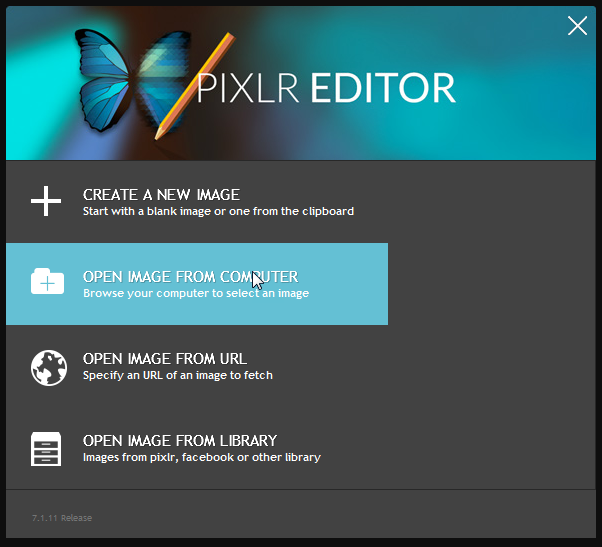
- Click on Open Image From Computer.
![Open image from computer]()
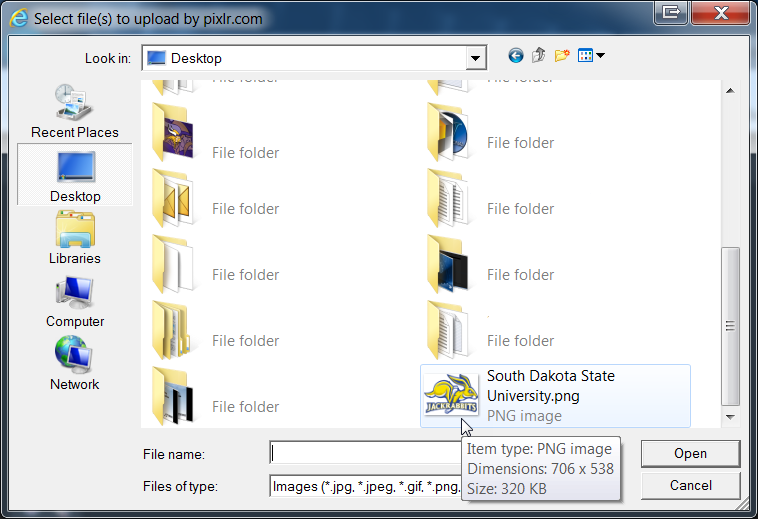
- Browse to your image and Open it.
![Browse and open]()
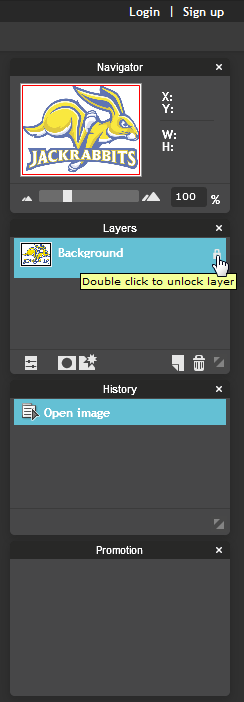
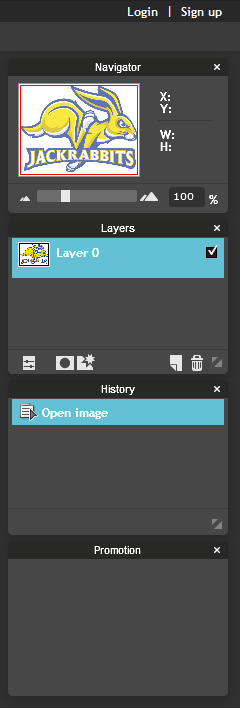
- Double-click on the padlock icon under Layers on the right side of the page to unlock layer.
![Padlock 1]()
![Padlock 2]()
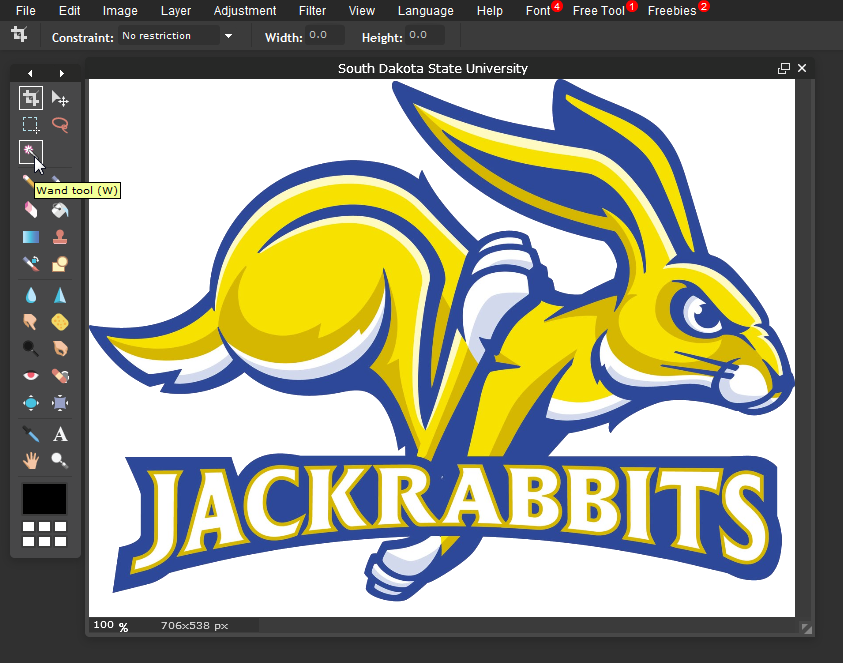
- Click on the Magic Wand tool and then click on the area you want to remove.
![Magic Wand]()
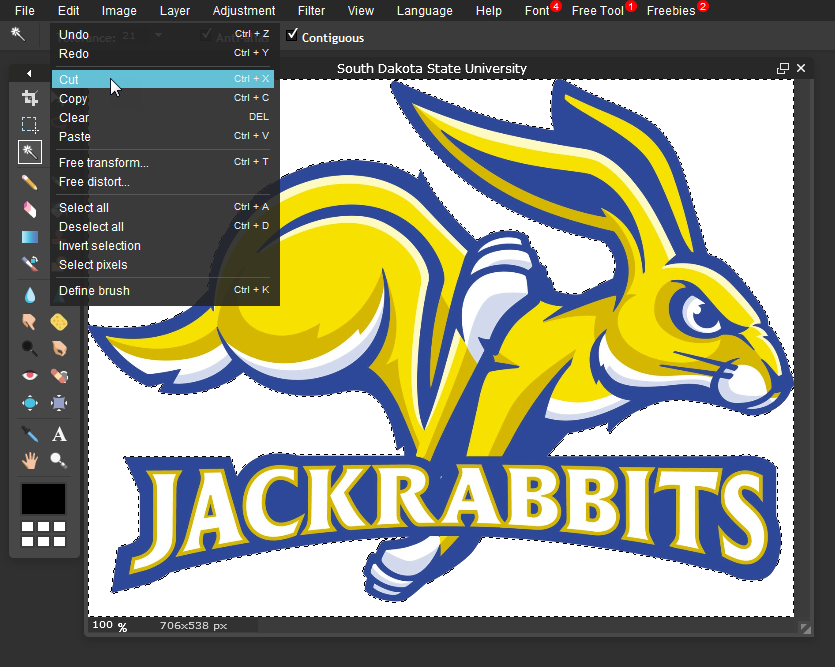
- Once you have selected an area to remove, click on Edit and select Cut.
![Select and cut]()
- Repeat steps 5-6 until you have finished removing all of the unwanted areas.
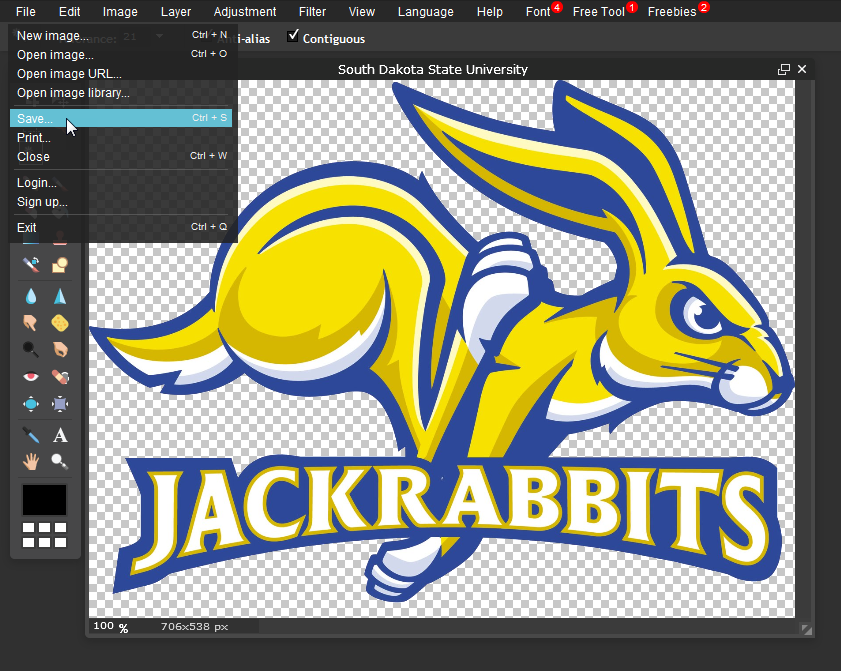
- Click on File and select Save.
![File Save]()
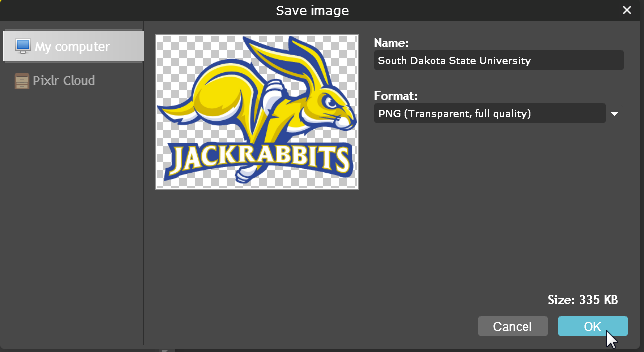
- Give the file a Name and make sure your Format is set to PNG (Transparent, full quality).
- Click OK and choose where you want to Save the file on your computer.
![Name and Type]()
Way to go! You just created a Transparent PNG file. Now you can import that into any presentation you create, and it won’t have a background color behind it. Think of the possibilities!!!
We hope you found this blog useful and that it helps you with your future content creation endeavors.
If you like our blog, be sure to click on the orange “Receive Email Updates” button on the right side of the page to subscribe.
Thanks for reading!